
Related Manuals for clare ClareVision CLR-V200-4D28W


Summary of Contents for clare ClareVision CLR-V200-4D28W
- Page 1 ClareVision Video Surveillance Value and Performance Series Fixed Lens Dome Camera Installation Guide 1 | ClareVision Value and Performance Dome Cameras...
-
Page 2: Required Equipment
For Setting up cameras and complete user manuals, please scan these QR codes: Quick Start Guide User Manual https://bit.ly/34bIlND https://bit.ly/34eKmsq Box Contents • Camera • Mounting template • Mounting kit • Accessory kit Required Equipment • Phillips head screwdriver • Power source: Ethernet cable •... - Page 3 Inspection Ensure that the device is in good condition and all the assembly parts are included. • Make sure that all equipment is powered o during installation. • Ensure the mounting surface is strong enough to withstand three times the weight of the camera and the mount.
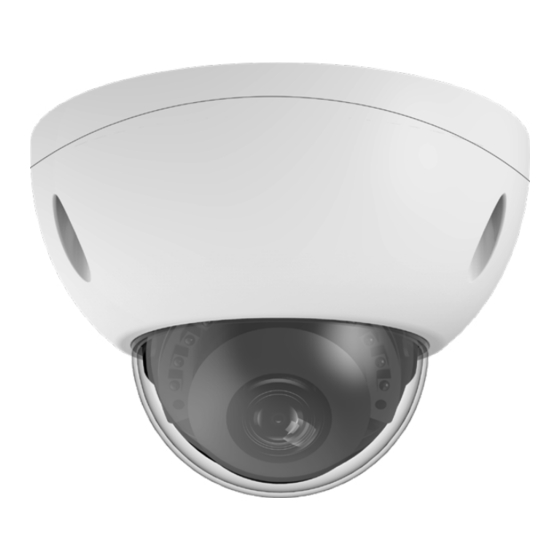
- Page 4 Overview Before installing, familiarize yourself with the parts of the camera. 4 | ClareVision Value and Performance Dome Cameras...
-
Page 5: Installation
Installation 1. Drill a cable hole and ¼” pilot holes, using the supplied template. 2. Using the provided hex-key, loosen the cover screws on the outer cover assembly. Remove the outer cover assembly. Note: The outer cover assembly is attached to the chassis assembly via a small cord. - Page 6 Installation 3. Connect an ethernet cable that is connected to the desired POE enabled network into the camera’s ethernet adapter. 4. Insert the drywall anchors. Secure the chassis assembly to the mounting surface using provided screws. 6 | ClareVision Value and Performance Dome Cameras...
- Page 7 Installation 5. Adjust the viewing angle by rotating the sphere. 6. Resecure the upper cover assembly to the chassis assembly. 7 | ClareVision Value and Performance Dome Cameras...
- Page 8 Support Need help? Contact Tech Support! If you need further clarification, please contact our support staff. Integrator/Dealer Support: Phone: 941.404.1072 Email: claresupport@clarecontrols.com For more information, instructional videos, or support documentation, visit our Help Center and view your item’s product page: https://www.clarecontrols.com/helpcenter 8 | ClareVision Value and Performance Dome Cameras...
-
Page 9: Contact Information
Sarasota, FL 34243 General: 941.328.3991 Fax: 941.870.9646 www.clarecontrols.com Warranty Information Clare Controls offers a two (2) year limited warranty on original Clare Controls components, from the date of shipment from Clare Controls. To view complete limited warranty details, including limitations and exclusions, please visit: www.clarecontrols.com/warranty... -
Page 10: Camera Information
Camera Information Please provide this guide to the customer and notate the camera installation location. This guide includes important camera details. Installattion Location: __________________ Camera Details: Product Label Doc ID: 2021-01-2060-05 10 | ClareVision Value and Performance Dome Cameras...
Need help?
Do you have a question about the ClareVision CLR-V200-4D28W and is the answer not in the manual?
Questions and answers