Toro Debris Blower 600 Operator's Manual
Hide thumbs
Also See for Debris Blower 600:
- Operator's manual (24 pages) ,
- Operator's manual (16 pages)

Related Manuals for Toro Debris Blower 600


Summary of Contents for Toro Debris Blower 600
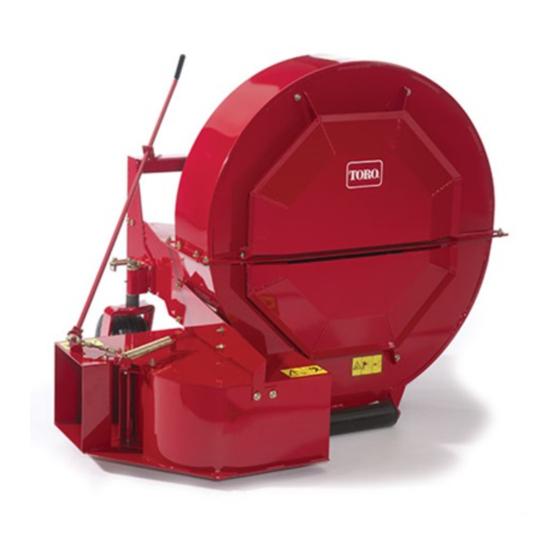
- Page 1 Form No. 3398-342 Rev A Debris Blower 600 Model No. 44536—Serial No. 310000001 and Up *3398-342* A Register at www.Toro.com. Original Instructions (EN)
-
Page 2: Table Of Contents
You are responsible for operating the Adjusting the Discharge Direction ......11 product properly and safely. Operating Tips ............11 You may contact Toro directly at www.Toro.com for product Maintenance ..............12 and accessory information, help finding a dealer, or to register Greasing the Machine ..........12 your product. -
Page 3: Safety
• This product may exceed noise levels of 85 dB(A) at the purchase genuine Toro replacement parts and accessories operator position. Hearing protection is recommended to keep the machine all Toro. Never use "will-fit" for prolonged exposure to reduce the potential of replacement parts and accessories made by other permanent hearing damage. -
Page 4: Safety And Instructional Decals
Safety and Instructional Decals Safety decals and instructions are easily visible to the operator and are located near any area of potential danger. Replace any decal that is damaged or lost. 93-7814 1. Entanglement hazard, belt—stay away from moving parts; keep all guards and shields in place. - Page 5 105-0709 1. Entanglement hazard, belt—keep all guards and shields in place; stay away from moving parts.
-
Page 6: Setup
Setup Loose Parts Use the chart below to verify that all parts have been shipped. Procedure Description Qty. – No parts required Install the caster wheels. – No parts required Connect the lower link arms. – No parts required Connect the upper link. –... -
Page 7: Connecting The Upper Link
Connecting the Lower Link Arms No Parts Required Figure 4 Procedure 1. Upper link 3. Lynch pin 2. Clevis pin 1. Position the blower on a flat, level surface and disengage the PTO. 2. Rotate the adjusting link to tighten the link. 2. -
Page 8: Connecting The Pto Shaft
Note: If the dimension in step is not at least 37 mm (1-1/2 inches) greater than the dimension in step 3, the PTO shaft is too long; proceed to step 5. If there is enough clearance to allow the PTO shaft to collapse, proceed to step 10. -
Page 9: Adjusting The Sway Links
Adjusting the Sway Links Adjusting the 3-Point-Lift Stop No Parts Required No Parts Required Procedure Procedure Adjust and set the 3-point-lift stop to provide approximately Adjust the sway links on the lower draft arms of the 3-point 10 cm (4 inches) ground clearance, when in the raised hitch to minimize side-to-side sway to a maximum of 25 mm position, to minimize the PTO angle when raising the blower. -
Page 10: Greasing The Blower
A selection of Toro approved attachments and accessories is available for use with the machine to enhance and expand its capabilities. Contact your Authorized Service Dealer or Distributor or go to www.Toro.com for a list of all approved attachments and accessories. Greasing the Blower... -
Page 11: Operation
Operation Note: Determine the left and right sides of the machine from the normal operating position. Adjusting the Discharge Direction The direction of the discharge opening can be changed from the side to the front by moving the control handle (Figure Figure 9 1. -
Page 12: Maintenance
Maintenance Drive Shaft Grease the 2 drive-shaft fittings after every 100 hours of use Note: Determine the left and right sides of the machine (Figure 12). from the normal operating position. Greasing the Machine The machine has grease fittings that you must lubricate regularly with No. -
Page 13: Storage
Storage 3. Remove capscrew and nut securing the tensioner guide to the blower frame (Figure 14). 1. Thoroughly clean the blower. Note: The belt tension releases when the capscrew is removed. Note: The fan housing should be free of dirt, leaves, and debris. -
Page 14: Troubleshooting
Troubleshooting Problem Possible Cause Corrective Action There is excessive vibration. 1. The bearing(s) on the fan shaft is 1. Replace the bearings. damaged. 2. Material is built up on the fan blades. 2. Clean out any build up on the inside of the housing. - Page 15 Notes:...
- Page 16 Countries Other than the United States or Canada Customers who have purchased Toro products exported from the United States or Canada should contact their Toro Distributor (Dealer) to obtain guarantee policies for your country, province, or state. If for any reason you are dissatisfied with your Distributor's service or have difficulty obtaining guarantee information, contact the Toro importer.
Need help?
Do you have a question about the Debris Blower 600 and is the answer not in the manual?
Questions and answers