Sign In
Upload
Download
Table of Contents
Contents
Add to my manuals
Delete from my manuals
Share
URL of this page:
HTML Link:
Bookmark this page
Add
Manual will be automatically added to "My Manuals"
Print this page
×
Bookmark added
×
Added to my manuals
Manuals
Brands
TREND Manuals
Tools
HINGE/JIG
Quick start manual
TREND HINGE/JIG Quick Start Manual
Hide thumbs
1
Table Of Contents
2
3
4
5
6
7
8
9
10
11
12
13
14
15
16
17
18
19
page
of
19
Go
/
19
Contents
Table of Contents
Bookmarks
Table of Contents
Table of Contents
Technical Data
Safety
Items Enclosed
Assembly & Description of Parts
Setting up the Router
Fitting the Router Cutter
Operation
Setting the Jig for Hinge Recessing
Routing the Recess in the Door
Routing Hinge Recesses in the Frame
Fitting the Door
Accessories
Maintenance
Environmental Protection
Guarantee
SPARE PARTS - Spare Parts List
Spare Parts Diagram
Quick Start Instructions
Advertisement
Quick Links
1
Assembly & Description of Parts
2
Setting up the Router
3
Setting the Jig for Hinge Recessing
Download this manual
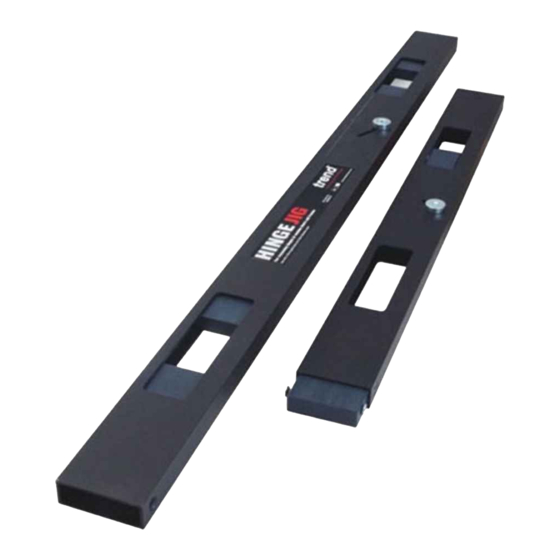
HINGE/JIG
&
H/JIG/A
Patent No.:
GB2285410
Please read these instructions before use.
Table of
Contents
Previous
Page
Next
Page
1
2
3
4
5
Advertisement
Table of Contents
Need help?
Do you have a question about the HINGE/JIG and is the answer not in the manual?
Ask a question
Questions and answers
Subscribe to Our Youtube Channel
Related Manuals for TREND HINGE/JIG
Tools TREND H/JIG/B Manual
(19 pages)
Tools TREND H/JIG/A Quick Start Manual
(19 pages)
Tools TREND H/CURVE/JIG Original Instructions Manual
(16 pages)
Tools TREND MINI ELLIPSE JIG Instructions Manual
Mini ellipse jig (14 pages)
Tools TREND PH/JIG User Manual
Pocket hole jig (18 pages)
Tools TREND PRO POCKET HOLE JIG Manual
(19 pages)
Tools TREND PH/JIG/BS Original Instructions Manual
Single pocket hole jig (37 pages)
Tools TREND PH/JIG/M Instructions Manual
(18 pages)
Tools TREND LOCK/JIG Manual
Aluminium adjustable lever type (batch eb) (19 pages)
Tools TREND CDJ300 Manual
(50 pages)
Tools TREND DJ300 Manual
Dovetail jig (25 pages)
Tools TREND COMBI 651 User Manual
(19 pages)
Tools TREND STRIKE/JIG Original Instructions Manual
(45 pages)
Tools TREND KWJ650 Instructions Manual
(19 pages)
Tools TREND KWJ700PRO Original Instructions Manual
(24 pages)
Tools TREND STAIR Series Manual
(18 pages)
This manual is also suitable for:
H/jig/a
Table of Contents
Save PDF
Print
Rename the bookmark
Delete bookmark?
Delete from my manuals?
Login
Sign In
OR
Sign in with Facebook
Sign in with Google
Upload manual
Upload from disk
Upload from URL


Need help?
Do you have a question about the HINGE/JIG and is the answer not in the manual?
Questions and answers