Axis Q6010-E User Manual
Hide thumbs
Also See for Q6010-E:
- Repainting instructions (8 pages) ,
- User manual (24 pages) ,
- Installation manual (35 pages)
Table of Contents
Advertisement
Advertisement
Table of Contents

Subscribe to Our Youtube Channel
Related Manuals for Axis Q6010-E


Summary of Contents for Axis Q6010-E
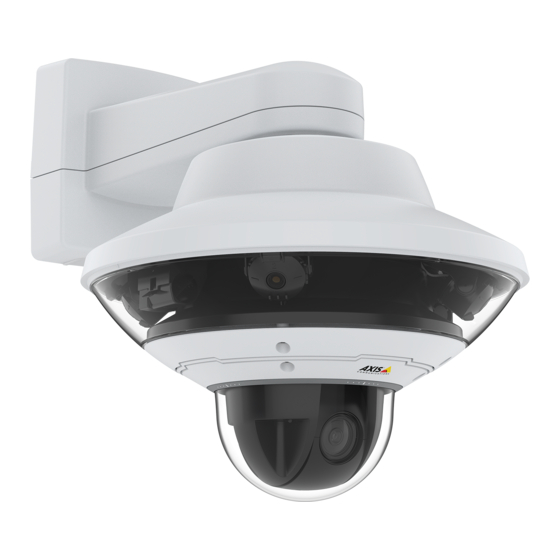
- Page 1 AXIS Q6010-E Network Camera User Manual...
-
Page 2: Table Of Contents
AXIS Q6010-E Network Camera Table of Contents Get started .......... -
Page 3: Get Started
Get started Find the device on the network To find Axis devices on the network and assign them IP addresses in Windows®, use AXIS IP Utility or AXIS Device Manager. Both applications are free and can be downloaded from axis.com/support. -
Page 4: Webpage Overview
AXIS Q6010-E Network Camera Get started • Use a password with at least 8 characters, preferably created by a password generator. • Don’t expose the password. • Change the password at a recurring interval, at least once a year. Webpage overview... - Page 5 AXIS Q6010-E Network Camera Get started Settings tabs...
-
Page 6: Additional Settings
AXIS Q6010-E Network Camera Additional settings Additional settings Adjust the image To find out more about what you can do with the image, see Learn more on page 13. Replace the lens 1. Stop all recordings and disconnect power from the product. - Page 7 AXIS Q6010-E Network Camera Additional settings 2. To determine at what light level you want the camera to shift to night mode, move the Threshold slider toward Bright or Dark. Note If you set the shift to occur when it’s brighter, the image remains sharper as there will be less low-light noise. If you set the shift to occur when it’s darker, the image colors are maintained for longer, but there will be more image blur due...
-
Page 8: View And Record Video
Note WDR may cause artifacts in the image. Find out more about WDR and how to use it at axis.com/web-articles/wdr. Hide parts of the image with privacy masks You can create one or several privacy masks to hide parts of the image. -
Page 9: Set Up Rules And Alerts
This example explains how to set up the camera to start recording to the SD card five seconds before it detects motion and to stop one minute after. Make sure that AXIS Video Motion Detection is running: 1. Go to Settings > Apps > AXIS Video Motion Detection. 2. Start the application if it is not already running. - Page 10 1. Go to Settings > System > Events and add a rule. 2. Type a name for the rule. 3. In the list of conditions, under Application, select AXIS Video Motion Detection (VMD). 4. In the list of actions, under Recordings, select Record video while the rule is active.
- Page 11 AXIS Q6010-E Network Camera Additional settings 3. Set a duration for Trigger after. The value indicates the time that must pass before an email is sent. Create a rule: 1. Go to Settings > System > Events > Rules and add a rule.
-
Page 12: Cleaning Recommendations
AXIS Q6010-E Network Camera Cleaning recommendations Cleaning recommendations If the device gets grease stains or becomes heavily soiled, you can clean it with mild, solvent-free soap or detergent. NOTICE TICE TICE Never use harsh detergent, for example gasoline, benzene, or acetone. -
Page 13: Learn More
H.264 or MPEG-4 Part 10/AVC Note H.264 is a licensed technology. The Axis product includes one H.264 viewing client license. To install additional unlicensed copies of the client is prohibited. To purchase additional licenses, contact your Axis reseller. H.264 can, without compromising image quality, reduce the size of a digital video file by more than 80% compared to the Motion JPEG format and by as much as 50% compared to the MPEG-4 standard. -
Page 14: Troubleshooting
Using firmware from the active track is recommended if you want to access the newest features, or if you use Axis end-to-end system offerings. The LTS tracks are recommended if you use third-party integrations, which are not continuously validated against the latest active track. -
Page 15: Technical Issues, Clues And Solutions
Axis device. Check all cabling and reinstall the device. Possible IP address conflict The static IP address in the Axis device is used before the DHCP server sets a dynamic address. with another device on the... -
Page 16: Performance Considerations
One-click PTZ control is not working properly Check focus on all four Go to Settings > Apps > AXIS Installation wizard, and open the application. Go to Camera X > lenses Lens selection, and select the lens. Do an Installation focus. -
Page 17: Contact Support
Heavy network utilization due to poor infrastructure affects the bandwidth. • Viewing on poorly performing client computers lowers perceived performance and affects frame rate. • Running multiple AXIS Camera Application Platform (ACAP) applications simultaneously may affect the frame rate and the general performance. Contact support Contact support at axis.com/support. -
Page 18: Specifications
AXIS Q6010-E Network Camera Specifications Specifications To find the latest version of the product’s datasheet, go to the product page at axis.com and locate Support & Documentation. Product overview SD card slot Control button Restart button LED indicator Network connector... -
Page 19: Led Indicators
To comply with the IP66-rated design of the camera and maintain the IP66 protection, the supplied RJ45 Push-pull Connector (IP66) shall be used. Alternatively, use the RJ45 IP66-rated cable with premounted connector which is available from your Axis reseller. Do not remove the plastic network connector shield from the camera. - Page 20 User Manual Ver. M1.9 AXIS Q6010-E Network Camera Date: March 2020 © Axis Communications AB, 2020 Part No. T10150178...
Need help?
Do you have a question about the Q6010-E and is the answer not in the manual?
Questions and answers