Advertisement
Quick Links
Thank you for purchasing this product. Please read the instructions carefully before use to ensure safe and
satisfactory operation of this product.
Pre-assembly preparation
Please ensure instructions are read in full before attempting to assemble this product.
Necessary Tools
Please check the pack contents before attempting to assemble this product. A full checklist of components is
given in this leaflet. If any components are missing, please contact the retailer from whom you bought this
product.
This product takes approximately 20 MINUTES to assemble with 2 PEOPLE.
All assembly should be performed on a flat, stable, clean and soft surface.
This product is HEAVY, it should be assembled as near as possible to the point of use. TAKE CARE
WHEN LIFTING to avoid personal injury and (or) damage to the product
The fitting pack contains SMALL ITEMS which should be KEPT AWAY FROM YOUNG CHILDREN.
IMPORTANT: Retain these instructions for future reference.
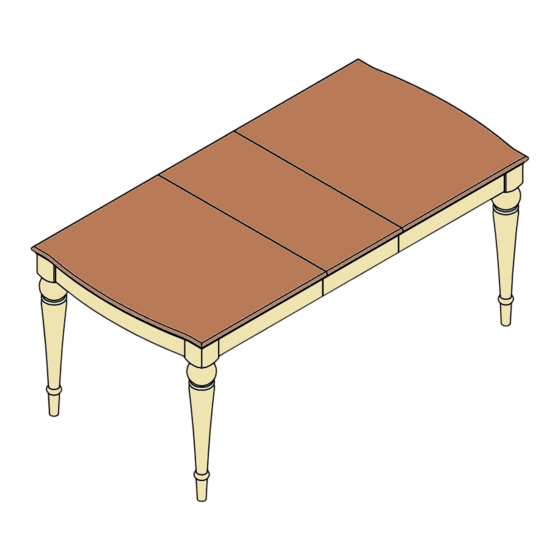
4-6 EXTENSION TABLE
Stock number:62X0-2
Page :
1
IW- 1 7- 1 42AA-7XX-R2
Advertisement

Summary of Contents for Bentley Designs 62X0-2
- Page 1 4-6 EXTENSION TABLE Stock number:62X0-2 Thank you for purchasing this product. Please read the instructions carefully before use to ensure safe and satisfactory operation of this product. Pre-assembly preparation Please ensure instructions are read in full before attempting to assemble this product.
-
Page 2: Parts Checklist
& 2 x 4 Parts checklist Description Qty. Description Qty. Item Item Table top Leaf Corovin storage bag Page : 2 IW- 1 7- 1 42AA-7XX-R2... - Page 3 Step By Step Assembly Instructions Step 1 & Step 1 .2 Step 1 .2 Step 1 .2 * A L E R T : M A K E S U R E L E A F I S R E M O V E D B E F O R E A S S E M B L Y . Page : 3 IW- 1 7- 1 42AA-7XX-R2...
- Page 4 Step By Step Assembly Instructions Step 2 2. 1 : Close table top and lock the slides as shown. 2.2 : Screw each leg (2) into the fitting that is concealed in the pre-drilled hole on table top ( 1 ) as shown. Continue to re-tighten until the leg is securely fastened. Repeat above procedure for the remaining legs (2).
- Page 5 Step by step assembly instructions Step 4 4. 1 : Place storage bag (4) and leaf (3) onto a flat, stable, clean and soft surface. 4.2 : Remove leaf (3) and fold open the leaf aprons as shown. Step 4.2 Step 4.2 Step 5 5.
- Page 6 Step by step assembly instructions Step 6 6. 1 : Slide leaf towards main table top until no gap is visible. 6.2: Push end apron inwards until no gap is visible. Note: Ensure the metal pins are aligned to the holes on the main table tops and the leaf before closing the table.
- Page 7 Step by step assembly instructions Step 8 Remove the leaf 8. 1 : Unlock the slides that were locked in Step 7 . 8.2 : Extend the table by lifting up the end apron, then slide the structure all the way out as shown.
- Page 8 Step by step assembly instructions Step 1 0 1 0. 1 : Carefully place corovin storage bag (4) with leaf (3) onto wood support storage under table top as shown. 1 0.2 : Close the table by lifting up the end apron, then slide the structure all the way in as shown. Ensure the metal pins on both table tops ( 1 ) are aligned correctly with the mating holes before closing.
-
Page 9: Care And Maintenance
Care and Maintenance Wood Furniture Wood displays different grain patterns depending on which way they are cut - for example, the 'medullary ray' which can appear on oak furniture is a mark of good quality timber - these are just characteristics of the natural beauty of the wood.


