Table of Contents
Advertisement
Quick Links
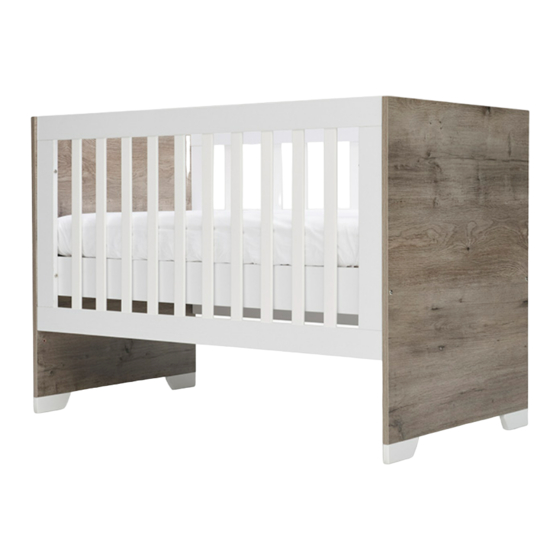
Urban Collection
Care & Cleanig Tips:
For general dusting / cleaning - periodically wipe the cot with a dry soft cloth. To remove day to day
spills or dirt, wipe down with a soft cloth and mild solution of warm soapy water. Avoid scourers and
steel wool as these will damadge the finish. Always dry the cot after cleaning.
RECYCLED
Packaging and instructions
printed on recycled materials
1
Rio cot
Save this instruction for furture reference.
Assembly of this furniture is best under taken by two people.
SJC Brands Pty Ltd
abn.
58 106 988 578
4-6 Merryvale Rd, Minto, NSW 2566
t.
02 9603 5000
f. 02 9603 7000
e.
customer.service@sjcbrands.com.au
p.o. box
5878 Minto,DC,NSW 2566
www.tasmaneco.com.au
w.
Advertisement
Table of Contents

Related Manuals for SJC brands tasman eco Urban Rio


Summary of Contents for SJC brands tasman eco Urban Rio
- Page 1 finish. Always dry the cot after cleaning. Save this instruction for furture reference. RECYCLED Assembly of this furniture is best under taken by two people. customer.service@sjcbrands.com.au SJC Brands Pty Ltd abn. 58 106 988 578 Packaging and instructions 4-6 Merryvale Rd, Minto, NSW 2566 p.o.
- Page 2 Part Checklist Cot side x 2 Base slats x 2 Headboard x 2 Cot rail x 2 Hardware List M6 x 90mm Bolt x 8 M6 x 50mm Bolt x 4 M6 x 15mm Bolt x 4 M6 x 35mm Bolt x 24 Lunar washer x 4 Allen key x 2...
- Page 3 Re-tighten all connector bolts (at least two months after assembling the cot), as some may loosen as the cot settles. Regulary check all of the connecting bolts, making sure they are tight. Regularly check cot for weakness in panels joints and panels. If any weaknesses are found, report immediately to SJC Brands via: www.tasmaneco.com.au Do not use cot if it has been damaged in any way and always use genuine Tasman Eco parts.
- Page 4 Step2- Connect the both sides of rails to headboard A & B secure with lunar washes M6 x 15mm Bolt x 4 Headboard B Headboard A Headboard A Lunar washer x 4 Step3- Cot side Cot side Cot side M6 x 90mm Bolt x 8...
- Page 5 Step4- Check all the bolts and screws are tighten but do not over tighten. Insert the recommanded mattress and cot is completed.
- Page 6 The replacement product will be identical to the originally purchase product wherever possible, though in situations where the identical model is discontinued or out of stock, then SJC Brands Pty Ltd will replace the product with a model that is functionally equivalent This Guarantee is made to the purchaser and/or original owner only.
Need help?
Do you have a question about the tasman eco Urban Rio and is the answer not in the manual?
Questions and answers