
Subscribe to Our Youtube Channel
Related Manuals for Kraus KEF-15003


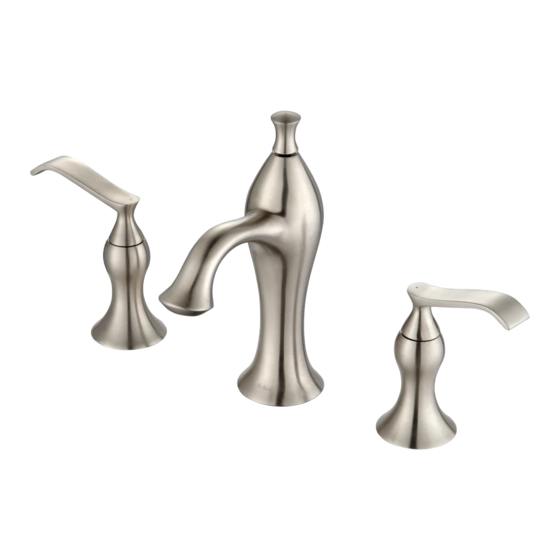
Summary of Contents for Kraus KEF-15003
- Page 1 I N S TA L L AT I O N MA N UA L Ventus Double Handle Widespread Basin Faucet KEF-15003 www.kraususa.com I toll free: 1.800.775.0703 I © 2013-2014 Kraus USA Inc.
- Page 2 Thank you for purchasing Kraus We would like to take this opportunity to thank you for your business with Kraus USA. It is our sincere hope that you are completely satisfied with your experience. We welcome any questions or comments you may have, and will be glad to assist you in the future.
- Page 3 Prior to Installation: • Make sure you have all necessary parts by checking the diagram and parts list. If any part is missing or damaged, please contact Kraus Customer Service at 800-775-0703 for a replacement • Turn off the hot and cold water lines at the angle stops and turn on the old faucet to release any built-up pressure •...
- Page 4 Diagram and Parts List 20 21...
- Page 5 Tools you will need: Diagram and Parts List 1. Hot Handle Valve with Waterline 2. Faucet Body 3. Cold Handle Valve with Waterline Adjustable Wrench 4. Mounting Kit (A) Rubber Washer (B) Metal Washer (C) Mounting Nut (D) Mounting Screws 5.
- Page 6 Faucet Installation Procedure 136 mm (5.35”) 96 mm Ø3 (3.8”) 2-M10X1 G9/16 Installer Tip: Shut off main water supply before installing new faucet...
- Page 7 Faucet Installation Procedure 326 mm (12.83”) 100 mm 100 mm (3.93”) (3.93”) Ø35mm Ø35mm Ø35mm (1.37”) (1.37”) (1.37”) 2-M10X1 G9/16 G9/16...
- Page 8 Step 1 Step 2 Step 1: Remove mounting hardware and three-way connector Remove three-way connector (6) from faucet body (2). Remove mounting screws (4D), mounting nut (4C), metal washer (4B), and rubber washer (4A) from faucet body (2), hot handle valve (1), and cold handle valve (3) Step 2 Step 2: Install faucet and valves...
- Page 9 Step 3: Connect waterlines to valves Attach hot waterline (5) to hot handle valve (1) and cold waterline (5) to cold handle valve (3). Hand-tighten. Thread other end of hot & cold waterlines (5) to three-way connector (6) and tighten with adjustable wrench Connect flex water supply lines to angle stops and tighten with adjustable wrench.
- Page 10 Step 4: Install drain 1. Remove waste stopper (10) from drain (11). Remove drain body (16), mounting nut (15), plastic washer (14), and concave washer (13) from drain (11) 2. From underneath, insert lift pole extension (9) to faucet body and attach to lift pole rod (7) using connector (8) inside faucet body (2).
- Page 11 Step4 Step 4: (Continued) 20 21...
- Page 12 Step5 Step 5: Flush faucet After installing faucet, remove aerator (23) with included aerator key (24). Turn water on for 30 seconds to remove any debris. Reassemble aerator (23)
-
Page 13: Care And Maintenance
Close 90˚ 25˚ Care & Maintenance Push *To keep the product clean & shining, follow the steps below: Left Open Hot Water Rinse with clean water & dry with a soft cloth Do not clean with soaps, acid, polish, abrasives, or harsh cleaners Do not use cloth with a coarse surface Unscrew the aerator and clean when necessary *This installation manual is subject to change without further notice. -
Page 14: Conditions And Exclusions
If Kraus is unable to provide a replacement and repair is not practical or cannot be made in timely fashion, Kraus may elect to refund the purchase price in exchange for the return of the product. - Page 15 NON-APPLICABILITY OF THIS WARRANTY By the purchase and use of our products, you agree that Kraus is not liable for incidental, consequential or special damages associated with the return, replacement, installation or use of your product. This includes freight costs,...
- Page 16 www.kraususa.com...
Need help?
Do you have a question about the KEF-15003 and is the answer not in the manual?
Questions and answers