
Related Manuals for Hoshizaki CRES36


Summary of Contents for Hoshizaki CRES36
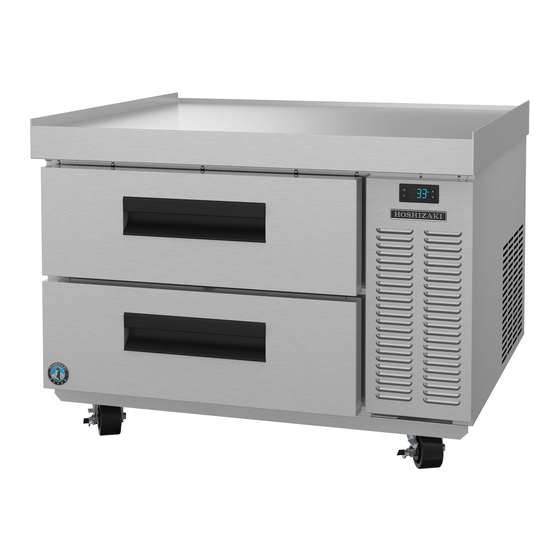
- Page 1 Instruction Manual Commercial Series Refrigerated Kitchen Equipment Models Refrigerated Equipment Stand hoshizakiamerica.com Issued: 10-27-2016...
- Page 2 Should the reader have any questions or concerns which have not been satisfactorily addressed, please call, send an e-mail message, or write to the Hoshizaki Technical Support Department for assistance. Phone: 1-800-233-1940; (770) 487-2331 Fax: 1-800-843-1056;...
-
Page 3: Table Of Contents
IMPORTANT This manual should be read carefully before the appliance is installed and operated. Read the warnings and guidelines contained in this manual carefully as they provide essential information for the continued safe use and maintenance of the appliance. Retain this manual for any further reference that may be necessary. CONTENTS Important Safety Information .................... -
Page 4: Important Safety Information
Important Safety Information Throughout this manual, notices appear to bring your attention to situations which could result in death, serious injury, damage to the appliance, or damage to property. WARNING Indicates a hazardous situation which could result in death or serious injury. - Page 5 (supplied by others) is recommended. • For cooking equipment on the cabinet, do not exceed the total maximum weight listed for your model. Total Maximum Weight for Cooking Equipment on the Cabinet CRES36 CRES49, CRES60 CRES72 CRES85 CRES98, CRES110 700 lb.
- Page 6 WARNING, continued • Do not tightly pack the cabinet. Allow some space between items to ensure good air flow. Also allow space between items and interior surfaces. • Do not put warm or hot foods in the cabinet. Let them cool first, or they will raise the cabinet temperature and could deteriorate other foods in the cabinet or overload the appliance.
-
Page 7: Installation Instructions
For optimum performance, installation of a heat shield (supplied by others) is recommended. • WARNING! For cooking equipment on the cabinet, do not exceed the total maximum weight listed for your model. Total Maximum Weight for Cooking Equipment on the Cabinet CRES36 CRES49, CRES60 CRES72 CRES85 CRES98, CRES110 700 lb. -
Page 8: Checks Before Installation
B. Checks Before Installation WARNING The rating label and nameplate provide electrical and refrigerant data. The rating label can be seen by removing the front panel. The nameplate is located on the rear panel. For certification marks, see the nameplate. For electrical connection details, see "I.D. Electrical Connection."... -
Page 9: Electrical Connection
3. Position the Appliance and Lock All Casters All casters on the appliance are lockable. After positioning the appliance in its final location, lock all casters. D. Electrical Connection WARNING • Electrical connection must meet national, state, and local electrical code requirements. -
Page 10: Final Checklist
(supplied by others) been installed? 7) For cooking equipment on the cabinet, is the total weight equal to or less than the total maximum weight listed for your model? Total Maximum Weight for Cooking Equipment on the Cabinet CRES36 CRES49, CRES60 CRES72 CRES85 CRES98, CRES110 700 lb. -
Page 11: Operating Instructions
(supplied by others) is recommended. • For cooking equipment on the cabinet, do not exceed the total maximum weight listed for your model. Total Maximum Weight for Cooking Equipment on the Cabinet CRES36 CRES49, CRES60 CRES72 CRES85 CRES98, CRES110 700 lb. - Page 12 WARNING, continued • The appliance is designed only for storage of food. Employ sanitary methods. Use for any other purposes (for example, storage of chemicals or medical supplies such as vaccine and serum) could cause deterioration of stored items. • Do not block air inlets or outlets, otherwise cooling performance may be reduced. •...
-
Page 13: Startup
B. Startup WARNING All parts are factory-adjusted. Improper adjustments may adversely affect safety, performance, component life, and warranty coverage. Allow the appliance to cool down prior to loading it with food products. 1) Plug the appliance into the electrical outlet. WARNING! To reduce the risk of electric shock, do not touch the plug with damp hands. -
Page 14: Adjusting The Temperature Setpoint
2. Adjusting the Temperature Setpoint The temperature setpoint is the value for the average cabinet temperature. The temperature differential for the compressor to turn on and off is ±3°F (±1.7°C) of the temperature setpoint. For example, for a refrigerator temperature setpoint of 36°F (2°C), the compressor comes on at 39°F (3.7°C), and the compressor goes off at 33°F (0.3°C). -
Page 15: Defrost
E. Defrost 1. Automatic Defrost Defrost is heated and is time-initiated and temperature terminated. 2. Manual Defrost To initiate a manual defrost, press the manual defrost button. F. Alarm Safeties Alarm signals are designed to protect the appliance and food product. These alarms give information or warnings in the event the appliance is operating out of acceptable parameters. -
Page 16: Food Storage
There is a 2-minute minimum off-time and on-time for the compressor. Note: Time may vary with compressor overload or high-pressure switch activation. 3. High-Pressure Switch If high-side refrigeration pressure exceeds Hoshizaki specifications, the high-pressure switch activates and de-energizes the compressor circuit until the refrigeration pressure returns to an acceptable level. -
Page 17: Cooling Performance
I. Cooling Performance Be sure the appliance is properly installed and located for optimum cooling performance. If cooling performance is not at its optimum level, check the following items: • Drawers opened too often. • Drawers left open. Close. • Cabinet too tightly packed or air inlets/outlets blocked. Allow some space between items to ensure good air flow. -
Page 18: Cleaning And Maintenance Instructions
III. Cleaning and Maintenance Instructions A. Cleaning WARNING • Unplug the appliance before cleaning to prevent electric shock by unexpected entrance of water into the appliance or injury by moving parts. To reduce the risk of electric shock, do not touch the plug with damp hands. •... - Page 19 4. Drawers Drawers and drawer slides are removable. • To remove a drawer: Remove all items from the drawer. Pull the drawer out to its fully extended position. Open the safety clips (one on each side) by sliding them forward. See Fig.
-
Page 20: Maintenance
2. Power Supply Connection If the plug or power cord is damaged, contact your local Hoshizaki service representative or local Hoshizaki distributor immediately and ask for repairs. All other maintenance or service on the appliance should be performed in accordance... -
Page 21: Preparing The Appliance For Periods Of Non-Use
IV. Preparing the Appliance for Periods of Non-Use When shutting down the appliance for more than one week, follow the instructions below. WARNING When preparing the appliance for long storage, prevent the drawers from closing to reduce the risk of children getting trapped. NOTICE When preparing the appliance for long storage, clean the appliance. -
Page 22: Disposal
V. Disposal WARNING When preparing the appliance for disposal, remove the drawers to reduce the risk of children getting trapped. The appliance contains refrigerant and must be disposed of in accordance with applicable national, state, and local codes and regulations. Refrigerant must be recovered by properly certified service personnel. - Page 23 618 Hwy. 74 South, Peachtree City, GA 30269 USA (P) 770.487.2331 (F) 770.487.3360 hoshizakiamerica.com 1A4409-010...
Need help?
Do you have a question about the CRES36 and is the answer not in the manual?
Questions and answers