
Subscribe to Our Youtube Channel
Related Manuals for Atlas AC-MGM2W


Summary of Contents for Atlas AC-MGM2W
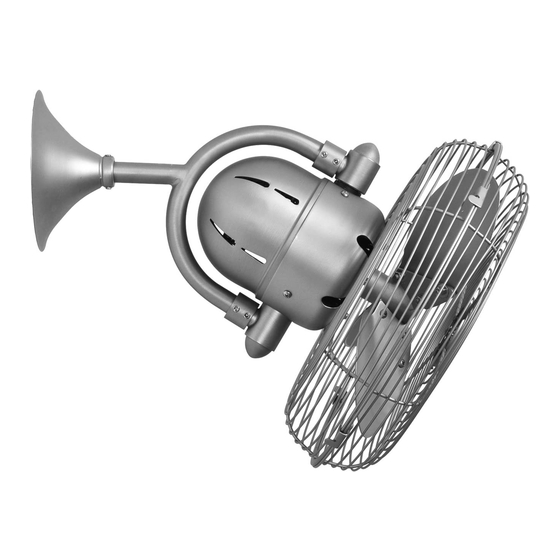
- Page 1 Kaye WALL MOUNTED FAN READ AND SAVE THESE INSTRUCTIONS AC-MGM2W FAN RATING AC 220-240V~, 50/60Hz Please do not use any electric or battery powered tools in the assembly and installation of this or any Matthews Fan Company product.
-
Page 2: Tools And Materials Required
TOOLS AND MATERIALS REQUIRED Philips screw driver Standard, flat-head screw driver 11 mm wrench Step ladder Wire cutters PACKAGE CONTENTS Unpack your fan and check the contents. You should have the following items: Fan motor assembly Canopy Hanger bracket Wall control with 2 mounting screws Mounting plate Allen wrench Package hardware... - Page 3 READ AND SAVE THESE SAFETY AND INSTALLATION INSTRUCTIONS. Consult a licensed electrician if unsure of any point below mentioned. DANGER/WARNING/CAUTION 1 Warning: TO REDUCE THE RISKS OF FIRE, ELECTRIC SHOCK OR INJURY TO PERSONS, OBSERVE THE FOLLOWING A. Use this unit only in the manner intended by the manufacturer. If you have any questions, contact the manufacturer.
- Page 4 MOUNTING/INSTALLLATION OF THE FAN AND MAKING THE ELECTRICAL Screws CONNECTIONS Side mount Before touching a screw driver thoroughly wall junction box read these installation instructions. Your new wall fan will require a grounded electrical supply line of 220-240V~, 50/60Hz circuit. The junction box must be securely anchored and capable of withstanding a load of at least 45 lbs (20.4 Kgs).
- Page 5 Connect the black fan wire to the hole on the terminal block marked "LI". Screw driver Connect the brown fan wire to the hole on the terminal block marked "L". Blue Brown (household) (household) Connect the blue fan wire to the hole on Green/ Black Ground...
- Page 6 MOUNTING/INSTALLATION Outlet box OF THE WALL CONTROL Switch Wall plate Screws 1. Remove the existing wall plate and switch. (Fig. 7) 2. Set knobs on the new, wall control in the "0" position. 3. Make speed control wire connections (Fig. 8).
-
Page 7: Operating The Wall Control
OPERATING THE WALL CONTROL Restore Power to Wall Fan. A. The fan 3-speed control knob is used to control the fan blade speed as follows: 0= Turns the fan off 1= High Speed 2= Medium Speed 3= Low Speed B. ON-OFF Button: This button is used to control the oscillating operation if yours is a two/dual circuit installation. - Page 8 Be careful that the blade brackets themselves are not bent in this process. Do not operate your fan if it continues to vibrate. Contact your Atlas Fan Co purveyor if the re-installation of the blades does not resolve the problem.
- Page 9 Matthews Fan CO Atlas brand oscillation fans are mechanical and so, depending upon the amount of use your new fan receives and the climate in which it is installed, it may need its oscillation mechanism greased approximately every 6 months or as needed if oscillation noise occurs.
Need help?
Do you have a question about the AC-MGM2W and is the answer not in the manual?
Questions and answers