Advertisement
Available languages
Available languages
Quick Links
H-2920, H-2921, H-2922
H-4468, H-4469
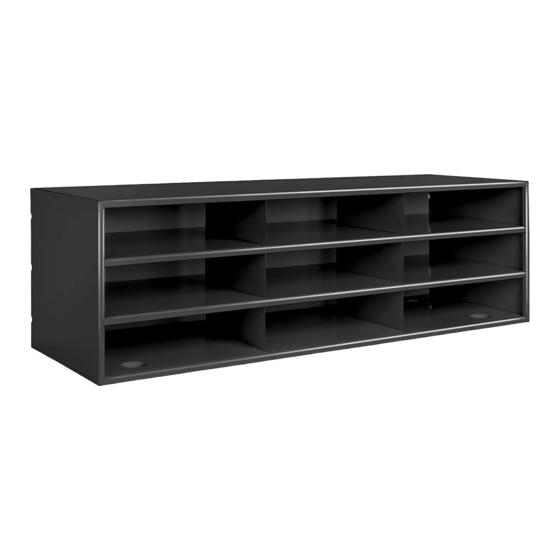
MAIL SORTER
TOOLS NEEDED
Phillips Screwdriver
TOOLS NEEDED FOR OPTIONAL WALL MOUNTING
Power Drill
Mail Sorter Unit x 1
Align Vertically
PAGE 1 OF 6
1-800-295-5510
uline.com
3/8" Wrench
1/4" Drill Bit
Rubber Foot x 4
1/2" Bolt x 2
Figure 1
Figure 2
Figure 3
1/16" Drill Bit
PARTS
3/8" Bolt x 2
ASSEMBLY
1. To prevent sliding or scratching when mounting an
individual rack directly on the floor or on a desk, attach
self-adhesive rubber feet to four bottom corners.
(See Figure 1)
2. When combining modular units to construct a larger
rack, place individual racks on top of each other,
making sure to line up the mounting holes located on
the top and bottom of each unit. (See Figure 2)
NOTE: For H-4468, stack two 15-compartment mail
sorters on top of each other. For H-4469, stack three
15-compartment mail sorters on top of each other.
3. Insert four bolts provided into recessed mounting holes.
Use the 1/2" bolts for the rear holes and the 3/8" bolts for
the front holes. Attach four nuts provided and tighten
securely using Phillips screwdriver and 3/8" wrench.
Repeat this procedure until all racks are connected.
(See Figure 3)
Para Español, vea páginas 3-4.
Pour le français, consulter les pages 5-6.
Nut x 4
Screw x3
(Included)
(Optional)
Drywall Anchor x3
(Included)
(Optional)
0421 IH-2920
Advertisement

Subscribe to Our Youtube Channel
Related Manuals for U-Line H-2920


Summary of Contents for U-Line H-2920
- Page 1 Para Español, vea páginas 3-4. Pour le français, consulter les pages 5-6. H-2920, H-2921, H-2922 1-800-295-5510 H-4468, H-4469 uline.com MAIL SORTER TOOLS NEEDED Phillips Screwdriver 3/8" Wrench TOOLS NEEDED FOR OPTIONAL WALL MOUNTING 1/4" Drill Bit 1/16" Drill Bit Power Drill...
-
Page 2: Wall Mounting (Optional)
WALL MOUNTING (OPTIONAL) NOTE: Mounting hardware is intended for drywall. 1. Three mounting holes, located on 16" centers, are on the back of the mail sorter. (See Figure 4) 2. On the wall where the cabinet is to be mounted, mark three points 16"... -
Page 3: Herramientas Necesarias
H-2920, H-2921, H-2922 800-295-5510 H-4468, H-4469 uline.mx CLASIFICADOR DE CORREO HERRAMIENTAS NECESARIAS Desarmador de Cruz Llave de 3/8" HERRAMIENTAS REQUERIDAS PARA INSTALACIÓN OPCIONAL EN PARED Broca de 1/4" Broca de 1/16" Taladro PARTES 3 Tornillos 3 Anclajes 4 Patas de Goma... - Page 4 INSTALACIÓN EN PARED (OPCIONAL) NOTA: La tornillería para instalación está indicada para tablaroca. Los tres orificios para instalación, están localizados en centros de 16" en la parte posterior del clasificador de correo. (Vea Diagrama 4) 2. En la pared donde vaya a instalar el gabinete, marque tres puntos apartados a 16"...
-
Page 5: Montage
H-2920, H-2921, H-2922 1-800-295-5510 H-4468, H-4469 uline.ca CLASSE-COURRIER OUTILS REQUIS Clé de 3/8 po Tournevis cruciforme OUTILS REQUIS POUR L'INSTALLATION MURALE FACULTATIVE Mèche de 1/4 po Mèche de 1/16 po Perceuse PIÈCES Écrou x 3 Boulon d'ancrage x 3 Patte en... - Page 6 INSTALLATION MURALE (FACULTATIVE) REMARQUE : Le matériel d'installation murale est prévu pour la cloison sèche. Il y a trois trous de montage centrés tous les 16 po au dos du classe-courrier. (Voir Figure 4) 2. Marquez trois points espacés de 16 po en ligne droite sur le mur où...
Need help?
Do you have a question about the H-2920 and is the answer not in the manual?
Questions and answers