Advertisement
Available languages
Available languages
Table of Contents
S-9601
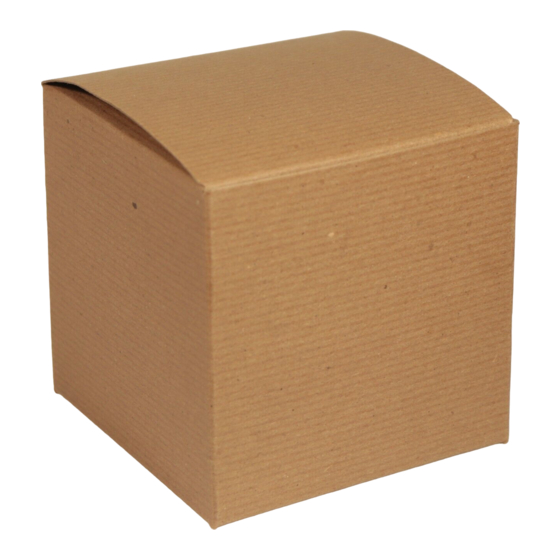
KRAFT GIFT BOX
Layout Diagram
D
C
C
B
A
Front View
1.
Push both ends of flat box inward. (See Figure 1)
Figure 1
PAGE 1 OF 6
1-800-295-5510
uline.com
ASSEMBLY
D
C
B
A
Rear View
Pour le français, consulter les pages 5-6.
2. Fold A panels inward. (See Figure 2)
Figure 2
A
3. Fold B panels inward and insert flaps into flap
openings on A panel. (See Figure 3)
Figure 3
B
Para Español, vea páginas 3-4.
1221 IS-9601
Advertisement
Table of Contents

Related Manuals for U-Line S-9601


Summary of Contents for U-Line S-9601
- Page 1 Para Español, vea páginas 3-4. Pour le français, consulter les pages 5-6. S-9601 1-800-295-5510 uline.com KRAFT GIFT BOX ASSEMBLY 2. Fold A panels inward. (See Figure 2) Layout Diagram Figure 2 Front View Rear View 3. Fold B panels inward and insert flaps into flap openings on A panel.
- Page 2 ASSEMBLY CONTINUED 4. Fold C panels inward followed by D panel. Ensure Completed Assembly that D panel lip fits inside of box. (See Figure 4) Figure 4 1-800-295-5510 uline.com PAGE 2 OF 6 1221 IS-9601...
- Page 3 S-9601 800-295-5510 uline.mx CAJA KRAFT PARA REGALO ENSAMBLE 2. Doble los paneles A hacia adentro. (Vea Diagrama 2) Diagrama de Diseño Diagrama 2 Vista Frontal Vista Posterior 3. Doble los paneles B hacia adentro e inserte las solapas en las aberturas para solapa del panel A.
- Page 4 CONTINUACIÓN DEL ENSAMBLE 4. Doble los paneles C hacia adentro seguido del Ensamble Terminado panel D. Asegúrese de que el reborde del panel D quepa dentro de la caja. (Vea Diagrama 4) Diagrama 4 Reborde 800-295-5510 uline.mx PAGE 4 OF 6 1221 IS-9601...
- Page 5 S-9601 1-800-295-5510 uline.ca BOÎTE-CADEAU EN KRAFT MONTAGE 2. Pliez les parois A vers l'intérieur. (Voir Figure 2) Schéma Figure 2 Vue avant Vue arrière 3. Pliez les parois B vers l'intérieur et insérez les rabats dans les ouvertures pour rabat des parois A.
- Page 6 MONTAGE SUITE 4. Pliez les parois C vers l'intérieur, puis ensuite la paroi Montage complété D. Assurez-vous que le rabat de la paroi D s'insère correctement dans la boîte. (Voir Figure 4) Figure 4 Rabat 1-800-295-5510 uline.ca PAGE 6 OF 6 1221 IS-9601...
Need help?
Do you have a question about the S-9601 and is the answer not in the manual?
Questions and answers