Advertisement
π
H-4176
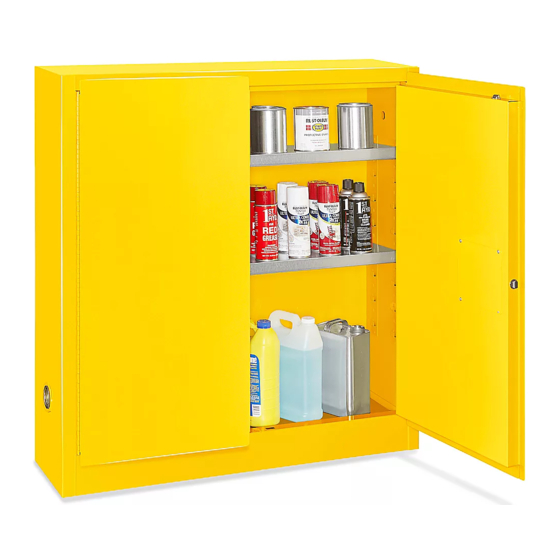
WALL-MOUNT FLAMMABLE
STORAGE CABINET
TOOLS NEEDED
5/16" (8 mm) Socket Wrench
#12 - 2⁄" TEK Screw x 2
Self-Tapping Screw x 2
NOTE: To ensure safety in facilities, it's important to eliminate the chance of an electrostatic discharge
while handling flammable fluids.
CAUTION! If user will dispense Class 1 flammable liquids from a container held within safety cabinet, ground
the cabinet. As an industry best practice, it is recommended to ground the cabinet when dispensing Class 2
combustible liquids if the liquids are near, at, or above the liquid's flashpoint temperature. Be aware of these
external and internal grounding considerations.
1.
For exterior cabinet grounding, locate the safety
cabinet's ground screw just below the green dot on
the right-hand side. (See Figure 1)
Figure 1
PAGE 1 OF 3
1-800-295-5510
uline.com
Electric Drill
1/8" Drill Bit
1/4" Drill Bit
Bolt x 3
GROUNDING INSTRUCTIONS
Ground
Screw
PARTS
Washer x 3
Nut x 3
2. Use a 5/16" (8 mm)
wrench or nut driver to
loosen screw.
(See Figure 2)
Attach the ground wire
and retighten screw.
Internal Tooth
Lockwasher x 3
Spacer x 2
Ground Screw
Connection
Figure 2
0219 IH-4176
Advertisement
Table of Contents

Related Manuals for U-Line H-4176


Summary of Contents for U-Line H-4176
- Page 1 π H-4176 1-800-295-5510 uline.com WALL-MOUNT FLAMMABLE STORAGE CABINET TOOLS NEEDED 5/16" (8 mm) Socket Wrench Electric Drill 1/8" Drill Bit 1/4" Drill Bit PARTS #12 - 2⁄" TEK Screw x 2 Internal Tooth Bolt x 3 Washer x 3 Nut x 3...
- Page 2 GROUNDING INSTRUCTIONS CONTINUED 3. Attach the other end NOTE: With painted products, user may have of the ground wire to a to remove some paint to contact metal. Some ground bus or ground ground clamps have cone points or sharp teeth rod.
- Page 3 MOUNTING INSTRUCTIONS CONTINUED 5. Mount cabinet to wall bracket. (See Figure 6) 6. After cabinet has been installed, drill through cabinet bottom lip with 1/4" drill bit, in a location which will give the necessary support depending on Figure 6 the type of wall construction.
Need help?
Do you have a question about the H-4176 and is the answer not in the manual?
Questions and answers