Advertisement
Quick Links
Advertisement

Related Manuals for Lindab Premax


Summary of Contents for Lindab Premax
- Page 1 | we si m pl i fy con str uct ion Premax Service & maintenance...
-
Page 2: Installation
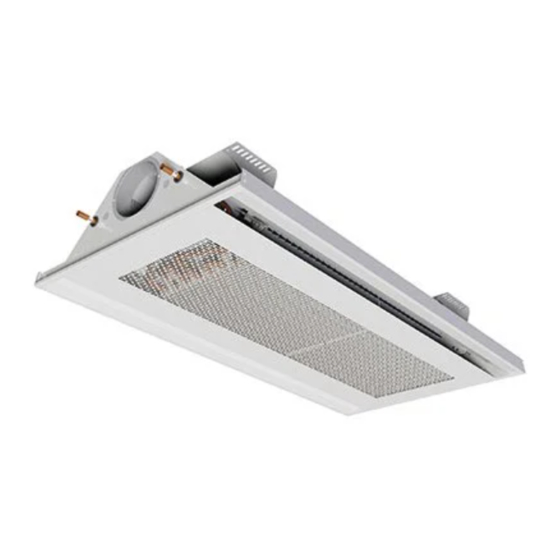
Premax 1.0 Installation 1.1 Product description Lindab’s high performance supply air beam Premax can be used for cooling, heating and ventilation. Water valves, actuators, Regula Secura, Regula Combi and Regula Connect can all be built into the Premax beam. 1.2 Handling The beam must be handled with care, ensuring that the beam does not sustain dents, scratches or bends during installation. - Page 3 | w e s im pli fy c on st r u ct i o n Premax 1.5.1 Push-on fittings – Please ensure that all pipes and fittings are undamaged, as even small dents and scratches potentially pose a risk of leakage in the system. Always remember to do a pressure test after assembly of the pipe work.
- Page 4 | w e s im pli fy c on st r u ct i o n Premax Push-on valve Notice! The connection pipes are internally soft-welded why it’s not allowed to solder the beam to the pipes.
- Page 5 | w e s im pli fy c on st r u ct i o n Premax – The copper insert should be placed inside the pipe on the beam. Always support the copper pipe coil when inserting the copper insert into position.
- Page 6 | w e s im pli fy c on st r u ct i o n Premax After removing the protection cover, make sure that the pipe is intact and undam- aged, especially at the pipe end. Crocked or in other ways imperfect pipe ends will result in leaks.
- Page 7 2.2.1 Measure the static nozzle pressure. – To measure the air pressure, a manometer, analog or digital (such as the Lindab PC410) will be needed. – Insert the measuring tube onto the specialized measuring nozzle –...
- Page 8 Locate the diagram on the faceplate or see diagram 1-2, and use the static nozzle Premum/Premax Inregulation Diagram pressure and the mean value of the pins to find the current airflow. Lenhgt 1,2m -2,3m Premax 1.2 m < L ≤ 2.0 m Position of JetCone adjustment pins Position [Pa]...
- Page 9 | w e s im pli fy c on st r u ct i o n Premax 2.3 Changing the airflow – Measure the static nozzle pressure – Locate the air pressure/airflow diagram on the faceplate, or see diagram 1-2.
- Page 10 | w e s im pli fy c on st r u ct i o n Premax 0˚ 30˚ Example Eksempel Exempel Esimerkki Beispiel Esempio Exemple Press and release “clips” from deflector position. Tryk og frigør ”clips” fra deflektor position.
-
Page 11: Maintenance
| w e s im pli fy c on st r u ct i o n Premax 3.0 Maintenance The interval of cleaning depends on the indoor environment where the beam is placed. Under optimal conditions the Premax beams only need cleaning every 5 years. 3.1 Cleaning instructions – Remove the faceplate –... - Page 12 Select “Premax” • Select “Environmental declaration” 4.3 Working and test pressure – Lindab’s waterborne products have been manufactured and tested according to the Pressure Equipment Directive 97/237EC. The products are classified as SEP – Sound Engineering Practice. – Pressure table...
- Page 13 | w e s im pli fy c on st r u ct i o n Premax – pH value of water must be between approximately 6-9 pH – The water velocities should not exceed 1m/s, and should be kept as close to the nominal flow as possible to minimize noise and optimize the energy yield –...
- Page 14 Änderungen vorbehalten. IT - Qui potete trovare istruzioni di montaggio, informa- zioni sul prodotto ed un supporto tecnico qualificato Tel. 011 9952099 - e-mail: lindab@lindab.it www.lindab.it Soggetto a modifica senza obbligo di preavviso. FR - Vous trouverez les fiches produits ou de montage actualisées ainsi que les coordonnées du support télépho-...
Need help?
Do you have a question about the Premax and is the answer not in the manual?
Questions and answers