Advertisement
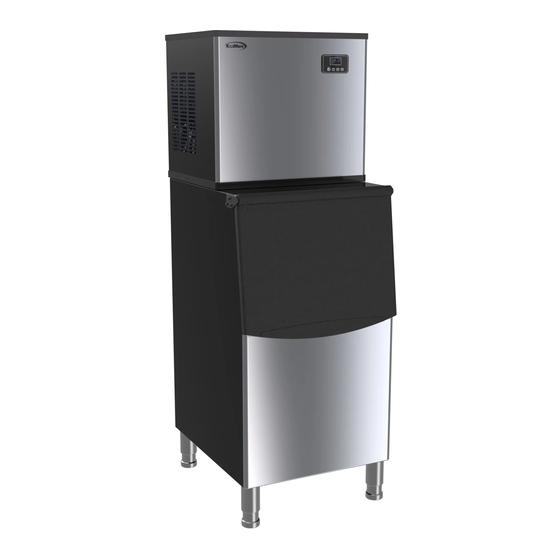
Commercial ice machine
Instruction Manual
Model: CIM-315
Thank you for purchasing our product!
Before returning to retailer, if you are having trouble with your unit, for assembly
assistance, missing or damaged parts.
Please contact customer service Phone: 718-576-6342
Email: support@koolmore.com
We are here to help.
Thank you!
Advertisement
Table of Contents

Related Manuals for KoolMore CIM-315


Summary of Contents for KoolMore CIM-315
- Page 1 Commercial ice machine Instruction Manual Model: CIM-315 Thank you for purchasing our product! Before returning to retailer, if you are having trouble with your unit, for assembly assistance, missing or damaged parts. Please contact customer service Phone: 718-576-6342 Email: support@koolmore.com We are here to help.
- Page 2 When using electrical appliances, basic safety precautions should be followed to Reduce the risk of fire, electric shock, and injury to persons or property. Read all Instructions before using any appliance. When the unit is received please wait 24 hours before plugging it in to let the refrigerant settle in case it has been turned during transit Use this appliance only for its intended purpose as described in this owner’s manual.
- Page 3 INTRODUCTION ..................2 PREPARATION BEFORE USE UNPACKING YOUR MACHINE ..............4 HOW TO CLEAN THE MACHINE ..............4 CONNECTING TO A WATER LINE ..............5 OPERATING YOUR UNIT................6 SCHEMATIC DIAGRAM…………………………………………………………………………7 TROUBLESHOOTING................10 WARRANTY ..................11 The characteristics of this product •...
-
Page 4: About The Machine
INTRODUCTION Main machine assembly 1. Screw the four adjustable feet of the attachment into the ice cabinet. (Notes: The feet should not be loose.) 2. Put the ice cabinet on the floor and place the bin on the ice cabinet. (Note; it should be firmly in place after completing the installation) Cabinet Cabinet... -
Page 5: Operation Panel
transmitted to 1/3 latch、dia 9.52mm white inlet pipe。 Spare parts for ice cabinet: white water pipe, ice scoop, adjustable feet 4pcs II.Host distributive pipe: Water flows through small holes when making ice. B. Evaporator: C. Ice full checkerboard Stop working when ice full or check the process of deicing finished D.water supply part:... - Page 6 The ice-making time countdown display; when C is displayed, it is the ambient temperature display. 2. The ice making and de-icing symbols are displayed. The ice is being made when the symbol is rotating, and it is being de-iced when the symbol is flashing. 3.
- Page 7 3. Install 4 adjustable feet on the unit, and then place the bin on the cabinet. The machine needs to be placed in an environment of good ventilation and relatively low ambient temperature. It should be placed horizontally, and the distance between the air outlet and the barrier should be at least 7.5 Inch, and between the two sides and the barrier should be no less than 2 In.
-
Page 8: Water Connection
Water connection 1. The connection between the water pipe and the machine: tear off the external water supply pipe interface tape as shown in Figure A on the back of the machine, and remove the blue color on the external water supply pipe interface and the "L-type 3/4 quick connect to 3/4 plug-in" in the attachment The color "buckles"... -
Page 9: How To Operate
4. Connection of water pipe and faucet: connect the 4-point to 3-pipe conversion head in the accessory to the valve (thread), after removing the buckle of the adapter, insert the white water pipe and reset the buckle to complete the connection between the water pipe and the faucet (the faucet is provided by the user), the external water source needs to reach 0.04 ~ 0.5MPa.If the water pressure exceeds 0.8MPa, a pressure reducing valve needs to be added (only for external faucet). -
Page 10: Automatic Cleaning Operation
appears, the outlet tube can receive the water through the magnetic valve. The arrow of the symbol will be displayed when adding water. After it has enough water, it will darken and begin the the next cycle. If it does not have enough water, the symbol will appear and the machine will stop working It needs to re-operate the machine after insufficient water, or it will automatically be starting up after 15s. - Page 11 "H" in the lower corner of the number is flashing. When it becomes steady after 5 seconds, the setting is completed. 5H is displayed in standby mode, indicating that the machine will automatically turn on after 5 hours; 5H in ice making mode, indicating that the machine will automatically shut down after 5 hours, "H"...
-
Page 12: Toubleshooting
TOUBLESHOOTING touble reason solution water inputting pressure pipe Insufficient water blockage—add pressure or clean the pipe The ball on Level switch Cleaning the water tank and level switch locked ” appear “ Water isn’t remaining in Place the machine in horizontal position the unit Water leaves the drain Put the drain plug and do adjustment...
Need help?
Do you have a question about the CIM-315 and is the answer not in the manual?
Questions and answers
how do you take out controler
To remove the controller from the KoolMore CIM-315, first turn off the power. Then, remove the top 3 screws and move the front panel up. This provides access to internal components, including the controller.
This answer is automatically generated
Need water inlet valve for cim-315
The KoolMore CIM-315 uses a water inlet connection that involves attaching the white water pipe to a faucet using a 4-point to 3-pipe conversion head included in the accessories. The inlet valve is part of this connection setup, and the external faucet (provided by the user) supplies the water. If the pressure exceeds 0.8 MPa, a pressure-reducing valve must be added. Therefore, the water inlet valve is integrated into the external faucet connection, and any required parts are included with the machine accessories.
This answer is automatically generated
What is the amp draw