
Subscribe to Our Youtube Channel
Related Manuals for Axor sBox 15487181


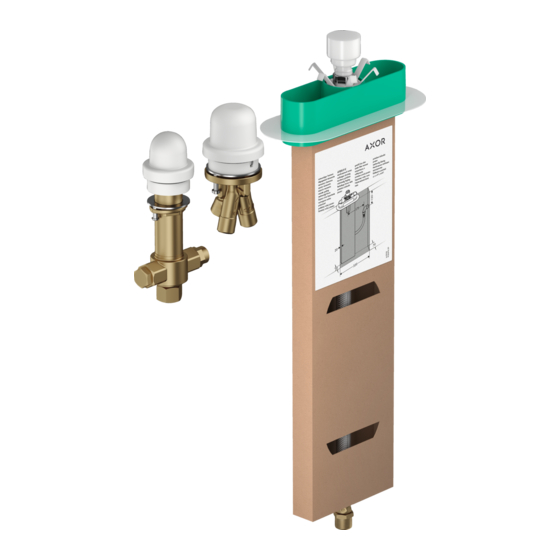
Summary of Contents for Axor sBox 15487181
- Page 1 EN Installation / User Instructions / Warranty FR Instructions de montage / Mode d'emploi / Garantie ES Instrucciones de montaje / Manejo / Garantía AXOR sBox 15487181 I N S T A L L A T I O N...
-
Page 2: Technical Information
E N G L I S H T EC HN IC A L I N F ORMAT IO N Water pressure Recommended 15 - 75 PSI (0.1 - 0.5 MPa) Maximum 145 PSI (1 MPa) Hot water temp. Recommended 120°-140° F (48° - 60° C)* Maximum 158°F (70°... - Page 3 F R A N A I S D ON N É E S T EC HN I Q UES Pression d’eau recommandée 15 - 75 PSI (0.1 - 0.5 MPa) maximum 145 PSI (1 MPa) Température d’eau chaude recommandée 120°-140°...
-
Page 4: Datos Tecnicos
E S P A Ñ O L DATOS TEC N ICO S Presión en servicio recomendada 15 - 75 PSI (0.1 - 0.5 MPa) max. 145 PSI (1 MPa) Temperatura del agua caliente recomendada 120°-140° F (48° - 60° C)* max. - Page 5 AXOR sBox T O O L S R E Q U I R E D / O U T I L E S U T I L E S / 15487181 H E R R A M I E N T A S Ú T I L E S 4⅜"...
- Page 6 I N S T A L L A T I O N / I N S T A L L A T I O N / I N S T A L A C I Ó N " ∅ 2 ( 5 0 "...
- Page 7 " ⁄ ₁ ₆ ∅ ³ " ⁄ ₁ ₆ ∅ ³ E N G L I S H F R A N A I S E S P A Ñ O L Drill the holes for the positioning Percez les trous pour les tiges de Perfore los orificios para los pasa- pins.
- Page 8 E N G L I S H F R A N A I S E S P A Ñ O L Remove the plaster shield, clamping Retirez le protecteur, l’écrou de ser- Retire el protector de yeso, la tuer- nut, mounting piece, and one seal rage, la pièce de montage et le joint ca de ajuste, la pieza de montaje y...
- Page 9 30 mm 8.8 ft-lb 12 Nm 0.7 ft-lb 1 Nm E N G L I S H F R A N A I S E S P A Ñ O L Install the second sealing ring and Installez l’anneau d’étanchéité et Instale el aro de sellado y el aro de the fastening ring on the mixing l’anneau de fixation sur le mitigeur.
- Page 10 27 mm E N G L I S H F R A N A I S E S P A Ñ O L Install the seal on the sBox housing. Installez le joint d’étanchéité sur le Instale el sello sobre la carcasa logement de sBox.
- Page 11 22 mm ½" ⁹⁄₁₆" (12 mm) (15 mm) E N G L I S H F R A N A I S E S P A Ñ O L Wrap the threads on the inlet plug Enroulez les filets sur le bouchon Envuelva las roscas en el tapón using plumber’s tape.
- Page 12 24 mm KIT C 30225110 22 mm E N G L I S H F R A N A I S E S P A Ñ O L Connect the straight end of the Connectez l’extrémité droite du Conecte el extremo recto de la hose to the adapter.
- Page 13 27 mm 0.7 ft-lb 1 Nm 24 mm E N G L I S H F R A N A I S E S P A Ñ O L Rest the diverter on the mounting sur- Déposez le déviateur sur la surface Apoye el distribuidor sobre la face, rotating the unit so that the anti- de montage, en tournant le produit...
- Page 14 max. 232 PSI 1.6 MPa E N G L I S H F R A N A I S E S P A Ñ O L Install the hot and cold water sup- Installez les conduites d’alimentation Instale las líneas de suministro de ply lines (not included) on the cor- en eau chaude et eau froide (non agua caliente y fría (no incluidas)
- Page 15 E N G L I S H F R A N A I S E S P A Ñ O L Connect the sBox hose to the bot- Connectez le logement de sBox au Conecte la manguera sBox a la tom of the spout tee.
- Page 16 R E P L A C E M E N T P A R T S / P I È C E S D É T A C H É E S / R E P U E S T O S 95809000 97209000 98117000...
- Page 17 C L E A N I N G R E C O M M E N D A T I O N F O R H A N S G R O H E P R O D U C T S Modern bathroom faucets, kitchen faucets and shower products are made from different materials to comply with the needs of the market with regard to design and functionality.
- Page 18 IMPORTANT ⁄ Les residus de produits pour le corps comme les savons liquides, shampooings, gels de douche, teintures pour cheveux, parfums, apres-rasage et vernis a ongles peuvent causer des deteriorations. Rincez le produit avec de l’eau propre après chaque utilisation. ⁄...
-
Page 19: L I M I T E D C O N S U M E R W A R R A N T Y
TO OBTAIN WARRANT Y PARTS OR INFORMATION 1 year, with respect to hansgrohe brand products and commercial products, and (ii) for 5 years, with respect to AXOR products. The Rubbed Bronze finish is subject to a 3-year limited warranty starting Contact your Hansgrohe retailer, or contact Technical Service at: on the date of purchase. - Page 20 AXOR ⁄ Hansgrohe, Inc. 1490 Bluegrass Lakes Parkway Alpharetta, GA 30004 Tel. 800-334-0455 Fax 770-889-1783 axor-design.com...
Need help?
Do you have a question about the sBox 15487181 and is the answer not in the manual?
Questions and answers