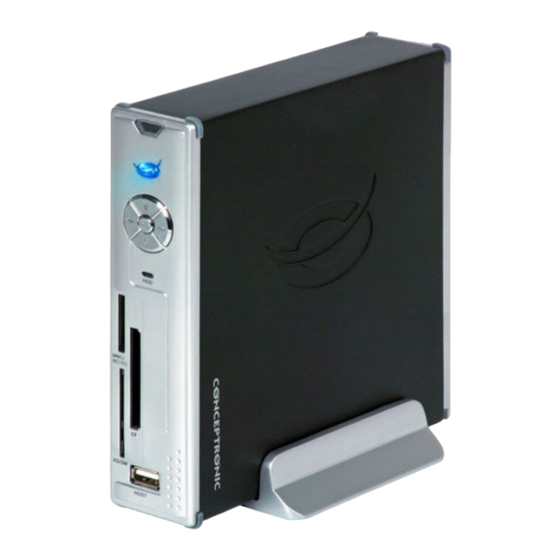
Conceptronic CSM3PL Firmware Upgrade Instructions
Hide thumbs
Also See for CSM3PL:
- Quick installation manual (154 pages) ,
- Firmware upgrade instructions (7 pages)
Advertisement
Conceptronic CSM3PL Firmware Upgrade Instructions
A. Upgrade information
The Conceptronic CSM3PL is equipped with an upgradeable firmware chip. This function makes it
possible to improve the device and to add new features.
Note: This firmware upgrade for the CSM3PL can only be applied to devices with firmware version
1.54 (MP07ST022408A) or higher. If you have a lower version you need to upgrade to version
1.54 before you can apply this firmware upgrade.
Note: The firmware upgrade procedure is at your own risk. Even though a firmware upgrade can
improve the device and add new features, there's a small possibility of an upgrade failure
which makes the device unusable.
for firmware version 1.58D BETA
®
Copyright
2008 by Conceptronic – All rights reserved
www.conceptronic.net
Page 1 of 7
Advertisement
Table of Contents

Subscribe to Our Youtube Channel
Summary of Contents for Conceptronic CSM3PL
- Page 1 Note: This firmware upgrade for the CSM3PL can only be applied to devices with firmware version 1.54 (MP07ST022408A) or higher. If you have a lower version you need to upgrade to version 1.54 before you can apply this firmware upgrade.
- Page 2 B. WARNING !!! There are two different versions of the Conceptronic Media Player on the market. Both versions only differ in hard disk connection type (SATA vs. IDE) and the supplied remote control. Since the devices are so similar it is mandatory to pick out the right product when upgrading the firmware. The easiest way to identify your Media Player is through the remote control.
- Page 3 1.3 Copy the ‘Firmware’ folder including all its content to the hard disk of the CSM3PL. 1.4 Remove the CSM3PL from your computer with the ‘Safely remove hardware’ option. 1.5 Disconnect the USB cable of the CSM3PL and turn it off with the switch on the back side. 2. Updating the firmware 2.1 Connect the CSM3PL to a TV or monitor.
- Page 4 2.1 Make sure the CSM3PL is connected to a TV or monitor. 2.2 Turn on the CSM3PL with the remote control. 2.3 Connect the USB stick to the CSM3PL or slide the memory card in the right card slot of the CSM3PL.
- Page 5 3. Checking the current firmware version 3.1 Make sure the CSM3PL is connected to a TV or monitor. 3.2 Press the “SETUP” button on the remote control. 3.3 Highlight the “FIRMWARE VERSION” option. The firmware version is displayed on the lower left corner.
- Page 6 GB. You can now partition the hard disk any which way. Note: It is possible to use both FAT32 and NTFS partitions on the CSM3PL. However, NTFS partitions cannot be used by the Media Player function, only by a Windows XP or Vista computer.
- Page 7 MP07ST081007A: Added: Subtitles: “Latin2” character support for countries like Hungary, Bulgaria, etc. MP07T052907A: Initial release. ® Copyright 2008 by Conceptronic – All rights reserved www.conceptronic.net Page 7 of 7...


Need help?
Do you have a question about the CSM3PL and is the answer not in the manual?
Questions and answers