
Subscribe to Our Youtube Channel
Related Manuals for Keystone KSTAP05PHA


Summary of Contents for Keystone KSTAP05PHA
- Page 1 KSTAP05PHA KSTAP07PHA Read this owner’s manual thoroughly before operating the appliance and keep it handy for reference at all times.
- Page 5 Troubleshooting Tips Read This Manual Inside you’ll find many helpful hints on how to use and maintain your air conditioner properly. Just a little preventive care on your part can save you a great deal of time and money over the life of your air conditioner. You’ll find many answers to common problems in the troubleshooting tips - you should be able to fix most of them quickly before calling service.
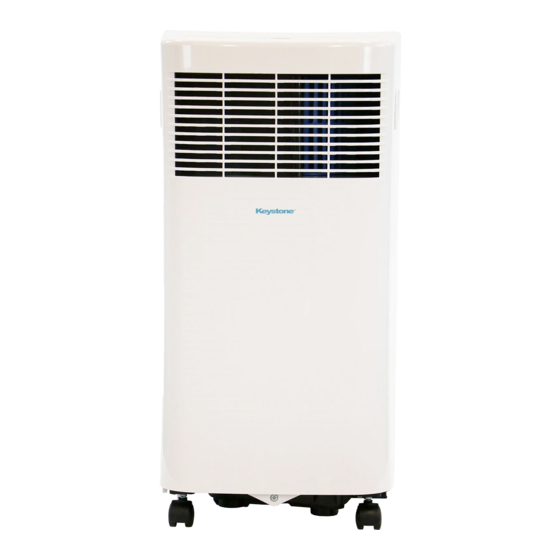
- Page 6 Control panel Handle Horizontal louver (both sides) control lever(adjust manually) Air filter Vertical louver Upper air intake control lever (adjust manually) Drain outlet air outlet Panel Lower air intake Bottom tray Caster drain outlet FRONT REAR Design Notice: In order to ensure the optimal performance of our products, the design specifications of the unit and remote control are subject to change without prior notice.
- Page 7 Please read through these instructions before you start the - DO NOT install your air conditioner in a wet room such as installation process. Improper installation can cause a bathroom or laundry room. Too much exposure to water damage to the unit, your personal property, and also poses can cause electrical components to short circuit.
- Page 8 - This appliance is not intended for use by persons (including children) with reduced physical, sensory or mental capabilities or lack of experience and knowledge, unless they have been given supervision or instruction concerning the use of the appliance by a person responsible for their safety. - Children should be supervised to ensure that they do not play with the appliance.
- Page 9 Your installation location should meet the following requirements: - Make sure that you install your unit on an even surface to minimize noise and vibration. - The unit must be installed near a grounded outlet, and the Collection Tray Drain (found on the back of the unit) must be accessible. - The unit should be located at least 19.7 inches from the nearest wall to ensure proper air conditioning.
- Page 10 - Medium Phillips screwdriver; Step One: Preparing the exhaust hose assembly. - Tape measure or ruler; Press the exhaust hose into the window slider adaptor and the unit adaptor. Each adaptor will snap into the exhaust hose automatically with - Knife or scissors; plastic clips.
- Page 11 Foam seal B (Short adhesive foam seal for right and left sides) Window slider B (if required) Window slider A Foam seal A (Long adhesive foam seal for top and bottom sides) Insert the window slider assembly on the bottom sash channel. Use care when installing the window Foam seal B (Short adhesive slider assembly, which will now...
- Page 12 In order to ensure the optimal performance of our products, the design specifications of the unit and remote control are subject to change without prior notice. inches the exhaust system to work purposes...
- Page 13 MODE button Selects the desired operating mode. Each time you press the button, a mode is selected in a sequence that goes from COOL, FAN, and DRY. The mode light illuminates and indicates the selected mode. Up (+) and Down (-) buttons Used to adjust (increasing/decreasing) temperature settings in 1°C/1°F increments in a range of 17°C/62°F to 30°C/86°F.
- Page 14 and read P1 on the LED display (it will stay like this until the unit is drained). If this happens, you should drain the water from the lower drain (located at the bottom of the unit). AUTO operation - This feature can be activated from the remote control ONLY. - When you set the air conditioner in AUTO mode, it will automatically select cooling or fan only operation depending on what temperature you have selected and the current room temperature.
-
Page 15: Air Flow Direction Adjustment
SLEEP/ECO operation WATER DRAINAGE - This feature can be activated from the remote control ONLY. Activating SLEEP - During dehumidifying modes, remove the drain plug feature will increase the selected temperature by 1°C/1°F after 30 minutes. The Remove the from the back of the unit, install the drain connector drain plug temperature will again increase (cooling) by another 1°C/1°F after an additional 30 (5/8"... - Page 16 down the grille Air filter (take out) Be sure to store the unit in a cool, dark place. Exposure to direct sunlight or extreme heat can shorten the lifespan of the unit.
-
Page 17: Troubleshooting Tips
Troubleshooting Tips Before calling for service, review this list. It may save you time and expense. This list includes common problems that may not be the result of defective workmanship or materials in this appliance.
Need help?
Do you have a question about the KSTAP05PHA and is the answer not in the manual?
Questions and answers