
Related Manuals for Keystone KSTAP08MFC


Summary of Contents for Keystone KSTAP08MFC
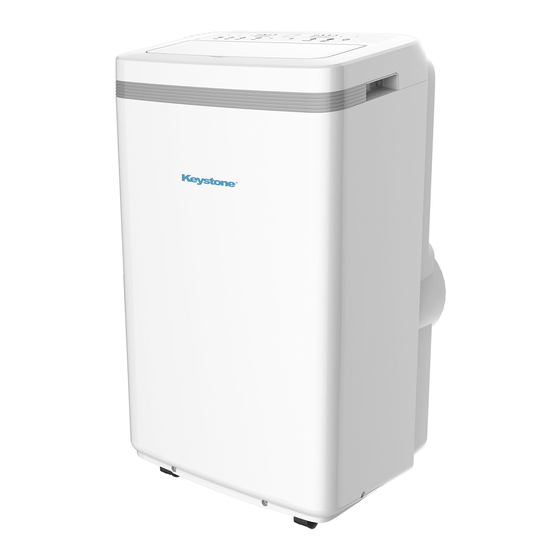
- Page 1 INSTALLATION & OPERATIONS MANUAL MOBILE ROOM AIR CONDITIONER KSTAP08MFC KSTAP13MFC KSTAP10MFC KSTAP13MFHC REFERENCE...
-
Page 2: Table Of Contents
CONTENTS Air Conditioner Safety ..............Parts Description ................Control Panel ................Operation ..................Accessories ................. Installation ................... Maintenance ................Troubleshooting ................Note: The descriptions in this user manual (text and figures) may vary slightly from the model you purchased. - 1 -... -
Page 3: Air Conditioner Safety
AIR CONDITIONER SAFETY We have provided many important safety messages in this manual and on your appliance. Always read and obey all safety messages to avoid harm or damage to people, properties, etc. ⚠ WARNING ⚠ CAUTION This symbol indicates This symbol indicates the possibility of death the possibility of injury or... - Page 4 AIR CONDITIONER SAFETY • Do not use a liquid or corrosive detergent to clean the appliance and do not splash water or other liquids onto it, otherwise it may damage the plastic components, even causing electric shocks. • Do not operate the unit in a wet room such as the bathroom or laundry rooms.
- Page 5 AIR CONDITIONER SAFETY ⚠ WARNING Failure to follow the below precaution could result in electrical shock, fire, or personal injury. 1. The plug must be plugged into an outlet that is properly installed and grounded to a 3 prong outlet. 2.
- Page 6 AIR CONDITIONER SAFETY ⚠ WARNING 1. When you need to dispose of the unit, consult with your local dealer or local recycling center for information on how to dispose of the unit in an environmentally responsible manner. 2. Please recycle or dispose of the packing material for product in an environmentally responsible manner.
-
Page 7: Parts Description
PARTS DESCRIPTION FRONT VIEW REAR VIEW NOTE: * The descriptions in this user manual are text and figures, and may be slightly different to the promotion information and actual appliance. Please refer to the real appliance purchased. Thank you. * The working temperature range of the air conditioner is 16~35ºC (60~95ºF) under cooling mode;... -
Page 8: Control Panel
CONTROL PANEL There are four kinds of control panels, Fig A, Fig B, Fig C, and Fig D. The actual shape shall prevail. - 7 -... - Page 9 CONTROL PANEL - 8 -...
- Page 10 CONTROL PANEL Control Panel button button, the timer button to time. time other press the timer button, there time is When the the unit time press button press it Note: With the unit on, press this button to set off timer. With the unit off, press this button to set on timer.
-
Page 11: Operation
OPERATION ⚠ WARNING Failure to follow the below precaution could result in electrical shock, fire, or personal injury. Plug into a ground 3 prong outlet. Do not remove ground prong Do not use an extension cord Do not user an adapter. Before starting the unit Observe all governing codes and ordinances. -
Page 12: Accessories
ACCESSORIES Parts Parts Name Quantity Adapter A, Exhaust duct, Adapter B 1 set (flat mouth), Window Slider Kit Type A Screws (#) 1/2” screws 4pc Type B Screws (#) 3/4” screws 2pc Security Bracket (#) Type A foam seal (adhesive) (#) Type B foam seal (non-adhesive) (#) Adapter B (round mouth) (#), 1 set... -
Page 13: Installation
INSTALLATION *If the unit you have bought has the pump drain outlet, as shown below, please drain in this way: Remove the pump drain from the back of the unit, attach the drain hose to the hole. Place the other end of the hose in the drainage way, or other drainage area such as a window. - Page 14 INSTALLATION Install the exhaust duct into the wall 1. Prepare a hole in the wall. Install the wall exhaust adapter onto the wall by using 4 expansion screw sleeves and type C screws, be sure to fix thoroughly. 2. Connect the exhaust duct to the wall exhaust adapter.
- Page 15 INSTALLATION 3. Carefully lower the window. Secure the vent panel in place with 4 type B screws, plus one screw for each extension. 4. Cut the foam seal B (non-adhesive) to the window width. Stuff the foam seal B between the glass and the window to prevent air and insects from getting into the room.
- Page 16 INSTALLATION 2. Connect the exhaust duct to the Air outlet connector on the back of the unit. Slide in the adapter A downwards until it is locked in place. (Fig. C) Install the Window Slider Kit 1. Cut the foam seal (adhesive type) to the proper length and attach it to the window sash.
- Page 17 INSTALLATION Observe all governing codes and ordinances. Check the location where the air conditioner will be installed. Ensure everything necessary for the correct installation is available. 1. Install the portable air conditioner in a flat and open location where the air outlets will not be obstructed.
-
Page 18: Maintenance
MAINTENANCE WARNING ◦ Before cleaning the air conditioner, it must be shut down and the electricity must be cut off for more than 5 minutes, otherwise there might be the risk of electric shocks. ◦ Do not use gasoline, benzene, thinner, liquid insecticide, or any other chemicals on the air conditioner, as these substances may adversely impact the unit and may form cracks, or result deformation of plastic parts. -
Page 19: Troubleshooting
TROUBLESHOOTING First, try the solutions suggested here to possibly avoid the cost of a service call. Air Condition Will Not Operate Causes Solutions • The power switch is released. • Switch on the power. • Power supply failure • Wait for the recovery of power supply. •...
Need help?
Do you have a question about the KSTAP08MFC and is the answer not in the manual?
Questions and answers