Advertisement
Table of Contents
- 1 Important Safety Instructions
- 2 Read this Manual
- 3 Installation Instructions
- 4 Before You Begin
- 5 Install Weather Stripping
- 6 Normal Sounds
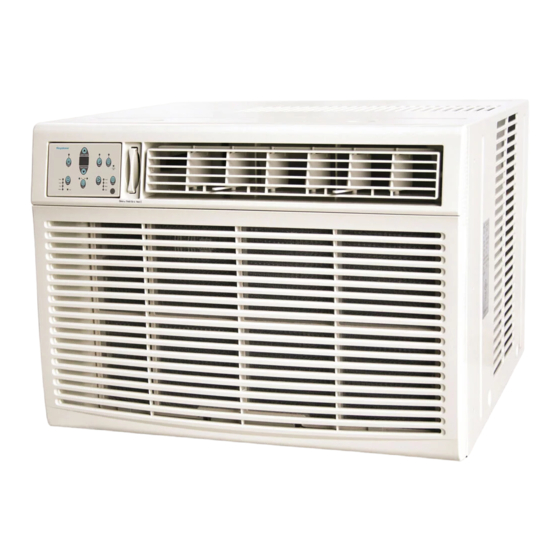
- 7 Air Conditioner Features
- 8 Energy Saver Feature
- 9 To Select the Operating Mode
- 10 Care and Cleaning
- 11 Additional Things You Should Know
- 12 Troubleshooting Tips
- Download this manual
Advertisement
Table of Contents


Need help?
Do you have a question about the KSTHW18A and is the answer not in the manual?
Questions and answers