Table of Contents
Advertisement
Quick Links
The exclamation point within an equilateral triangle is intended to alert the
user to the presence of important operating and maintenance (servicing)
instructions in the literature accompanying the appliance.
CAUTION
1.
To reduce the risk of electric shock, do not remove the cover (or back). No
user-serviceable parts inside. Refer servicing to qualified service personnel.
2.
The manufacturer should not hold responsibility for the damage caused by any
substitutions and modifications of the product without authorization from the
.
manufacturer or authorized unit
WARNING
The device should not be exposed to dripping or splashing and no objects filled with
liquids should be placed on the device.
To prevent the GPS from being damaged, be sure to keep the GPS out of direct
sunlight or heat. Maintain well-ventilated conditions around the unit to avoid
overheating.
Important Safety
Instructions
Accessories
Accessories List
ITEM
Car Charger
Mounting Cradle
USB Cable
Stylus Pen
Driver/Documentation CD
User Manual
Warranty Card
NAME
QTY
1
1
1
1
1
1
1
EN – 1
Advertisement
Table of Contents

Subscribe to Our Youtube Channel
Related Manuals for Prestigio GV5050


Summary of Contents for Prestigio GV5050
- Page 1 Important Safety Accessories Instructions Accessories List ITEM NAME Car Charger The exclamation point within an equilateral triangle is intended to alert the user to the presence of important operating and maintenance (servicing) instructions in the literature accompanying the appliance. Mounting Cradle CAUTION To reduce the risk of electric shock, do not remove the cover (or back).
-
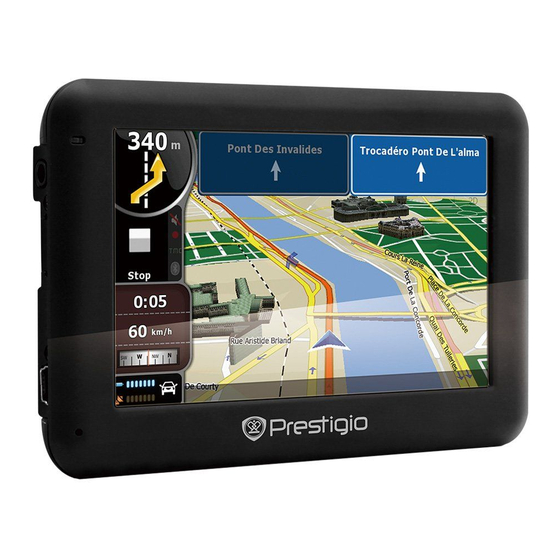
Page 2: View Of Main Unit
Device Connection View of Main Unit Rear and Top View Front and Side View LCD Touch Screen Tap the screen with touch pen or finger to select menu commands or to enter information. Speaker Emits sound, voice or music. Battery Status Indicator The indicator glows in bright amber color when battery is fully charged and in red Stylus pen color when charging. -
Page 3: Device Connections
Cautions on Battery Device Connections Charging Inserting microSD Card Connecting to Earphones To insert a microSD card, place connector towards device and card Insert earphone jack (earphones not label towards the front side of the included) into the appropriate device. -
Page 4: Using Mounting Cradle
Using Mounting Cautions on Battery Cradle Charging About Rechargeable Battery Device Mounting Procedures The device is equipped with a built-in rechargeable battery. Please fully charge the The device can be securely mounted on vehicle dashboard or windshield with the battery (for at least 8 hours) before initial use. The battery status indicator glows in red mounting cradle included. -
Page 5: Getting Started
Bluetooth Function Getting Started Main Menu 1. Press and hold Power Button to turn Bluetooth function (optional) on the device. The following is shown how to select, switch on/off the Bluetooth function 2. Shortly after the loading screen is shown, the main menu will be displayed. -
Page 6: Bluetooth Connection
Hands Free Function Bluetooth Connection How to operate the Bluetooth function. 1. Tap on HF icon on the main menu. NOTE: 1. Tap on DUN icon or HF icon on the Please refer to Bluetooth Connection main menu. section before connecting by Hands Free 2. - Page 7 FM Function Hands Free Function FM function (optional) 13. Tap on Calls List icon to review call history. 14. Tap to view Dialed Call list, Received Call list, and Missed Call 1. Tap on Function icon on the main list. menu.
-
Page 8: Program Interface
Program interface Bluetooth Connection Name Function Progress-bar Bar is filled in as you approach the place of maneuver. Displays the traffic lanes with valid maneuvers at the next Traffic lane intersection. Shows the name of the street you are currently driving along. Information Available only if GPS/GLONASS connection is established. - Page 9 Program interface Program interface Name Function You can set the mark by taping on the map. You can save this Mark on the mark as a waypoint, add it to the route or see object’s characteristics the mark was set on. Track record.
- Page 10 Autorouting Autorouting Route to the selected point on the map. Route to the objects. You can set the route to any point on the map. This point will be the end of the route, your current position will become the start of the route. Create a mark on the route by To create a route to the object with known address, press the «Menu»...
-
Page 11: Additional Features
Avoid great swing of the Swing of the unit is too unit. great. Note: For more detailed information regarding the functionality of Navitel software, please, refer to the complete user manual on CD, or to www.prestigio.com. EN – 11... - Page 12 Quick Start Guide. Audio formats supported MP3,WMA MP3,WMA Prestigio hereby states that this GPS Navigator complies to basic requirements and Earphone jack 3.5mm 3.5mm another relevant regulations given by the EU directive1999/5/ES. Full version of the declaration of conformity is available on http://www.prestigio.com/compliance.
Need help?
Do you have a question about the GV5050 and is the answer not in the manual?
Questions and answers