Advertisement
Quick Links
Via Roma, 45
21057 Olgiate Olona (VA)
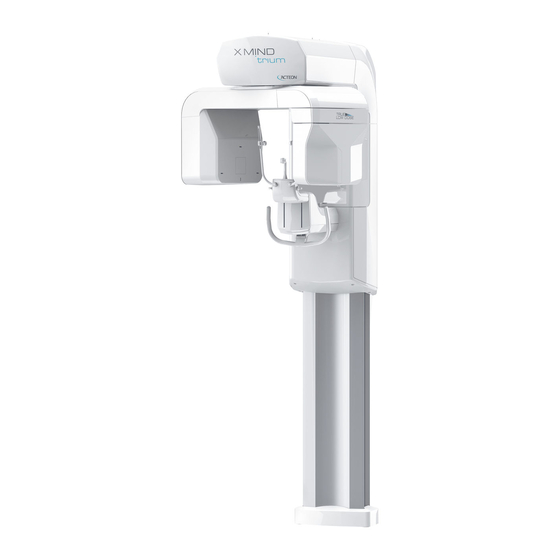
X MIND trium
data
SN
___________________________
Facility name
___________________________
Facility address
___________________________
State/province
___________________________
Nation
___________________________
Facility phone
___________________________
number
Rev 6
Issued by: Juri Carlo Cozzi
02/03/2018
Approved by : Dario Bandiera
Project Name:
X-MIND trium
INSTALLATION CHECK LIST
UDI
_________________________________
City
_________________________________
Zip code
_________________________________
E-mail
_________________________________
Reviewed by: Fabio Lissandrello
XMt Installation check list
All. 8 a PR 7.5.3_1
Rev 6
pag. 1/11
Advertisement

Related Manuals for Acteon X-MIND trium


Summary of Contents for Acteon X-MIND trium
- Page 1 XMt Installation check list Project Name: All. 8 a PR 7.5.3_1 X-MIND trium Via Roma, 45 Rev 6 21057 Olgiate Olona (VA) INSTALLATION CHECK LIST X MIND trium data ___________________________ _________________________________ Facility name ___________________________ Facility address ___________________________ State/province ___________________________ City...
- Page 2 PLEASE NOTE After the completion of the installation of the X-MIND trium, the installer technician MUST fill the form contained in this document to certify that the device has been correctly installed. The Installation Checklist Form must be completely filled in all the details, signed and stamped by the installer and must be sent by e-mail to de Götzen S.r.l.
- Page 3 Test Passed Failed Description Picture Carry out the following operations while XMIND trium is OFF and disconnected from mains supply Verify that the packaging is not damaged and the impact and tilt indicators (labels) are not activated (red indicator). □ □...
- Page 4 Verify the correct fixing of the Self- □ □ Self-Standing base Standing base screws (see installation manual for tightening torque) □ □ Column levelling Verify the levelling using a spirit level □ □ U-arm levelling Verify the levelling using a spirit level Ensure that the internal cabling complies □...
- Page 5 WARNING - CAUTION The fuse is live (mains voltage) also when the mains switch of trium is OFF: before handling the fuse be sure that the trium is disconnected from mains supply □ □ Search for damaged Verify the presence of damaged or ruined parts parts Ensure that the main connector, the...
- Page 6 Locate the end-switch for UP movement (close to the column motor). Move UP the column. By mean of an appropriate tool (a screw driver or an Allen key) press the end Check safety stop of the run during the column movement UP. mobile column when □...
- Page 7 place hit the target as in the previous point of this check-list Ensure proper X-ray exposure switch □ □ operation. Release the switch while the X-ray exposure switch equipment is operating and ensure that the device stops □ □ Ensure that the X-ray exposure LED is on X-ray exposure LED during radiation emission Ensure that the light is on:...
- Page 8 settings for country US market Enabled Uninstall 3DApp • □ Clean registry • Install US version (with US teeth • 3DApp US numbering) Calibrations: Perform the next operations with XMIND Trium ON covered with the plastics, except U-ARM (uncovered) □ □...
- Page 9 Quality assessment checks Perform the next operations with XMIND Trium ON completely covered with the plastics see Quality PAN Quality Check □ □ Verify that the exposed area is smooth and assessment without artifacts " Absence of artifacts manual PAN Quality Check see Quality □...
-
Page 10: Additional Notes
Verify that the V of the 110x80 FOV Test see Quality CBCT 110x80 Quality is in the acceptance range assessment □ □ Check manual is > 0.4 LP/mm " V Measured value (SW output)_______________ Carry out the next operations with XMIND trium OFF and completely covered with the plastics Ensure that the covers of the translating Translating cassette □... - Page 11 DATE____________________ INSTALLATION TECHNICIAN SIGNATURE_______________________________________ NAME AND SURNAME: ___________________________________________________________ Pag 11 of 11...
Need help?
Do you have a question about the X-MIND trium and is the answer not in the manual?
Questions and answers