Advertisement
Quick Links
3330 Dixie-Narco Blvd.
Williston, SC 29853
www.dixienarco.com
3/9/2011
Models Affected: all DN5800 serial break prior to 8900-0001BH.
Reason: To provide an assembly that replaces obsolete parts and step instruction for easy installation.
Order: 1 - CR0002043 BevMax 4 Coin Insert/Keypad Kit Assy. Kit
Contents:
1 – CR0001800
1 – 80410142
2 – CR0002204
1 – CR0005752
1 – CR0005650
1 – CR0007492
1 – 80170154
1 – 801,823,550.11
4 – 800,801,540.01
Note: The coin return cover is sold separately and not part of the Kit. It comes in two colors. Gray 80182462 or
Black 80182461. Please order as needed.
WARNING: Turn off rocker switch on AC box to shut off all
power to vendor before performing this procedure.
Please read and familiarize yourself with these instructions in their entirety before proceeding. The procedure
below shows the step by step instructions to replace the adhesive keypad/overlay on a Dixie-Narco Beverage
Max2/3/4 Vender (DN5800) with a non adhesive keypad/overlay kit. These instructions do not apply to any
models other than the DN5800 Series (e.g. DN2145, DN2054, DN55##, DN35##).
M083.0
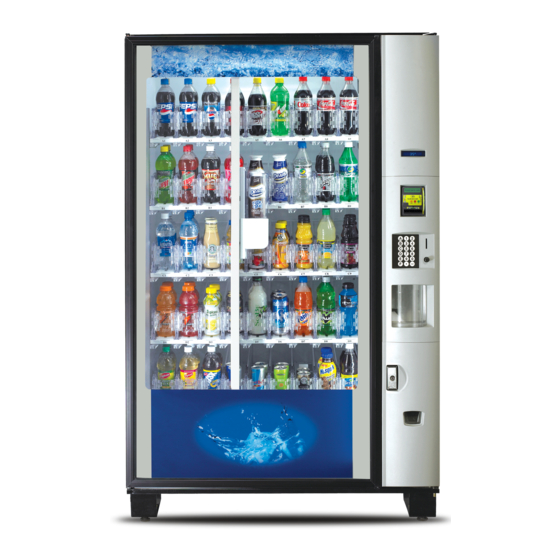
DN5800/3800 BevMax 4/3/2
Coin Insert Assembly/Keypad Kit
Keypad Bracket Assy.
Switch Membrane with metal dome
Retainer Clip
Richo Flat Cable Clip
Coin Return Button Bracket
Coin Return Button Assy.
Spring
Coin Insert Chute
Keps Nut 8 – 32
INTRODUCTION
M083.x
Page 1 of 12
Advertisement

Related Manuals for Crane Merchandising Systems DN5800 Series


Summary of Contents for Crane Merchandising Systems DN5800 Series
- Page 1 Dixie-Narco Beverage Max2/3/4 Vender (DN5800) with a non adhesive keypad/overlay kit. These instructions do not apply to any models other than the DN5800 Series (e.g. DN2145, DN2054, DN55##, DN35##). M083.x...
-
Page 2: Tools Needed
TOOLS NEEDED • Philips Screw Driver • Scissors or Wire Cutters • Static Discharge Strap Coin Insert Assembly DN5800-4 and Keypad upgrade Part numbers and description NOTE 1: Keypad membrane revised by adding the graphic overlay to the membrane. BevMax 4 Assembly Coin Insert and Keypad CR0002043 Clip, Richo flat cable BV4 CR0005752 Chute coin insert... - Page 3 Coin Insert Assembly DN5800-4 Keypad upgrade Part numbers and description NOTE 2: Below is the assembled coin insert assembly front and back as shipped from the factory. Assembled BevMax 4 Coin Insert Assembly and Keypad CR0002043 Switch, membrane with metal dome and with overlay 80410142 M083.x Page 3 of 12...
- Page 4 Coin Insert Assembly DN5800-4 Keypad upgrade Part numbers and description Assembly, coin and keypad bracket CR0001800 lip, retainer .50” Panel CR0002204 Clip, Richo flat cable BV4 CR0005752 M083.x Page 4 of 12...
- Page 5 Coin Insert Assembly DN5800-4 Keypad upgrade Part numbers and description NOTE 3: The coin return cover is sold separately and not part of the Kit. It comes in two colors. Gray 80182462 or Black 80182461. Keypad Cover BV4 BevMax 4 Coin Insert Assembly and Keypad Keps, nut 8-32 part # 80080154 M083.x...
- Page 6 Coin Insert Assembly DN5800-4 Keypad upgrade Installation and removal instructions: REMOVAL OF EXISTING COIN INSERT AND KEYPAD/OVERLAY FROM BEVMAX 2/3 VENDER. 1.) Start with a DN5800 UL listed Vending Machine that is currently operating normally as factory produced 2.) Turn off rocker switch on AC box to kill all power to the vendor. AC Box Rocker Switch 3.) Remove the motor cover from port cup assembly.
- Page 7 Coin Insert Assembly DN5800-4 Keypad upgrade Installation and removal instructions: 4.) Unplug all connections from port motor. Unplug all connections at top of port motor assembly. 5.) Remove the door harness cable clamp from the service door and place the excess harness inside the service area.
- Page 8 Coin Insert Assembly DN5800-4 Keypad upgrade Installation and removal instructions: 7.) Remove the coin insert chute, coin return bracket, and coin return button assembly from service door. Coin return assembly Coin return assembly removed 8.) Remove the membrane retainer ribbon tag assembly if applicable. Keypad Membrane Retainer ribbon tag assembly.
- Page 9 Coin Insert Assembly DN5800-4 Keypad upgrade Installation and removal instructions: INSTALLATION OF NEW COIN INSERT ASSEMBLY WITH KEYPAD/OVERLAY FOR BV2/3 VENDORS. NOTE: If the coin insert assembly with keypad/overlay comes already assembled, skip to step #13 10.) Place the membrane/overlay, keypad cover, and keypad bracket assembly on a nonabrasive service (e.g. table, chair, lap etc) and assembly together.
- Page 10 Coin Insert Assembly DN5800-4 Keypad upgrade Installation and removal instructions: 12.) Place the new membrane/overlay over keypad bracket assembly aligning the holes and insert the panel retainer clips to secure as shown in figures 4-5. Panel retainer clip Clips Secured FIGURE 4 FIGURE 5 13.) Place the keypad cover (NOT INCLUDED) over the keypad bracket assembly and align locking tabs with cut...
- Page 11 Coin Insert Assembly DN5800-4 Keypad upgrade Installation and removal instructions: 15.) Route and secure the door harness to service door using cable clamp and then tight screw. Cable clamp and screw 16.) Connect the Switch membrane ribbon cable to the keypad harness then snap the Richo clip over the connection to secure in place, figure 10-11.
- Page 12 Coin Insert Assembly DN5800-4 Keypad upgrade Installation and removal instructions: 18.) Plug in all connections at port motor to top of port cup assembly. Port motor connection terminated 19.) Install port cup assembly motor cover. Port cup motor cover 20.) Complete installation of coin insert assembly DN5800-4 keypad upgrade. M083.x Page 12 of 12...
Need help?
Do you have a question about the DN5800 Series and is the answer not in the manual?
Questions and answers