Advertisement
Advertisement
Table of Contents

Subscribe to Our Youtube Channel
Related Manuals for Hollyland MARS T1000


Summary of Contents for Hollyland MARS T1000
- Page 1 MARS T1000 User Manual Version 1.3.0...
-
Page 2: Key Features
With the DECT protocol technology, MARS T1000 is widely used in the areas of studio, stage events, EFP, webcasting, filmmaking etc. With a clean line of sight (LOS), the transmission range of MARS T1000 reaches up to 300m with full- duplex wireless communication and carrier-grade voice quality. - Page 3 DESCRIPTION APPLICATIONS Filmmaking Live Broadcasting Corporate Events Production Crew Communication Stage Activities Emergency Dispatch Webcasting...
-
Page 4: Packing List
PACKING LIST ① ② ③ ④ ⑤ ⑥ ⑦ ① Base Station ② Beltpack ③ Professional Dynamic Side-Ear Headset ④ 1.9G High-Gain Base Station Antenna ⑤ Type-C Cable ⑥ 4-Pin XLR Adaptor ⑦ Quick Guide * The exact quantity may vary on products configuration. Please take the actual quantity as standard. -
Page 5: Optional Accessories
PACKING LIST OPTIONAL ACCESSORIES: (Not included in the standard packing list) Professional Electret Side-Ear Headset Headset Side-Ear Mobile Earphone Air Duct Earphone Earmuffs Professional Dynamic Double-Sided Headset TALLY Set (TALLY Switcher, Connector, External TALLY Cable TALLY Light) Dual polarization high-gain panel antenna Antennas Antenna Extender... -
Page 6: Standard Setup
STANDARD SETUP Intercom 4 wire The base station of this wireless full-duplex intercom system supports up to 4 beltpacks. The base station and the beltpacks support dynamic and electret mics. They could be switched by selecting different applications in the menu. The 4-pin audio interface on the base station enables the device to connect with other audio systems, which can increase the quantity of beltpacks and also the wireless communication range. -
Page 7: Product Interfaces
PRODUCT INTERFACES PIN1-PIN8 PIN1 PIN4 M G R L PIN2 PIN3 ① ② ③ ① 3.5mm Earphone Interface: M G R L Mic Impedance: 600 Speaker Impedance: 32 ② DC Power Supply Power Supply Range: 7~36V DC Pin 1: GND Pin 2: NULL Pin 3: NULL Pin 4: POWER... -
Page 8: Base Station
PRODUCT INTERFACES ① ① ② ③ ② ⑤ ③ ⑥ ⑤ ⑦ ④ ⑥ ⑧ ⑨ ④ ⑦ ⑧ ⑨ ⑩ ⑪ ⑬ ⑫ ⑩ BASE STATION BELTPACK ① ① RF Antenna Interfaces Antennas Interfaces ② ② DC Power Supply (4-Pin XLR Male) Power and Volume Control Knob ③... -
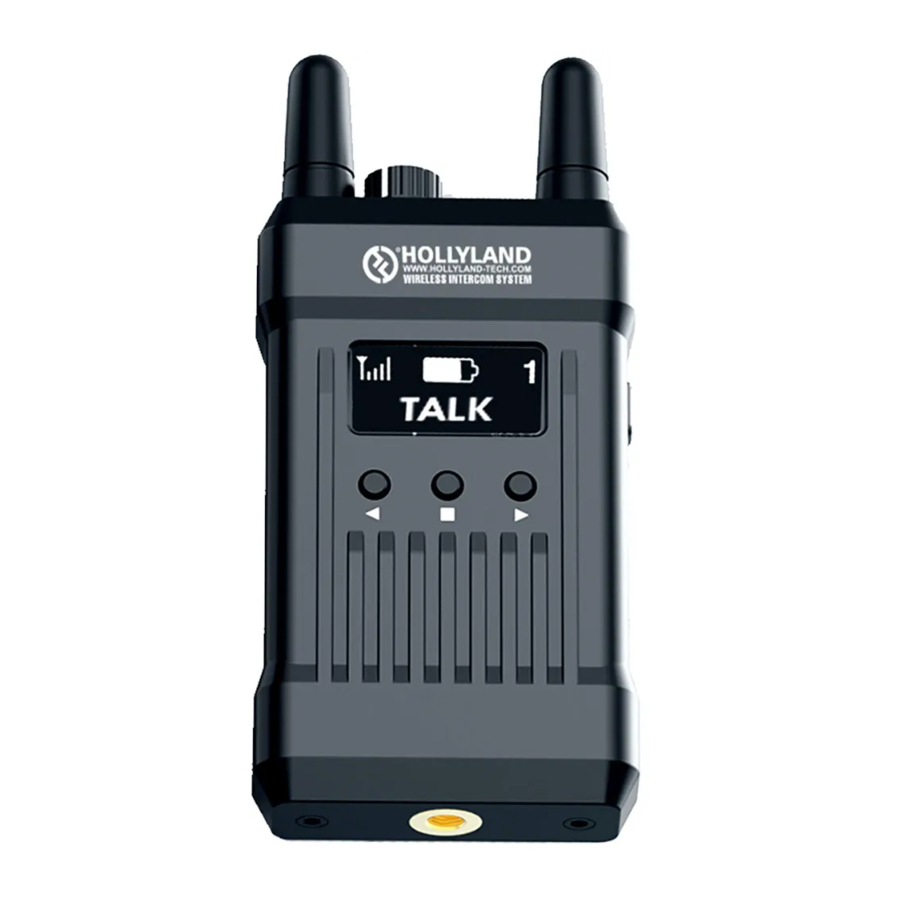
Page 9: Oled Display
OLED DISPLAY ④ ⑤ ③ ① ① ⑥ ④ ② ② ⑤ ③ BASE STATION ① Beltpack Signal Strength ② Beltpack Real-Time Battery Status (Actual percentage will be displayed when the battery is lower than 20%) ③ Beltpack Current Status ④... - Page 10 BASE STATION MENU FUNCTION INTRODUCTION Version(V1.0.6.12)
- Page 11 BASE STATION MENU FUNCTION INTRODUCTION Long press the Menu/Confirm/OK button for about three seconds to enter the root menu, select the folder and press “OK” to enter the next menu. Each menu feature is introduced as follows. Select "Mic Options" and press "OK" button to enter the secondary menu of Mic Setting 1.1.
- Page 12 BASE STATION MENU FUNCTION INTRODUCTION Select “System” and press “OK” to enter the secondary menu of system setting 4.1. Select “Information” and press “OK” to enter the third-level menu of Information inquiry; 4.1.1. “Mic Type” displays the current mic type; 4.1.2.
- Page 13 BELTPACK MENU FUNCTION INTRODUCTION RSSI: Mic Type: Dynamic Application: Quiet Version: 1.2.4.0 Long press the "OK" button for about three seconds to enter the root menu, select the menu and press "OK" to enter the next level. Each menu feature is described as follows.
- Page 14 BELTPACK MENU FUNCTION INTRODUCTION Select “Pair” and press “OK” button to enter the secondary menu of the registration feature 1.1. Connect the beltpack with the base station with a USB cable and select any ID from 1 to 4 then press “OK” to register the beltpack. “Pairing...” will be displayed on the main interface of the beltpack and the base station.
-
Page 15: Installation
INSTALLATION ① ① Base Station Installation 1. Install antennas as demonstrated. 2. Connect the power adapter and the headset. 3. Press the power switch to power it on. ② ③... - Page 16 INSTALLATION ② Beltpack Installation 1. Connect headset as demonstrated. 2. Turn the power and volume control knob to turn on the beltpack. 3. When the status of the beltpack turns from “LOST” to “MUTE”, long press the “MUTE/TALK” button on the side of the beltpack to switch it to “TALK” mode to communicate.
- Page 17 INSTALLATION ③ Repairing If any beltpack ID is lost while using the system resulted by incorrect operation or other reasons, connect the base station and the beltpack through the standard USB type-C data cable. Enter the pair menu and selects a master station vacancy ID for registration on the beltpack.
- Page 18 PARAMETERS Base Station Beltpack 2Antenna Interfaces 2Antenna Interfaces 4-Pin XLR Male DC Input 3.5mm Headset Interface 3.5mm Headset Interface 3.5mm TALLY Output Interface RJ45 Interface 4 wire audio interface USB Type-C Interface Interface USB Type-C Interface Double USB Type-A Interfaces Power Supply Mode 7~36V DC;F970 Battery (Typical) 1600mAh Polymer Lithium Battery...
-
Page 19: Safety Note
SAFETY NOTE Do not place your beltpacks on heating equipment, cooking equipment, high- pressure containers (such as microwave ovens, induction cookers, electric ovens, heaters, pressure cookers, water heaters, gas stoves, etc.) to prevent the battery from overheating and exploding. The original mating type of charger, data cable, and battery must be used. - Page 20 NO SOUND BETWEEN THE BASE STATION AND BELTPACK 1. Confirm if the “REMOTE MIC KILL” button on the base Station is on. If the red light is on, click on it to turn it off. 2. Check the current status on the beltpack screen. If it’s on “MUTE”, long press the “MUTE/TALK”...
-
Page 21: Fcc Warning
FCC WARNING This device complies with part 15 of the FCC Rules. Operation is subject to the following two conditions:(1) This device may not cause harmful interference, and (2) this device must accept any interference received, including interference that may cause undesired operation. Any Changes or modifications not expressly approved by the party responsible for compliance could void the user's authority to operate the equipment. - Page 22 This equipment complies with FCC radiation exposure limits set forth for an uncontrolled environment. This equipment should be installed and operated with minimum distance 20cm between the radiator& your body. MANUFACTURE Company Name :Shenzhen Hollyland Technology Co.,Ltd Address: Shenzhen Hollyland Technology Co.,Ltd 8F,Building 5D,Skyworth Innovation Valley,Tangtou Road.Shiyan Street,Baoan District Shenzhen, China...
- Page 23 HollylandTech HollylandTech HollylandTech sales@Hollyland-tech.com www.hollyland-tech.com...
Need help?
Do you have a question about the MARS T1000 and is the answer not in the manual?
Questions and answers