Advertisement
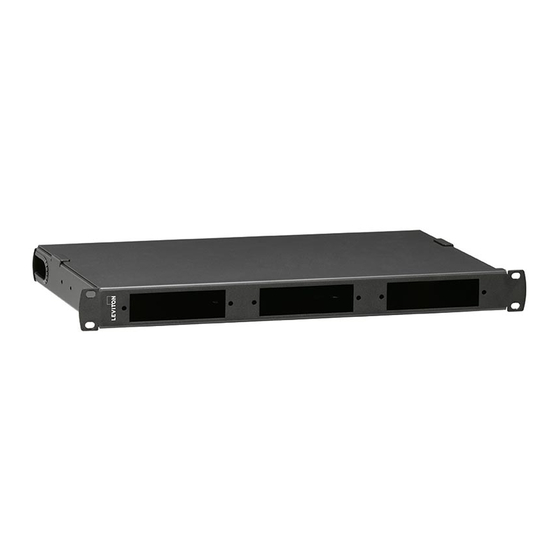
5R1UL-F03
5R2UL-F06
5R3UL-F12
Instructions for Use - Opt-X
5R1UL-F03
5R2UL-F06
PK-93776-10-02-0B
Leviton Network Solutions, a division of Leviton Mfg. Co., Inc.
Tech Support 1.800.824.3005 E-mail: appeng@leviton.com Web: www.leviton.com
Copyright © 2011 Leviton Manufacturing Co., Inc. All rights reserved. Subject to change without notice.
MTP
is a registered trademark of US Conec, Ltd.
®
500i Enclosure
®
5R3UL-F12
Page 1 of 6
Advertisement
Table of Contents

Subscribe to Our Youtube Channel
Related Manuals for Leviton Opt-X 500i


Summary of Contents for Leviton Opt-X 500i
- Page 1 Leviton Network Solutions, a division of Leviton Mfg. Co., Inc. Tech Support 1.800.824.3005 E-mail: appeng@leviton.com Web: www.leviton.com Copyright © 2011 Leviton Manufacturing Co., Inc. All rights reserved. Subject to change without notice. is a registered trademark of US Conec, Ltd.
- Page 2 • Always use proper tools and/or accessories to terminate fibers and clean connector tips. QUICK START GUIDE The following instructions will help you quickly install your Leviton Opt-X 500i Enclosure for use in your equipment ® cabinet or rack. For detailed information on each step, go to the page number listed below.
- Page 3 (Included with Opt-X 500i Enclosure) ® Prior to installing your Leviton Opt-X 500i Enclosure, please refer to the table below. This will help ensure that you ® have all the items shipped with the unit, and/or any additional items that may be required for proper installation.
- Page 4 Opt-X 500i LABELING ® Label Printing Organization by Fiber Adapter Type - 1 and Label Printing Organization by Fiber Adapter Type - 3 RU 2 RU Adapter Duplex SC Duplex SC Duplex LC Quad LC ST/FC ST/FC (3 pack) (6 pack) (6 pack) (6 pack) (6 pack)
- Page 5 Opt-X 500i FIBER RING ® (Removal, Installation and Assembly) Opt-X Fiber management ¼ rings are pre-installed at the factory. To remove, grip the ¼ ring, lift the Position- ® Locking Tab, turn counter clockwise until unlocked, and then lift to remove. When removing a half or full management ring group, simultaneously lift the 2 or 4 Position-Locking Tabs, turn counter clockwise until unlocked, and then lift to remove.
- Page 6 CABLE INSTALLATION - APPLICATIONS (Typical installations - not specific to enclosure) Utilizing Pre-Terminated Cables or Field Utilizing MTP Cassettes ® Termination of tight-buffered cable Utilizing Splice Trays Utilizing Fan-Out Kits PK-93776-10-02-0B Page 6 of 6...
Need help?
Do you have a question about the Opt-X 500i and is the answer not in the manual?
Questions and answers