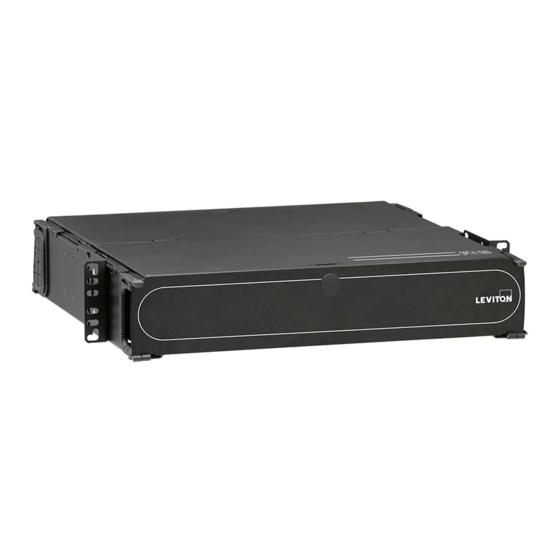
Table of Contents
Advertisement
Quick Links
5R1UM-F03, 5R1UM-S03, 5R2UM-F06,
5R2UM-S06, 5R3UM-F09, 5R3UM-F12,
5R4UM-F12, 5R4UM-F15
Instructions for Use - Opt-X
1000i Enclosure
®
5R1UM-*03
5R3UM-F**
5R2UM-*06
5R4UM-F**
PK-93777-10-02-0C
Page 1 of 8
Leviton Network Solutions, a division of Leviton Mfg. Co., Inc.
Tech Support: 1.800.824.3005 E-mail: appeng@leviton.com Web: www.leviton.com
Copyright © 2011 Leviton Manufacturing Co., Inc. All rights reserved. Subject to change without notice.
MTP
is a registered trademark of US Conec, Ltd.
®
Advertisement
Table of Contents

Summary of Contents for Leviton Opt-X 1000i
- Page 1 Leviton Network Solutions, a division of Leviton Mfg. Co., Inc. Tech Support: 1.800.824.3005 E-mail: appeng@leviton.com Web: www.leviton.com Copyright © 2011 Leviton Manufacturing Co., Inc. All rights reserved. Subject to change without notice. is a registered trademark of US Conec, Ltd.
- Page 2 • Always use proper tools and/or accessories to terminate fibers and clean connector tips. QUICK START GUIDE The following instructions will help you quickly install your Leviton Opt-X 1000i Enclosure for use in your equipment ® cabinet or rack. For detailed information on each step, go to the page number listed below.
- Page 3 EQUIPMENT OVERVIEW - FIXED & SLIDING TRAY EXTERIOR Fixed With Sliding Tray 1. Removable Covers 1. Removable Covers 2. Removable Cable Grommet 2. Removable Cable Grommet 3. Bend Radius Adapter 3. Bend Radius Adapter 4. Adjustable Mounting Ears 4. Slide Out Termination Tray 5.
- Page 4 (Included with Opt-X 1000i Enclosure) ® Prior to installing your Leviton Opt-X 1000i Enclosure, please refer to the table below. This will help ensure that ® you have all the items shipped with the unit, and/or any additional items that may be required for proper installation.
-
Page 5: Cover Removal
CABLE GROMMET COVER REMOVAL DOOR LATCH Caution: If grommet needs to be cut, cut at an angle towards the center and on the inside of the grommet only. To open the door: Lift tabs as shown NOTE: To remove cover: Push tabs down, and Cutting beyond the pre-determined cutting then slide the cover out. - Page 6 Opt-X 1/4 FIBER CABLE MANAGEMENT RING ® (Removal, Installation and Assembly) Opt-X Fiber management ¼ rings are pre-installed at the factory. To remove, grip the ¼ ring, lift the Position- ® Locking Tab, turn counter clockwise until unlocked, and then lift to remove. When removing a half or full management ring group, simultaneously lift the 2 or 4 Position-Locking Tabs, turn counter clockwise until unlocked, and then lift to remove.
- Page 7 Opt-X 1000i LABELING (for front & rear identification on enclosure) ® Label Printing Organization by Fiber Adapter Type Label Printing Organization by Fiber Adapter Type Horizontal Orientation Vertical Orientation Adapter No. of Ports Number Scheme Adapter Duplex SC Duplex SC Duplex LC Quad LC ST/FC ST/FC (3 pack) (6 pack) (6 pack)
- Page 8 CABLE INSTALLATION - APPLICATIONS (Typical installations - not specific to enclosure) Utilizing Pre-Terminated Cables or Field Utilizing MTP Cassettes ® Termination of tight-buffered cable Utilizing Splice Trays Utilizing Fan-Out Kits PK-93777-10-02-0C Page 8 of 8...


Need help?
Do you have a question about the Opt-X 1000i and is the answer not in the manual?
Questions and answers