Advertisement
Advertisement
Table of Contents

Summary of Contents for iTechworld ITECHDCDC40
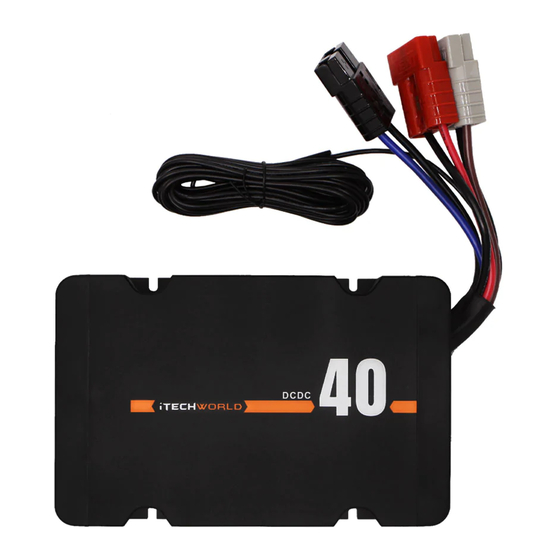
- Page 1 ITECHDCDC40 In vehicle DC battery charger User Guide...
-
Page 2: Key Features
USER GUIDE KEY FEATURES The iTECHDCDC40 is a sophisticated multi-stage dual-input charger. The iTECHDCDC40 utilizes push-button switch mode to cater for Lead-acid, AGM/GEL, calcium or lithium batteries. Heavy-duty aluminium case and mounting brackets. Microchip monitoring and control. Fully automatic high-frequency multi-stage charging... -
Page 3: Installation
The iTECHDCDC40 has a shared negative internally. Using twin core wiring between the auxiliary battery and iTECHDCDC40 connect the red (+) to the (+ blue cable) DC output terminal (Black Anderson plug) and the black (-) to the (-)negative on the rear of the iTECHDCDC40. It is... - Page 4 INSTALLATION CONTINUED Using twin core wiring between the main starting battery and iTECHDCDC40 connect the red (+) to the (+) DC input terminal (Red Anderson plug) and the black (-) to the (-) negative on the rear of the iTECHDCDC40. Finally, make the power connections to the main starting battery of the vehicle.
- Page 5 USER GUIDE INSTALLATION CONTINUED *Fuse not included...
- Page 6 Once you have selected the new battery type the iTECHDCDC40 will remain on this battery type until it is changed. To change battery type the auxiliary battery must be disconnected from the iTECHDCDC40. This is a safety feature to stop you accidentally changing the battery charge profile.
-
Page 7: Solar Input
Once you have selected the new battery type the iTECHDCDC40 will remain on this battery type until it is changed. Solar charging requires a solar input of 16 to 25v. -
Page 8: Front Panel Indicator Lights
USER GUIDE OPERATING THE ITECHDCDC40 FRONT PANEL INDICATOR LIGHTS... - Page 9 USER GUIDE OPERATING THE ITECHDCDC40 FRONT PANEL INDICATOR LIGHTS DC Charge When charging is from the DC input of the iTECHDCDC40, the red charging LED will be lit. DC Charge When the auxiliary battery is full, the green Full LED will be lit.
- Page 10 OPERATING THE ITECHDCDC40 FRONT PANEL INDICATOR LIGHTS Solar Charge When charging is from the DC input of the iTECHDCDC40, the red charging and solar input LEDs will be lit. Solar Charge When the aux battery is full, the green Full LED will be lit.
- Page 11 USER GUIDE SPECIFICATIONS & WIRING GAUGE 13.1 12.4...
-
Page 12: Charging Specifications
USER GUIDE CHARGING SPECIFICATIONS 13.2V 12.4V... -
Page 13: Fault Finding
If the iTECHDCDC40 is beeping with no flashing lights, please check the polarity of your auxiliary battery. If the iTECHDCDC40 is beeping and the red power LED is flashing, the iTECHDCDC40 has detected a fault with your auxiliary battery, please double check your wiring and electrical connections.


Need help?
Do you have a question about the ITECHDCDC40 and is the answer not in the manual?
Questions and answers
Charging light not comming on
The charging light on the iTechworld ITECHDCDC40 may not come on due to the following reasons:
1. If your vehicle has a Smart Alternator, the small blue 'ignition override' cable must be connected to an accessory that turns on/off with the ignition (like the 12V cigarette lighter port). Without this, the charger may not function.
2. If the auxiliary battery is full or nearly full, the charger will not start charging. The battery should be drained to about 85–90% (13.10V for lithium) for charging to begin.
3. If there is no power coming from the cranking battery, the charger will not engage. You should check the incoming amps using a clamp meter or in-line wattmeter.
4. Any issues with relays, circuit breakers, or fuses between the battery and the charger can also prevent the charger from receiving power. Check these components and measure the incoming amps to confirm.
This answer is automatically generated