Advertisement

Quick Links

Dear customer!

Thank you for choosing this quality product from ASKO. We hope it will
meet your expectations and fulfi l your needs for many years to come.
Scandinavian design combines clean lines, everyday functionality and
high quality. These are key characteristics of all our products and the
reason they are greatly appreciated throughout the world.
Operating instructions
SIVK6FTS HI1633G

Advertisement

Table of Contents
loading
Need help?

Need help?

Do you have a question about the SIVK6FTS and is the answer not in the manual?

Questions and answers

Subscribe to Our Youtube Channel

Summary of Contents for Asko SIVK6FTS

  • Page 1: Dear Customer

    Dear customer! Thank you for choosing this quality product from ASKO. We hope it will meet your expectations and fulfi l your needs for many years to come. Scandinavian design combines clean lines, everyday functionality and high quality. These are key characteristics of all our products and the reason they are greatly appreciated throughout the world.
  • Page 2: Table Of Contents

    TABLE OF CONTENS Contents INSTALLATION INSTRUCTIONS Dear customer! What you need to consider TABLE OF CONTENS Electrical connection GLASS-CERAMIC BUILT-IN COOKING HOB 3 Building in Dear customer! Instructions for use Instructions for connection Rating plate Fire risk protection IMPORTANT - READ BEFORE USING THE APPLIANCE Safety percautions Warnings...
  • Page 3: Glass-Ceramic Built-In Cooking Hob

    GLASS-CERAMIC BUILT-IN COOKING HOB Dear customer! Glass-ceramic hob is intended for use in households. Our products are packed in environment- friendly materials which can be recycled, disposed of, or destroyed without imposing any burden on the environment. Instructions for use Instructions for use are intended for the user.
  • Page 4: Important - Read Before Using The Appliance

    IMPORTANT - READ BEFORE USING THE APPLIANCE Safety percautions • This appliance can be used by children aged from 8 years and above and persons with reduced physical, sensory or metal capabilities or lack of experience and knowledge if they have been given supervision or instruction concerning use of the appliance in a safe way and understand the hazards involved.
  • Page 5: Appliance Description

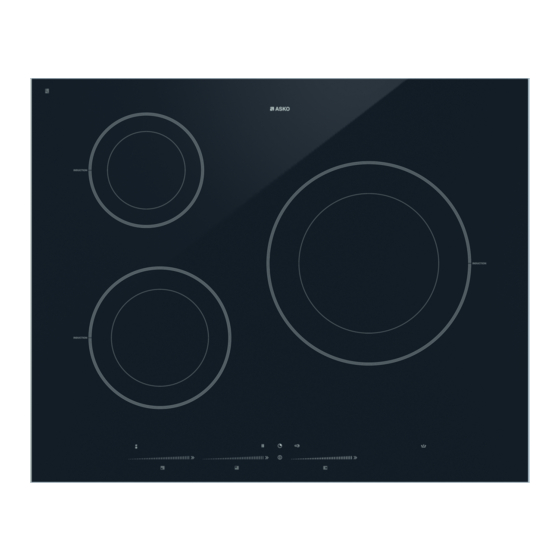
    APPLIANCE DESCRIPTION Control panel Type HI1633G Controls for cooking zone front left Cooking zone power level display Controls for cooking zone rear left Defrost function indicator for the selected cooking Controls for cooking zone rear right zone Reduce cooking zone power “Stay Warm”...
  • Page 6: Safety Instructions

    SAFETY INSTRUCTIONS What you should pay attention to • The ceramic top is extremely strong, but not • Induction cooking is extremely safe. Various safety unbreakable. devices have been incorporated in the hob such as • A spice jar or pointed utensil falling on it, for example, a residual heat indicator and a cooking time limiter.
  • Page 7: Cooking-Time Limiter

    Cooking-time limiter The cooking-time limiter is a safety function of your cooking appliance. It will operate if you forget to switch off your hob. Depending on the setting you have chosen, the cooking time will be limited as follows: Setting The cooking zone switches automatically off...
  • Page 8: Use

    Getting used to it... Using the touch controls The touch controls may take some getting used to if you Attention are used to other (rotary) controls. Place the tip of your • Grains of sand may cause scratches which cannot fi...
  • Page 9: Pans

    Safe The heat is generated in the pan itself. The glass top does not get any warmer than the pan. This means that Attention the cooking zone is considerable cooler compared to • Never use pans with a misshapen base. A hollow that from a Ceramic hob or a gasburner.
  • Page 10: Operation

    OPERATION Settings • Residual warmth indicator Switching on the hob and setting the power – A cooking zone that has been used intensively will The power has 9 settings. There is also a ‘boost’ setting, retain heat for several minutes after it has been which is indicated by a ‘P.’...
  • Page 11 Boost Switching on the melt function The ‘Boost’ function is used to cook at maximum power The hob is switched on and a pan is on the cooking for a short period of time (maximum 10 minutes). The zone. power is reduced to setting 9 at the end of the maximum 1.
  • Page 12 Switching off the hob button gives you access to the following two Switching off one cooking zone functions: 1. The cooking zone is switched on. The display shows a (Standard) lock mode Child lock mode power setting between 1 and 9, or ‘P.’. The (standard) lock The child lock mode To switch off...
  • Page 13 Recognising a mode The display for each cooking zone shows ‘0.’. The red light to the Stand-by mode Switch the hob to child lock mode before cleaning it to right above the On/Off button prevent it accidentally switching on. constantly illuminated. One or more displays show a power setting.
  • Page 14 Switching on the minute minder The hob is switched on. 1. To set the cooking time or the minute countdown Attention! timer, touch the sensor key. The display will read If several cooking timers/minute minders are running, “00”. the cooking timer/minute minder display will always 2.
  • Page 15: Cooking

    COOKING Healthy cooking • Use settings 1-4 to: Burning point of diff erent types of oil – simmer bouillon; To ensure your food is fried as healthily as possible, – stew meats; Gorenje recommends choosing the type of oil according –...
  • Page 16: Maintenance

    MAINTENANCE Cleaning Set the child lock before you start cleaning the hob. Daily cleaning • Although food spills cannot burn into the glass, we nevertheless recommend you clean the hob immediately after use. • Best for daily cleaning is a damp cloth with a mild cleaning agent.
  • Page 17: Troubleshooting

    TROUBLESHOOTING General The service department telephone number can be found on the guarantee card provided. If you notice a crack in the glass top (however small), switch the hob off immediately, unplug the hob, turn off the (automatic) fuse switch(es) in the meter cupboard or, in the event of a permanent connection, set the switch in the power supply lead to zero.) Contact the service department.
  • Page 18: Contents Installation Instructions

    INSTALLATION INSTRUCTIONS What you need to consider Installation dimensions Safety instructions for the installation The dimensions and recesses are shown in the • The connection must comply with national and local illustrations beneath. regulations. • The appliance must always be earthed. •...
  • Page 19: Electrical Connection

    Ventilation B Lower kitchen cabinet with an oven The electronics in the appliance need cooling. The • Installing the oven under an induction hob is possible appliance will automatically switch off if there is with oven types EVP4.., EVP2.., which are fi tted with a insuffi...
  • Page 20: Building In

    Building in Special connections: • Single phase connection (1 1N, 220 - 240 V~ / 50 Hz): – The voltage between the phase and the zero is Check that the cabinet and the cut-out meet the 220 - 240 V~. Fit a connecting bridge between dimension and ventilation requirement.
  • Page 21 Turn the hob over and lay it in the recess. Connect the appliance to the mains. A short bleep will be heard and all the displays will light up briefl y. The appliance is ready for use. Check that it works properly. If the appliance has been wrongly connected either a bleep will sound or nothing will appear in the displays, depending on the error.
  • Page 24 en (03-16)

This manual is also suitable for:

Hi1633g

Table of Contents