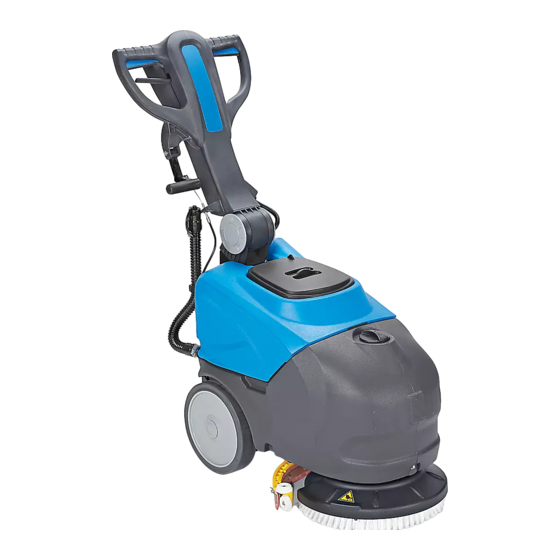
U-Line H-8041 Quick Start Manual
Compact auto floor scrubber
Hide thumbs
Also See for H-8041:
- Manual (34 pages) ,
- Instructions manual (22 pages) ,
- Quick user manual (3 pages)
Table of Contents
Advertisement
Available languages
Available languages
Quick Links
π
H-8041
COMPACT AUTO FLOOR SCRUBBER
NOTE: This guide is intended for quick reference
only and does not replace the instruction
manual. Before using this machine, read full
instruction manual included with machine
packaging.
NOTE: Battery must be fully charged before first
use.
(See Instructions)
FILL TANK
1. Add water and detergent into the tank.
(See Figure 1)
Figure 1
NOTE: Use a non-foaming detergent with a
pH range between 7-11. Be sure to follow the
detergent instructions for proper dilution.
2. Open flow from detergent tank by pushing lever up
to horizontal position. Leave open. (See Figure 2)
Figure 2
BEGIN WORK
1.
Lower squeegee by pushing handle down.
(See Figure 3)
Figure 3
PAGE 1 OF 9
1-800-295-5510
uline.com
OPERATION
2. Turn on unit and press brush button. All lights will light
up and unit is fully functional.
(See Figures 4 and 5)
Figure 4
3. After use, empty the recovery tank by using the
attached drain hose. (See Figure 6)
Figure 6
4. Once finished, charge the battery.
NOTE: The battery should be charged after
every use. For optimal battery life, leave
plugged in when not in use.
WHEN FINISHED CLEANING
1. Turn machine off by pressing the On/Off button for at
least four seconds.
2. Raise squeegee.
3. Close the detergent tap.
4. Empty the recovery tank (see Maintenance).
5. Charge the battery (see Maintenance).
Para Español, vea páginas 4-6.
Pour le français, consulter les pages 7-9.
Figure 5
0720 RH-8041
Advertisement
Table of Contents

Related Manuals for U-Line H-8041


Summary of Contents for U-Line H-8041
- Page 1 Para Español, vea páginas 4-6. Pour le français, consulter les pages 7-9. π H-8041 1-800-295-5510 uline.com COMPACT AUTO FLOOR SCRUBBER OPERATION NOTE: This guide is intended for quick reference 2. Turn on unit and press brush button. All lights will light only and does not replace the instruction up and unit is fully functional.
-
Page 2: Daily Maintenance
MAINTENANCE DAILY MAINTENANCE 5. Check battery charge. (See Figure 12) Figure 12 Use the attached drain hose to empty the dirty water from the recovery tank. (See Figure 7) Figure 7 6. To recharge batteries, plug in battery charger using electrical cord provided with machine. - Page 3 BATTERY CHARGER VISUAL SIGNALS NOTE: Refer to Battery Charger manual for full instructions. (See Instructions) OPERATING SIGNALS TROUBLESHOOTING Red LED Flashing (twice) Yellow LED Flashing Battery charger is set to charge. Unsuitable battery OR battery not connected OR output short circuit. Red LED On First phase of charge in progress.
- Page 4 π H-8041 800-295-5510 uline.mx FREGADORA DE PISOS COMPACTA AUTOMÁTICA FUNCIONAMIENTO NOTA: Esta guía solo sirve como referencia 2. Encienda la unidad y presione el botón del cepillo. rápida y no sustituye al manual de Todas las luces encenderán y la unidad estará...
-
Page 5: Mantenimiento Diario
MANTENIMIENTO MANTENIMIENTO DIARIO 5. Verifique la carga de la batería. (Vea Diagrama 12) Diagrama 12 Utilice la manguera de desagüe anexa para vaciar el agua sucia del tanque de recuperación. (Vea Diagrama 7) Diagrama 7 6. Para cargar la batería de nuevo, conecte el cargador de la batería con el cable incluido con la máquina. -
Page 6: Solución De Problemas
SEÑALES VISUALES DEL CARGADOR DE BATERÍA NOTA: Vaya al manual de Carga de la Batería para instrucciones completas. (Vea las Instrucciones) SEÑALES DE FUNCIONAMIENTO SOLUCIÓN DE PROBLEMAS LED Rojo Parpadeando (dos veces) LED Amarillo Parpadeando Cargador de batería configurado para cargar. Batería inadecuada, batería desconectada o cortocircuito de salida. -
Page 7: Remplissage Du Réservoir
π H-8041 1-800-295-5510 uline.ca AUTOLAVEUSE À PLANCHER COMPACTE FONCTIONNEMENT REMARQUE : Ce guide est uniquement pour 2. Allumez l'appareil et appuyez sur le bouton de la une référence rapide et ne peut remplacer brosse. Tous les voyants s'allument et l'appareil est le manuel d'instructions. -
Page 8: Entretien Quotidien
ENTRETIEN ENTRETIEN QUOTIDIEN 5. Vérifiez le niveau de chargement de la batterie. (Voir Figure 12) Utilisez le tuyau de vidange attaché pour vider l'eau Figure 12 sale du réservoir de récupération. (Voir Figure 7) Figure 7 6. Branchez le chargeur de la batterie au moyen du cordon électrique fourni avec la machine pour le rechargement de la batterie. -
Page 9: Dépannage
SIGNAUX VISUELS DU CHARGEUR DE BATTERIE REMARQUE : Consultez le manuel du chargeur de batterie pour les instructions complètes. (Voir les instructions) SIGNAUX DE FONCTIONNEMENT DÉPANNAGE Voyant rouge clignotant (deux fois) Voyant jaune clignotant Le chargeur de batterie est réglé pour se charger. Batterie inadaptée OU batterie non connectée OU court-circuit de sortie.
Need help?
Do you have a question about the H-8041 and is the answer not in the manual?
Questions and answers