Table of Contents
Advertisement
Quick Links
Advertisement
Table of Contents

Related Manuals for Time2 Ipixo


Summary of Contents for Time2 Ipixo
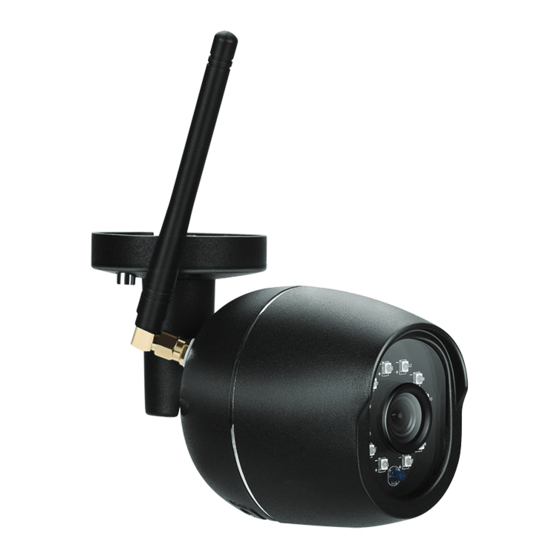
- Page 1 Ipixo Outdoor Bullet Camera Start Up Guide...
-
Page 2: Table Of Contents
Contents What’s in the box Get Started Download App Register Add a Home 8-11 Add Camera Live View 13-14 Add SD card Playback 16-17 Multi Camera View 18-20 Web View Reset Installation Struggling to read? View this start up guide online at time2technology.com/manuals... -
Page 3: What's In The Box
What’s in the box USERS GUIDE Outdoor Camera Screw Tool UK Power Adapter WiFi Antenna Wall Mounting Screws Start Up Guide Be ready You will need your WiFi router password. Write it down below so its handy when you need it! -
Page 4: Get Started
Get Started Please complete set up before Reset Button mounting the camera. Connect the camera to the mains using the power adapter provided. The red LED will come on once plugged in and the camera will chime before it is ready Micro SD to connect. -
Page 5: Download App
Download App Download the “Clan at home” App on the iOS App Store or Google Play Store. -
Page 6: Register
Register Step 1 Step 2 Enter your email address Select Register, carefully read the Privacy policy and select Agree if you would like to progress... - Page 7 Register Step 3 Step 4 Enter the verification code Create your password to login sent via email...
-
Page 8: Add A Home
Add Home Step 1 Step 2 Click Me in the bottom Select Home Management right hand corner... - Page 9 Add Home Step 3 Step 4 Select My Home. Enter a name Select Complete and your home for your home and a location. will be created. Click Save...
-
Page 10: Add Camera
Add Camera Step 1 Step 2 In My Home, click the (+) icon Select Security and Sensors on the in the top right-hand corner left hand side and click Smart camera of the screen... - Page 11 Add Camera Step 3 Step 4 Enter your WiFi router Make sure the LED indicator is password ashing red, then select the tick box and press Next Then press Next...
- Page 12 Add Camera Step 5 Step 6 Remove the plastic lm from the If you heard the camera chime, camera lens press I Heard a Prompt. Hold your phone up to the camera If you don’t hear the chime, as described in App reposition the camera in front of the phone and scan QR code again.
- Page 13 Add Camera Ipixo Outdoor Bullet Camera Step 7 Step 8 Once connected you can The camera will then establish a change the camera’s name and connection to Clan. select the room it’s in. Press Done...
-
Page 14: Live View
Live View Ipixo Outdoor Bullet Camera Hear what is happening around the camera Select the video quality (lower quality) may broadcast more smoothly) Full Screen Save a screenshot on your smartphone memory Select to speak into the camera Record live footage onto your... -
Page 15: Add Sd Card
Add SD Card If you would like the camera to record you will be required to insert a Micro SD card. The camera will support any sized Micro SD card up to 128 GB. Step 1 Turn o power to the camera. Step 2 Find the Micro SD card slot on the underside of the camera and... - Page 16 Format SD Card Before the camera can start recording you will have to format the micro SD card. Step 3 Step 4 Click Format SD Card and Select your camera and click press con rm, the camera will on the pencil icon in the top right begin to format the Micro SD card.
-
Page 17: Playback
Playback Hear sound around the camera Full screen Select the time you want to view Save the playback camera footage onto your phone memory Change date of video playback Save a screenshot of playback video onto your phone memory... -
Page 18: Multi Camera View
Multi Camera View Step 1 Click on the camera on the top right hand corner... - Page 19 Multi Camera View...
-
Page 20: Web View
Web View Go to the following website on your PC. www.time2technology.com/webview and a QR Code will be displayed... - Page 21 Web View Then click con rm to log in...
- Page 22 Web View 1. Select the home where you would like to view your cameras. 2. Select your camera. 3. Speaker – Listen in on what is going on around your camera. 4. Full screen 5. Cloud Service – View the recorded footage from the Cloud Service. 6.
-
Page 23: Reset
Reset If you are having Reset Button trouble connecting to the Camera you may need to do a reset. How to reset the Camera Hold down the button on the underside of the camera for up to 15 seconds until the camera chimes and the LED is ashing red. -
Page 24: Installation
Installation Easy Mounting Use the provided wall screws to mount the camera onto the wall. Adjust the camera angle according to your requirements.
Need help?
Do you have a question about the Ipixo and is the answer not in the manual?
Questions and answers