Advertisement
Advertisement
Table of Contents

Subscribe to Our Youtube Channel
Related Manuals for Time2 Outdoor Camera PC


Summary of Contents for Time2 Outdoor Camera PC
- Page 1 Outdoor Camera PC Quick Setup Guide...
- Page 2 Outdoor Camera...
-
Page 3: Connecting The Camera
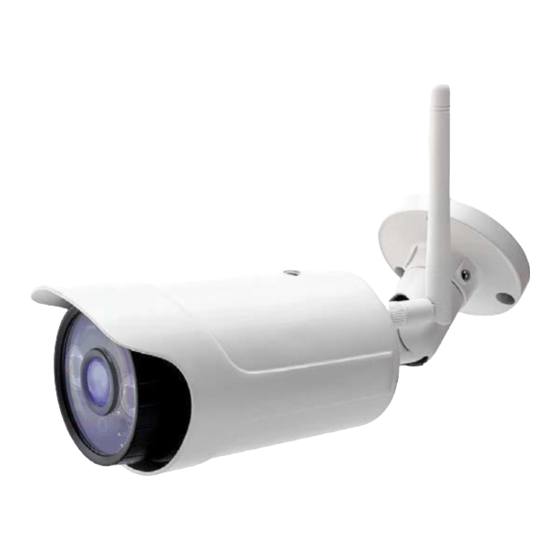
Connecting the Camera 1. Screw the WiFi Antenna into the gold screw at the back of the camera. 2. Plug the power adapter into the power port lead attached to the camera. 3. Plug one end of the Network>Ethernet cable into Ethernet port lead attached to the camera and the other end into your WiFi Internet Router. - Page 4 PC Setup 1. Download the IP Camera For PC from the link below: https://www.time2technology.com/product-downloads/Time2-HSIP2- Wireless-Surveillance-Camera.html 2. After opening the APP click on the Add Device (+) tab 3. Click Search at the bottom. 4. Click on your camera. 5. Once you have selected your camera, the camera information will be filled.
- Page 5 Wi-Fi Setup Using this setting you can set the camera to function over your wireless network. Please note: When setting the camera up for the first time, it will need to be wired into the internet router first. Ensure there is a tick in the “use WLAN”. Click “Search”...
-
Page 6: Camera Controls
Camera Controls Simply swipe in any direction to move the indoor rotating camera. Other actions available are below: Please note the outdoor camera is a static camera and cannot pan/tilt. - Page 7 Support For further support with setup and if you require any help to make the most of your camera please contact our customer services support team. https://www.time2technology.com/en/support/ Connect With Us: http://m.me/time2HQ www.facebook.com/time2HQ www.twitter.com/time2HQ...
Need help?
Do you have a question about the Outdoor Camera PC and is the answer not in the manual?
Questions and answers