Advertisement
Quick Links
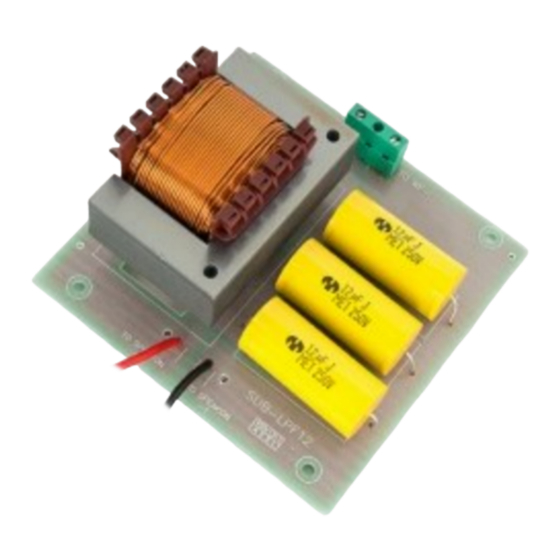
LPF-12
Xover 12dB/oct para uso pasivo-paralelo con subwoofers Joker / KEY
12dB/oct Xover for passive-parallel use with Joker / KEY subwoofers
ATENCIÓN: No se recomienda utilizar este Xover cuando el subwoofer está en
uso activo ya que la respuesta en el rango de bajas frecuencias puede quedar
perjudicada por la bobina y condensadores del filtro.
WARNING: Do not use this Xover for active subwoofer's application as the
inductor and capacitors affect the low frequency response of the system.
Pol.Ind.Norte-Perpinyà,25
08226 TERRASSA (Barcelona-SPAIN)
Copyright © 2014
info@master-audio.com
All rights reserved
www.master-audio.com
Feb 14
Advertisement

Related Manuals for Master audio LPF-12


Summary of Contents for Master audio LPF-12
- Page 1 LPF-12 Xover 12dB/oct para uso pasivo-paralelo con subwoofers Joker / KEY 12dB/oct Xover for passive-parallel use with Joker / KEY subwoofers ATENCIÓN: No se recomienda utilizar este Xover cuando el subwoofer está en uso activo ya que la respuesta en el rango de bajas frecuencias puede quedar perjudicada por la bobina y condensadores del filtro.
- Page 2 Master Audio LPF-12 1- Quitar los diez tornillos del panel de conexiones de los Speakons Remove the ten screws on the back Speakon’s panel 2- Desoldar el cable rojo (positivo del altavoz) y negro (negativo del altavoz) Unsolder the red wire (positive of the speaker) and the black wire (negative of...
- Page 3 3- Conectar los cables rojo y negro al conector verde del filtro LPF-12 (respetando siempre la polaridad. Positivo = Rojo, Negativo = Negro) Connect the red and black wires to the green connector on LPF-12 filter (always respecting the correct polarity. Red = Positive, Black = Negative)
- Page 4 Master Audio LPF-12 4- Collar el circuito al panel de conexiones Screw the filter onto the connections panel 5- Soldar el cable rojo (Speakon +1) al terminal +1 del conector Speakon. Soldar el cable negro (Speakon -1) al Terminal -1 del conector Speakon.
- Page 5 Master Audio LPF-12 6- Collar de nuevo el panel de conexiones de los Speakons Set the back Speakon’s panel again Respuesta del filtro Filter frequency response...
Need help?
Do you have a question about the LPF-12 and is the answer not in the manual?
Questions and answers