Table of Contents
Advertisement
Quick Links
Advertisement
Table of Contents

Related Manuals for Flow Paragliders VISSTA


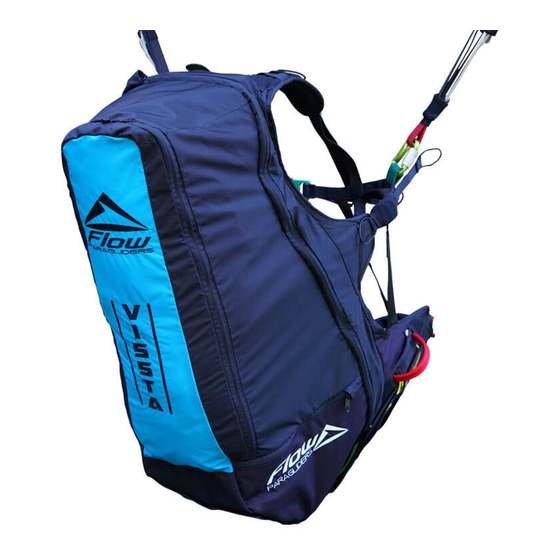
Summary of Contents for Flow Paragliders VISSTA
- Page 2 Thank you for flying Flow Paragliders. We hope you will be satisfied with this product and wish you many happy flights. We strongly recommend...
-
Page 3: Table Of Contents
7.2. Placing in Deployment Bag Option A ........6 Table of Contents 7.3. Placing in Deployment Bag Option B ......... 7 7.4. Installing the Deployment Bag into the Harness ...... 7 1. General Information ..............1 8. Operating Notes ................. 7 2. -
Page 4: General Information
This manual offers all the necessary information that will familiarise you with the main characteristics of your new harness. Flow VISSTA is one of the most comfortable and functional all-round harnesses available on the market at present. We would like to remind you that it is important to carefully read all the contents of the manual for your new VISSTA. -
Page 5: Pilot's Profile
PILOT’S PROFILE The VISSTA was designed to be a robust, light, and comfortable open harness with excellent feel in the air. It provides an outstanding flying experience as well as freedom of movement to perform all the flying manoeuvrers with excellence, which makes it suitable especially for beginners and XC pilots looking a comfortable open harness. - Page 6 VISSTA is a harness for use in a non-motorized paraglider. For a 2-reserve set-up an external rescue system container (for example a front container) can be mounted. The VISSTA has an integrated one rescue system container. Certification No.: EAPR GZ-0030/13.
-
Page 7: Overview
OVERVIEW a) Rescue system container b) Rescue system release handle c) Safe T-System with chest belt buckle d) Lateral chest belt / adjustment buckle e) Main suspension f) Eyelet for speed bar line g) Pulley / ring for speed bar line h) Shoulder belt with adjustment buckle i) Suspension for rescue parachute connection bridle (covered) j) Protector... -
Page 8: Adjustment Possibilities
This is the third step when adjusting your harness. The lateral chest belts can adjust the angle of the seating position. The chest belts can be adjusted for the most comfortable seating position. Please make sure that the VISSTA is adjusted in a way so the body load is distributed equally on shoulder belt and lateral chest belt. -
Page 9: Installing The Rescue Parachute
INSTALLING THE RESCUE PARACHUTE The VISSTA has an inner container with an integrated release handle. Before fitting the rescue parachute, you need to find out the right size of the inner container. Therefore, you need to know the volume of the rescue parachute. If it is not shown in the parachute manual, you can alternatively determine the volume of the rescue parachute by checking its weight. -
Page 10: Placing The Rescue Parachute Into The Inner Container
The following guide shows the assembly of an Annular Evo. Other systems can be installed in the same way. Please check if there are special remarks in your parachute manual. Steerable systems (for example Rogallo systems) can only be installed in the VISSTA with explicit approval of the rescue parachute manufacturer. -
Page 11: Placing In Deployment Bag Option A
Placing in deployment bag option A Placing in deployment bag option B 3b. Fold the canopy in big, horizontal S-folds (stack pack). Bundle the lines in 3x3 “8-folds”. Do not bundle the last 60 cm of lines. 3a. Fold the canopy in small S-folds and place it in the deployment bag. - Page 12 4. Close the deployment bag with the lines. First the right flap with 5. Close the left flap. Also, here you can adjust the deployment bag the upper and lower flap. Depending of the rescue system size, the volume by using the inner or outer grommets. First close the middle, inner or outer grommets can be used to adjust the deployment bag then the outside! volume.
-
Page 13: Installing The Deployment Bag Into The Harness
Installing the deployment bag into the harness 1. Connect the rescue bridle with the harness bridle by looping the 2. Stow the bridle in the harness container and place the deployment bridles or with a quick link (strength > 2400 daN) and fix the bag in the harness container. - Page 14 3. Close the container using the loops by the help of 3 packing cords 4. Close container flap (3) with packing cords a) and b). (a,b,c). Place the handle/container connection in between loop b) and c). Put packing cord a) through grommet 2). Ten put the 3 packing cords through the grommets of the elastic strap (I).
- Page 15 5. Close container flap (4) with packing cords b) and c). Feed the pins 6. Remove all packing cords. Close pin covers and secure handle with through the loops. a 2 daN seal threat (see arrow). How to secure the release handle: To avoid an unintentional opening, it is mandatory to use a seal thread in the opening mechanism.
-
Page 16: Operating Notes
Operation of the protector The VISSTA has a type certified back protector made from a special foam, which is sewn in a nylon fabric cover. Before every take off you have to check that the protector is completely filled up with air. Especially in low temperatures and after the harness has been stored and compressed for a while, it may take a little longer to be inflated completely. -
Page 17: Tandem Flights
Lifetime and replacement of parts, repair advice The VISSTA is designed for high loads and stress. High demands were set in the choice of materials. The lifetime of the harness depends on a high degree of awareness and treatment of the pilot. We recommend inspecting the harness periodically for signs of wear. If necessary damaged components must be replaced. -
Page 18: Maintenance, Inspection & Periodic Checks
MAINTENANCE, INSPECTION AND PERIODIC CHECKS The VISSTA is almost maintenance free but it requires a regular check for damage. Regular inspection gives you the guarantee of a full function of the harness. Take special care that no dirt gets into the mechanic of the buckles and that all moving parts of the buckles are running freely and are not damaged. -
Page 19: Warranty
WARRANTY Flow paragliders’ warranty covers any material defects or any production fault for two years or 250 hours since the date of purchase. The guarantee does not cover: • Damage caused by misuse • Neglecting the regular maintenance • Overloading or misuse of the glider •...
Need help?
Do you have a question about the VISSTA and is the answer not in the manual?
Questions and answers