Brother HL 2170W Quick Setup Manual
Laser printer
Hide thumbs
Also See for HL 2170W:
- Network user's manual (137 pages) ,
- Specification sheet (2 pages) ,
- Technical reference manual (517 pages)
Table of Contents
Advertisement
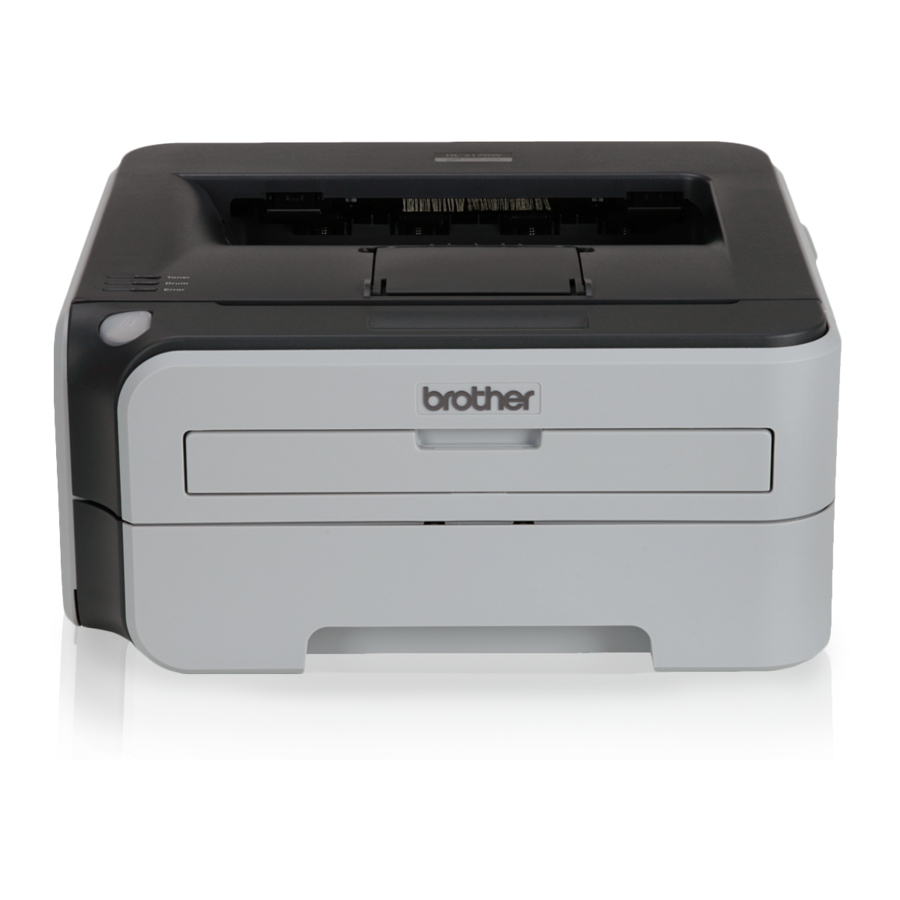
HL-2170W
Before you can use the printer, you must set up the hardware and install the driver. Please
read this 'Quick Setup Guide' for proper set up and installation instructions.
How to use the printer, see the User's Guide on the CD-ROM.
Keep this 'Quick Setup Guide' and the supplied CD-ROM in a convenient place for quick and
easy reference at all times.
To view the Quick Setup Guide in other languages, please visit http://solutions.brother.com.
STEP 1
Setting Up the Machine
STEP 2
Installing the Printer Driver
Setup is Complete!
Version 1
Advertisement
Table of Contents

Related Manuals for Brother HL 2170W


Summary of Contents for Brother HL 2170W
- Page 1 HL-2170W Before you can use the printer, you must set up the hardware and install the driver. Please read this ‘Quick Setup Guide’ for proper set up and installation instructions. Setting Up the Machine Installing the Printer Driver Setup is Complete! How to use the printer, see the User’s Guide on the CD-ROM.
-
Page 2: Symbols Used In This Guide
Network User's Guide Indicates reference to the User's Guide or Network User's Guide which is on the CD-ROM we have supplied. Caution Cautions specify procedures you must follow or avoid to prevent possible damage to the printer or other objects. -
Page 3: Table Of Contents
Safety Precautions ... 2 To Use the Printer Safely ... 2 Regulations ... 4 Getting Started Carton Components ... 7 Control panel... 7 Printer LED Indications ... 8 Supplied CD-ROM ... 9 STEP 1— Setting Up the Machine Installing the drum unit and toner cartridge assembly... 10 Loading paper in the paper tray ... -
Page 4: Safety Precautions
DO NOT handle the plug with wet hands. Doing this might cause an electrical shock. After you have just used the printer, some internal parts of the printer will be extremely hot. DO NOT touch the shaded parts shown in the illustration when you open the front or back cover of the printer. - Page 5 Safety Precautions DO NOT use flammable substances or any type of spray to clean the inside or outside of the machine. Doing this may cause a fire or electrical shock. Refer to the User's Guide for how to clean the machine.
-
Page 6: Regulations
A shielded interface cable should be used in order to ensure compliance with the limits for a Class B digital device. Changes or modifications not expressly approved by Brother Industries, Ltd. could void the user's authority to operate the equipment. Industry Canada Compliance Statement (For Canada) This Class B digital apparatus complies with Canadian ICES-003. - Page 7 NERGY Laser Safety (110 to 120 volt Model Only) This printer is certified as a Class 1 laser product as defined in IEC 60825-1+A2: 2001 specifications under the U.S. Department of Health and Human Services (DHHS) Radiation Performance Standard according to the Radiation Control for Health and Safety Act of 1968.
- Page 8 IEC 60825-1 specification (220 to 240 volt model only) This printer is a Class 1 laser product as defined in IEC 60825-1+A2: 2001 specifications. The label shown below is attached in countries where it is needed. CLASS 1 LASER PRODUCT APPAREIL À...
-
Page 9: Getting Started
• Please make sure you use a USB 2.0 interface cable that is no longer than 6 feet (2 meters). • Your printer has a USB interface that is compatible with the USB 2.0 specification. This interface is also compatible with Hi-Speed USB 2.0; however, maximum data transfer rate will be 12 Mbits/s. The printer can also be connected to a computer that has a USB 1.1 interface. -
Page 10: Printer Led Indications
Getting Started Printer LED Indications : Blinking Printer LED Toner Drum Error Ready (Blue) Printer LED Toner low Toner (Yellow) Drum (Yellow) Error (Red) Ready (Blue) Chapter 5 User's Guide The LED will blink in a pattern of ON for 1 second and then OFF for 1 second. -
Page 11: Supplied Cd-Rom
Download the latest drivers and utilities for your printers, read FAQs and troubleshooting tips, or learn about printer solutions. Supplies Information Visit our web site for original/genuine Brother supplies at http://www.brother.com/original/ Note For visually impaired users, we have prepared an HTML file on the supplied CD-ROM: readme.html. -
Page 12: Step 1 Setting Up The Machine
Unpack the drum unit and toner cartridge assembly. Rock it from side to side several times to distribute the toner evenly inside the assembly. Put the drum unit and toner cartridge assembly into the printer. Close the front cover of the printer. -
Page 13: Loading Paper In The Paper Tray
Setting Up the Machine Loading paper in the paper tray Pull the paper tray completely out of the printer. While pressing the green paper-guide release lever, slide the paper guides to fit the paper size you are using. Make sure that the guides are firmly in the slots. -
Page 14: Printing A Test Page
Printing a test page Improper Setup DO NOT connect the interface cable yet. Make sure that the printer power switch is off. Connect the AC power cord to the printer. Plug the AC power cord into an AC power outlet. Turn on the printer power switch. -
Page 15: Installing The Printer Driver
Follow the instructions on this page for your operating system and interface. For the latest drivers, documentation, and to find the best solution for your problem, access the Brother Solution Center directly from the CD-ROM / Driver or visit http://solutions.brother.com. -
Page 16: Windows
If the opening screen does not appear, use ® Windows Explorer to run the start.exe program from the root folder of the Brother CD-ROM. Click Install Printer Driver on the menu screen. Note Choose the Install Printer Driver icon for your region. - Page 17 Click Finish. Note • If you want to register your product on-line, check On-Line Registration. • If you do not want to set your printer as Default printer, uncheck Set as Default Printer. Setup is now complete. Note XML Paper Specification Printer Driver...
-
Page 18: For Wired Network Interface Cable Users
Administrator rights.) TCP/IP Note If the opening screen does not appear, use Windows from the root folder of the Brother CD-ROM. Note Choose the Install Printer Driver icon for your region. Windows Put the supplied CD-ROM into your CD-ROM drive. - Page 19 Click Finish. Note • If you want to register your product on-line, check On-Line Registration. • If you do not want to set your printer as Default printer, uncheck Set as Default Printer. Setup is now complete. Note XML Paper Specification Printer Driver...
-
Page 20: For Shared Network Printer Users
Note If the opening screen does not appear, use ® Windows Explorer to run the start.exe program from the root folder of the Brother CD-ROM. Note Choose the Install Printer Driver icon for your region. Note For Windows Vista™, when the User Account Control screen appears, click Continue. - Page 21 Click Finish. Note • If you want to register your product on-line, check On-Line Registration. • If you do not want to set your printer as Default printer, uncheck Set as Default Printer. Setup is now complete. Note XML Paper Specification Printer Driver...
-
Page 22: For Wireless Network Users
Ethernet for a faster data transfer or USB for the fastest throughput speed. Although Brother HL-2170W can be used in a both wired and wireless network, only one of the connection methods can be used at a time. - Page 23 • Configuration temporarily using a network cable If there is an Ethernet Hub or Router in the same network as the wireless access point (A) of your printer, you can temporarily connect the Hub or Router to the printer using an Ethernet cable (B), this is an easy way to configure the printer.
- Page 24 If the opening screen does not appear, use ® Windows Explorer to run the start.exe program from the root folder of the Brother CD-ROM. Click Install Printer Driver on the menu screen. Note Choose the Install Printer Driver icon for your region.
- Page 25 Choose With cable (Recommended) and then click Next. For configuration, you must temporarily connect your Brother wireless device (your printer) directly to a free port on your access point, hub or router using a network cable. When the following screen appears, insert the network cable to the access point and then to the printer.
- Page 26 Installing the Printer Driver If your network is configured for Authentication and Encryption, the following screen will appear. When configuring your Brother wireless printer, you must ensure that it is configured to match the Authentication and Encryption settings of your existing wireless network.
- Page 27 Note • If you want to register your product on-line, check On-Line Registration. • If you do not want to set your printer as Default printer, uncheck Set as Default Printer. • Turn your Personal Firewall back on. Setup is now complete.
-
Page 28: Configuration Using The Automatic Wireless (One-Push) Method
If the opening screen does not appear, use ® Windows Explorer to run the start.exe program from the root folder of the Brother CD-ROM. Click Install Printer Driver on the menu screen. Note Choose the Install Printer Driver icon for your region. - Page 29 • Use a pointy object such as a ballpoint pen to press the button. • If you press the button for 3 seconds or more, the printer will change to the PIN Method of the Wi-Fi Protected Setup™ mode. The printer starts the one-push wireless setting mode.
- Page 30 Printer Settings Page. See Print the Printer Settings Page on page 46. Choose your printer, and then click Next. Note If your printer takes a long time (about 1 minute) to appear on the list, click Refresh. ® Windows...
- Page 31 Note • If you want to register your product on-line, check On-Line Registration. • If you do not want to set your printer as Default printer, uncheck Set as Default Printer. • Turn your Personal Firewall back on. Setup is now complete.
-
Page 32: Macintosh
Go to step 9. ® For Mac OS X 10.3 or greater users: Go to step 7. The Brother software will search for the Brother printer. During this time the following screen will appear. When this screen appears, click OK. ®... - Page 33 Installing the Printer Driver When this screen appears, click Add. Choose USB. Choose your printer, and then click Add. Click Print Center, then Quit Print Center. ® For Mac OS X 10.2.4 to 10.2.8 users: Setup is now complete. ®...
-
Page 34: For Wired Network Interface Cable Users
® For Mac OS X 10.3 or greater users: Go to step 7. The Brother software will search for the Brother printer. During this time the following screen will appear. model connected on your network, the Ethernet address (MAC address) will be displayed after the model name. - Page 35 Make the following selection. Choose your printer, and then click Add. Note • If there is more than one of the same printer model connected on your network, the Ethernet address (MAC address) will be displayed after the model name.
-
Page 36: For Wireless Network Users
Ethernet for a faster data transfer or USB for the fastest throughput speed. Although Brother HL-2170W can be used in a both wired and wireless network, only one of the connection methods can be used at a time. - Page 37 • Configuration temporarily using a network cable If there is an Ethernet Hub or Router in the same network as the wireless access point (A) of your printer, you can temporarily connect the Hub or Router to the printer using an Ethernet cable (B), this is an easy way to configure the printer.
- Page 38 Before configuring the wireless settings Important • If you have previously configured the wireless settings of the printer, you must reset the print server back to the default factory settings (see page 46) • You must know your wireless network settings before you proceed with this installation.
- Page 39 Choose With cable (Recommended) and then click Next. For configuration, you must temporarily connect your Brother wireless device (your printer) directly to a free port on your access point, hub or router using a network cable. When the following screen appears, insert the network cable to the access point and then to the printer.
- Page 40 Installing the Printer Driver If your network is configured for Authentication and Encryption, the following screen will appear. When configuring your Brother wireless printer, you must ensure that it is configured to match the Authentication and Encryption settings of your existing wireless network.
- Page 41 Installing the Printer Driver The Brother software will search for the Brother printer. During this time the following screen will appear. Note If more than one printer is available, the following list appears. Choose the printer you wish to connect, and then click OK.
- Page 42 Routers or access points that support SecureEasySetup™, Wi-Fi Protected Setup™ or AOSS™ have the symbols shown below. Configure the wireless settings Make sure the printer power switch is on. Turn on your Macintosh ROM into your CD-ROM drive. ® . Put the supplied CD- Macintosh Double-click the HL2100 icon on your desktop.
- Page 43 • Use a pointy object such as a ballpoint pen to press the button. • If you press the button for 3 seconds or more, the printer will change to the PIN Method of the Wi-Fi Protected Setup™ mode. The printer starts the one-push wireless setting mode.
- Page 44 Go to step 18. ® For Mac OS X 10.3 or greater users: Go to step 16. The Brother software will search for the Brother printer. During this time the following screen will appear. Macintosh Note If more than one printer is available, the following list appears.
- Page 45 Installing the Printer Driver Choose your printer, and then click Add. Note • If there is more than one of the same printer model connected on your network, the Ethernet address (MAC address) will be displayed after the model name.
-
Page 46: Configuration Utility
BRAdmin Light utility (For Windows The BRAdmin Light is a utility for initial setup of Brother network connected devices. It can also search for Brother products on your network, view the status and configure basic network settings, such as IP address. -
Page 47: Bradmin Light Utility (For Mac Os ® X Users)
BRAdmin Light utility (For Mac OS The BRAdmin Light is a utility for initial setup of Brother network connected devices. It can also search for Brother products on your network, view the status and configure basic network settings, such as IP address from a ®... -
Page 48: Web Based Management (Web Browser)
For Network Users Web Based Management (web browser) The Brother print server is equipped with a web server that allows you to monitor its status or change some of its configuration settings, using HTTP (Hyper Text Transfer Protocol). Note • The User Name is ‘admin’ and the default password is ‘access’. -
Page 49: Consumables
Consumables When the time comes to replace consumable items, an error will be indicated by the LED’s on the control panel. For more information about the consumables for your printer, visit us at http://solutions.brother.com or contact your local Brother reseller. -
Page 50: Repacking Information
When shipping the printer, the DRUM UNIT and TONER CARTRIDGE assembly must be removed from the printer and put in a plastic bag. Failure to remove the unit and put it in a plastic bag before shipping may cause severe damage to the printer and may VOID THE WARRANTY. - Page 51 The contents of this manual and the specifications of this product are subject to change without notice. Brother reserves the right to make changes without notice in the specifications and materials contained herein and shall not be responsible for any damages (including consequential) caused by reliance on the materials presented, including but not limited to typographical and other errors relating to the publication.
Need help?
Do you have a question about the HL 2170W and is the answer not in the manual?
Questions and answers