Advertisement
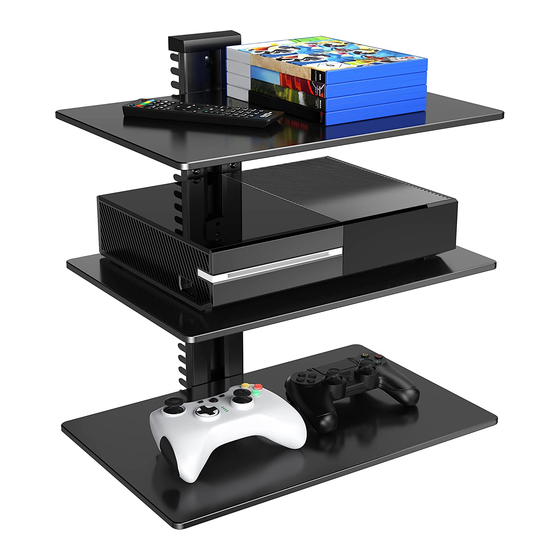
Floating Wall Mounted Shelf
Instruction Manual
V9.0
PSDSK1
PSDSK2
Model:
Model:
PSDSK3
Model:
Thank you for choosing this PERLESMITH product! At
PERLESMITH we strive to provide you with the best quality
products and services in the industry. Should you have any issues,
please don't hesitate to contact us at
Technical Support:
1-800-556-6806 Mon-Fri 8am - 8pm(CST)
Other Info:
supportus@perlesmith.com(US)
supportca@perlesmith.com(CA)
Advertisement
Table of Contents

Related Manuals for Perlesmith PSDSK1


Summary of Contents for Perlesmith PSDSK1
- Page 1 PSDSK3 Model: Thank you for choosing this PERLESMITH product! At PERLESMITH we strive to provide you with the best quality products and services in the industry. Should you have any issues, please don't hesitate to contact us at Technical Support:...
- Page 2 INSTALLATION OR ASSEMBLY. READ THE FOLLOWING WARNINGS BEFORE BEGINNING. If you do not understand the instructions or have any concerns or questions, please contact us at supportus@perlesmith.com (US)/supportca@perlesmith.com (CA). Do not install or assemble if the product or hardware is damaged or missing. Not all parts and hardware included must be used.
- Page 3 Supplied Parts and Hardware Wall plate Cable manager Glass shelf End cap PSDSK1 X2 PSDSK1 X1 PSDSK2 X4 PSDSK2 X2 PSDSK3 X4 PSDSK3 X3 Connector Glass Shelf Support Plug PSDSK1 X1 PSDSK1 X2 PSDSK1 X1 PSDSK1 X1 PSDSK2 X2 PSDSK2 X2...
- Page 4 Use a stud finder to locate Position the wall plate [A] at your desired height and line up wood stud and mark the edge the holes with your stud center line. Level the wall plate and and center location. mark 2 holes. Level Drill pilot holes using a 1/8 in (3.2 mm) Secure the wall plate [A] with the lag...
- Page 5 Position the wall plate [A] at your desired height, level the wall Drill 2 pilot holes into concrete wall. plate [A] and mark 2 pilot hole locations. 1/8” 5/16” (3.2mm) (8mm) 2 3/16” (60mm) (55mm) Note: Never drill into the mortar between blocks Knock 2 anchors [W-B] into drilled Secure the wall plate [A] to concrete wall using lag screws...
- Page 6 Insert the glass shelf support [G] along Firmly tighten the bolts [S-A] with Allen the wall plate rail at the desired height key [S-B]. respectively. Paste the pads [F1 and F2] to glass shelf Secure glass shelf [C] to glass shelf support support [G] respectively.
- Page 7 3. ADD END CAPS AND PLUGS (Take the PSDSK2 as an Example ) Option A 3A-1 Manage the cables along with the cable manager 3A-2 Add one of the end caps to the bottom of the wall plate, then insert the cable manager with cables into the wall plate 3A-3 Add end caps and plugs into the wall plate 3A-1...
- Page 8 PSDSK3 Model: All of us at PERLESMITH do appreciate your product purchase. We hope that you are as happy with your product as we designing and manufacturing it for you. We strive to provide you with the best quality products and services in the industry. If...
Need help?
Do you have a question about the PSDSK1 and is the answer not in the manual?
Questions and answers