Table of Contents

Related Manuals for ReadyNet QX300


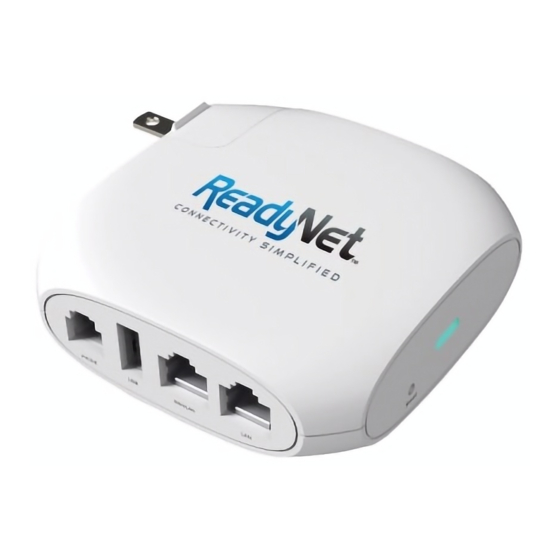
Summary of Contents for ReadyNet QX300
-
Page 1: Table Of Contents
SIPmon SIPProt Desktop & Mobile UADs Appliances From Bicom Systems Wiki Contents 1 Introduction - How to use ReadyNet QX300 with PBXware 1.1 Requirements 2 Installation 2.1 Power Adapter 2.2 IP Address 2.3 Factory Settings 3 Registering Device 3.1 Manual Configuration 3.2 Auto Provisioning... -
Page 2: Requirements
This "How to" is written as a general guide on how to use your ReadyNet QX300 with PBXware. It covers the most common tasks required in order to have your ReadyNet QX300 working efficiently. Requirements 1. Identify ReadyNet device To start and successfully complete registration of your ReadyNet device you need to know which device model you will setup. -
Page 3: Power Adapter
LAN. IP Address 1. Find out your ReadyNet QX300 IP Address For ReadyNet QX300 lift the handset and enter ****, choose "1" and then choose "2", the IP address will be recited. Factory Settings 1. Reset to factory settings This step is not required for out-of-the-box devices, however, if the device has been already used then it is a must. - Page 4 2. UAD settings Navigate to Settings:UAD. Make sure ReadyNet QX300 UAD is enabled. To check the UAD status click on the edit icon corresponding to your ReadyNet QX300 UAD phone. Make sure Status is set to Active, Auto provisioning is set to No, and DHCP is set to Yes.
- Page 5 "1234" or "1003" etc. An auto-generated PIN will allow access to voicemail and online self-care. Registering Phone This chapter describes how to register ReadyNet QX300 device using Hostname or IP Address. Hostname or IP Address 1. Login to device web administration interface Open a new browser window and enter your phone IP address in order to access the device web administration interface login screen.
-
Page 6: Auto Provisioning
Click on FXS1 tab at the top navigation menu. Enter the following details into the respective fields. REQUIRED FIELDS: Proxy Server (Proxy and Registration section) Enter the Hostname or IP Address of the PBXware. - Example for Hostname: voip.bicomsystems.com - Example for IP Address: 192.168.1.10 Display name (Subscriber Information section) PBXware extension name. - Page 7 2. UAD settings Navigate to Settings:UAD. Make sure ReadyNet QX300 UAD is enabled. To check the UAD status click on the edit icon corresponding to your ReadyNet QX300 phone. Make sure Status is set to Active, Auto provisioning is set to Yes, and DHCP is set to Yes.
- Page 8 TFTP 1. Login to device web administration interface If there is no DHCP in your network, you can still auto provision your ReadyNet QX300 device. Please refer to your ReadyNet QX300 phone device User Guide for instruction about setting static IP address. After you configure your ReadyNet device to use a static IP address, continue with the following steps.
- Page 9 Click on Administration tab at the top navigation menu. Click on Provision tab. In the Profile Rule field enter tftp:// followed by Hostname or IP Address, followed then by /$MA.conf. - Example for Hostname: tftp://voip.bicomsystems.com/$MA.conf - Example for IP Address: tftp://192.168.1.10/$MA.conf Make sure that Option 66 is DISABLED.
Need help?
Do you have a question about the QX300 and is the answer not in the manual?
Questions and answers