Advertisement
Quick Links
10
Use 4mm hex wrench to tight both
pieces together (3.5-5.4 N
down the Cam Unit and the Stabilizer
Unit during the process so they hold
their position.
Reinstall the rubber ring to its original position.Reinstall the P-Cover
11
back to its place (press down to their original position the Cam
Unit and the Stabilizer Unit in case they impede placing the
P-Cover back) and use the 3 bolts to secure it (1-1.5 N
Turn the derailleur body clockwise and the OSPW
12
counterclockwise to return the derailleur to its resting
position. Please note turning directions to avoid any damage.
m). Hold
.
(Fix the limit screw)
Optional accessories:
.
m)
RDH L28 (not included): With some frames and cassettes with
especially big sprockets, the clearance between the upper
pulley and the bigger sprockets can be reduced to the point of
impair the shifting performance on the lower gears. If you are
experiencing performance issues on the lower gears while using
+
your OSPW
, we recommend replacing the original bracket axle
unit of your derailleur with Ridea's RDH L28 bracket axle unit to
improve clearance.
RIDEA GROUP Limited
www.rideabikes.com
+
service@rideabikes.com
@CyclingRidea
Reinstall the pulley cage stop screw
13
(1 N
m).
.
14
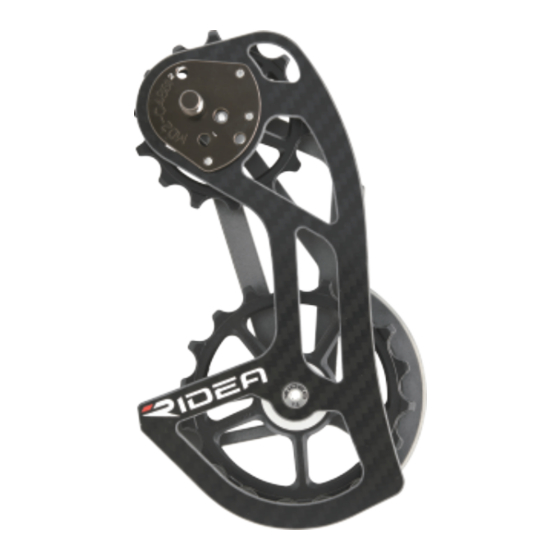
Congratulations, your MD2 C48
+
OSPW
system is now installed!
TEL: +886 4 7715639
FAX: +886 4 7720539
2
Edition February 2019
nd
+
OSPW
+
OverSized Pulley Wheel System
SHIMANO XTR M986 / XT M786 / SLX M675 10sp
Rear Derailleur Cage (MD2 C48)
Installation Manual
Advertisement

Related Manuals for Ridea OSPW+ MD2 C48


Summary of Contents for Ridea OSPW+ MD2 C48
- Page 1 If you are experiencing performance issues on the lower gears while using your OSPW , we recommend replacing the original bracket axle unit of your derailleur with Ridea’s RDH L28 bracket axle unit to improve clearance. RIDEA GROUP Limited www.rideabikes.com...
- Page 2 Place the washer on the cage-body Thank you for your purchase. Please read thoroughly interface of the OSPW this installation manual before proceeding with the upgrade of your rear derailleur. (Warranty void if manual is not read and followed) Required tools For the installation of your new MD2 C48 Oversized Pulley Wheel Use the 2mm hex wrench to remove the 3 P-Cover bolts the P-Cover and the rubber ring.
Need help?
Do you have a question about the OSPW+ MD2 C48 and is the answer not in the manual?
Questions and answers