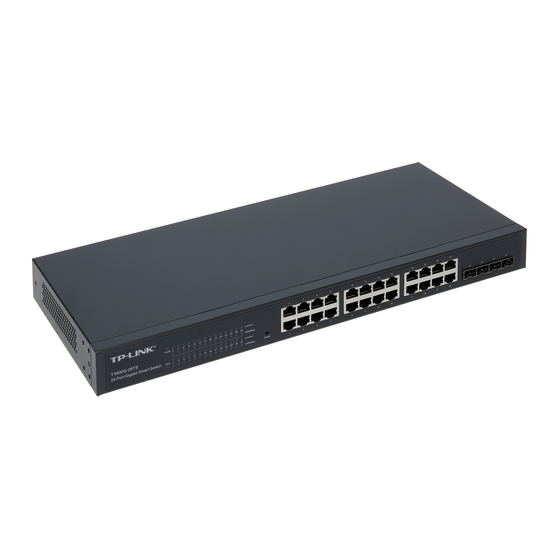
TP-Link TL-SG2216 Installation Manual
Hide thumbs
Also See for TL-SG2216:
- Reference manual (226 pages) ,
- User manual (132 pages) ,
- Cli reference manual (120 pages)

Related Manuals for TP-Link TL-SG2216


Summary of Contents for TP-Link TL-SG2216
- Page 1 Business Networking Solution Installation Guide Easy Smart /Smart /Managed Rackmount Switch...
- Page 2 CONTENTS English................0 1 Бъ лгар ски................ 06 Čeština................11 Қазақша................16 Lietu v ių.................2 1 Magyar................26 Polski................3 1 Р усский язык..............36 R o mân ă..
-
Page 3: Desktop Installation
English English Installation Desktop Installation ■ To install the device on the desktop, please follow the steps below: 1. Set the device on a flat surface strong enough to support the entire weight of the device with all fittings. 2. Remove the adhesive backing papers from the rubber feet. -
Page 4: Rack Installation
English English Rack Installation ■ To install the devic e in a rack, follow the instr uctions described below: 1. Check the grounding and stability of the rack. 2. Secure the supplied rack-mounting brackets to each side of the device with supplied screws. Rackmounting Bracket Screw... -
Page 5: Ethernet Port
English English Connection Ethernet Port ■ Connect an Ethernet port of the switch to the computer by RJ45 cable as the following figure shown. RJ45 Cable SFP Port ■ For switches with SFP ports, you can connect a SFP port to a SFP module. -
Page 6: Console Port
English English Console Port ■ For switches with the console port, you can connect the console port with your computer by the console cable. Then you can load the CLI to manage the switch. Power On ■ Plug the female connector of the provided power cord into the power socket of the device, and the male connector into power outlet. - Page 7 English English Configuration Configure the Switch Using the GUI ■ 1. Set the IP address of your PC in the same subnet of the switch. The IP address is 192.168.0.x("x" is any number from 2 to 254); the Subnet Mask is 255.255.255.0. 2.
- Page 8 English English Switches. For the detailed instructions as to how to do this, please refer Utility User Guide.
- Page 9 Български Български Инсталация Настолен монтаж ■ З а д а и н с т а л и р а т е у с т р о й с т в о т о н а б ю р о, м о л я, следвайте...
- Page 10 Български Български Инсталация в шкаф / стелаж ■ За да инсталирате устройството в съответния шкаф или стелаж, следвайте инструкциите, описани по-долу: 1. Проверете заземяването и стабилността на шкафа. 2. Завинтете доставените крепежни елементи / скоби н а в с як а с т ран а от ус т р о й с тв ото с до с тав е н ите винтове.
- Page 11 Български Български Свързване Ethernet порт ■ Свържете Ethernet порта на суича към компютъра чрез RJ45 кабел, както е показано на следващата фигура. RJ45 кабел SFP порт ■ При суичове с SFP портове, можете да свържете SFP порта към SFP модул. Ако SFP трансивър е инсталиран в...
- Page 12 Български Български Конзолен порт ■ За комутатори с конзолен порт, можете да свържете конзолния порт с компютъра си през конзолния кабел. След това можете да заредите CLI за управление на комутатора. Включване към захранването ■ Свържете конектора от доставения захранващ кабел в...
- Page 13 Български Български Конфигуриране Ко н ф и г у р и р а н е н а с у ич а с и з ■ п о л з в а н е н а графичния потребителски интерфейс 1. Поставете IP адреса на вашия РС в една и съща подмрежа...
- Page 14 Български Български у прав л яв ате центра лн о цели мр еж и с Easy Смарт суичове. За подробни инструкции как да го направите, м о л я, в и ж т е Р ъ к о в о д с т в о т о з а п о т р е б и т е л я н а Софтуерния...
Need help?
Do you have a question about the TL-SG2216 and is the answer not in the manual?
Questions and answers