
Related Manuals for GLAZING VISION Ridgeglaze


Summary of Contents for GLAZING VISION Ridgeglaze
- Page 1 Ridgeglaze 402-INST-UK-003 v1.1 – 11 Dec 2020 www.glazingvision.co.uk +44 (0)1379 658300 info@glazingvision.co.uk...
-
Page 2: Table Of Contents
402-INST-UK-003 v1.1 – 11 Dec 2020 Contents Section Description Page Introduction Safety Information Pre-Installation Preparation Upstand Top Trim Installation Installation Procedure Interior Finishing Need assistance? +44 (0)1379 658300 info@glazingvision.co.uk Page 2 of 12... -
Page 3: Introduction
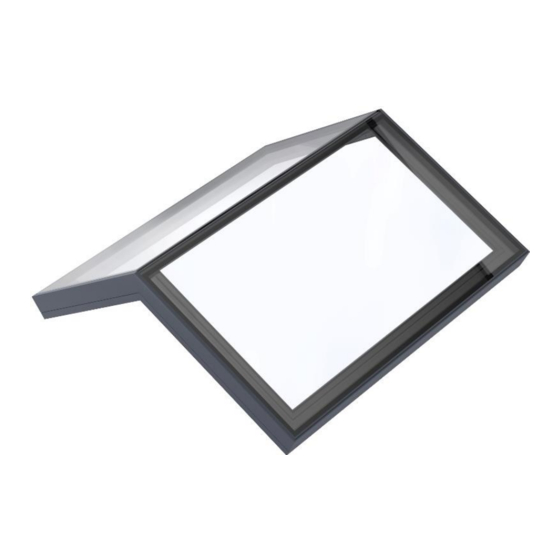
Introduction Thank you for purchasing a Glazing Vision Ridgeglaze. In order to ensure that it gives you many years of service it is important that before commencing any work you read these instructions fully and ensure that they are strictly followed for a successful and trouble free installation. -
Page 4: Safety Information
These products can be very heavy. Extreme care must be taken during handling and installation. Full consideration should be given to how you will safely transport your rooflight product from the delivery vehicle to the installation location. Glazing Vision strongly recommends that specialist, mechanical lifting equipment is employed. - Page 5 (please refer to terms and conditions of sale). Pre-Installation: • Glazing Vision products are heavy, fragile and of awkward shape and size. There may be uneven weight distribution due to the materials used and their design. • The weight(s) of each individual product (or product section) will be clearly marked on the product and will be communicated to clients before despatch of goods.
-
Page 6: Pre-Installation Preparation
The Ridgeglaze should arrive on site in undamaged packaging, which includes a wooden build frame, cardboard, polyfoam glass protection and low tack tape. Please inspect for damage to packaging and/or product and advise Glazing Vision of any damage or shortfall within 48 hours from signing the receipt of your delivery. - Page 7 Nothing in this manual or on Glazing Vision’s sales drawings constitutes a structural proposal. Glazing Vision strongly recommends that a ‘dry run’ (without any silicone) is completed before committing to the final installation.
-
Page 8: Upstand Top Trim Installation
402-INST-UK-003 v1.1 – 11 Dec 2020 Upstand Top Trim Installation (If Specified) Begin by cutting the upstand top trim to the lengths required for all sides of the upstand. The corner joints can either be mitred (45°) or straight cut with notches (see image below). If the material requires bending to suit the pitch of the upstand, this can be achieved by screwing the section to the upstand as below and gently tapping the horizontal part using a clean rubber mallet. -
Page 9: Installation Procedure
402-INST-UK-003 v1.1 – 11 Dec 2020 Installation Procedure Prior to commencing installation, photographs of the fully weathered upstand and surrounding area must be taken and retained for future reference. Step 1 Remove all packaging from the product including polyfoam glass protection and low tack tape. When removing the packaging, try to keep it intact as much as possible, so that after installation it can be re-used to protect the product until project completion and final handover. - Page 10 Once satisfied that everything is correctly positioned, carefully release the weight of the section. Remove the crane and lifting equipment. Curb centreline First section of Ridgeglaze Curb Figure 7 – Centreline alignment Figure 8 – Installing the first half of the unit Step 5 Drill Ø3 mm pilot holes into the upstand through the pre-drilled holes in the section’s framework (concealed by the clip on cover).
- Page 11 402-INST-UK-003 v1.1 – 11 Dec 2020 Upstand fixing Packers Figure 9 - Upstand fixings Step 6 Place the joining plates into the section that has not yet been installed. Ensure that the centrelines of these plates line up with the upstand centreline at the apex.
-
Page 12: Interior Finishing
Glazing Vision does not specify the finishes permitted except for the following stipulations: • The finish must be built up to the internal dimension of the product – see Glazing Vision’s sales drawings. • No interior metal component (for example edging strips for plastering) may touch any part of the product framework.
Need help?
Do you have a question about the Ridgeglaze and is the answer not in the manual?
Questions and answers