
Related Manuals for Canvas PERTH 168-0073-8


Summary of Contents for Canvas PERTH 168-0073-8
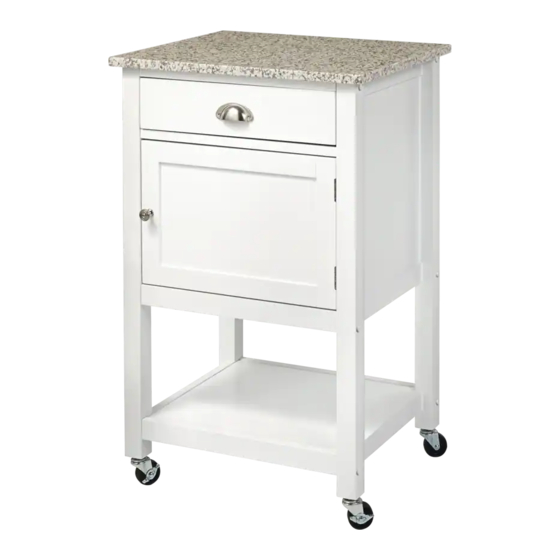
- Page 1 PERTH KITCHEN CART WITH GRANITE TOP MODEL NO. 168-0073-8 ASSEMBLY INSTRUCTIONS HAVING TROUBLE? TOLL-FREE: 1-888-670-6684...
-
Page 2: Tools Required
READ THE FOLLOWING SAFETY INSTRUCTIONS BEFORE ASSEMBLING AND USING THE KITCHEN CART. That's why the CANVAS assortment gets its inspiration from Canadians and the way they live. • This product is intended for domestic indoor use only. -
Page 3: Parts List
PARTS LIST EXPLODED VIEW ITEM DESCRIPTION QUANTITY Granite Top Left End Right End Drawer Bottom Rail Back Panel Drawer Bottom Support Rails Support Rail Base Panels Storage Door Drawer front Drawer Left Drawer Right Drawer Back Drawer Bottom PERTH KITCHEN CART WITH GRANITE TOP PERTH KITCHEN CART WITH GRANITE TOP... - Page 4 PARTS LIST PARTS LIST EXPLODED VIEW ITEM DESCRIPTION QUANTITY Cam Bolts Hidden Cams Hooks Flat Head Screws Handle Bolt Bolts Barrel Nuts Drawer Handle Locking Wheels Wheels Slide Runners Slide Tracks Door Hinges Screws Wood Dowels Door Handle Magnetic Catch Metal Plate Screws Hook Bolts...
- Page 5 S T EP-B Y - STE P I N S T RUC TIO N STEP 2 STEP 1 REQUIRES A, N, K, 3 REQUIRES L, K Fasten one SLIDE RUNNER (K) to the RIGHT END (3), using three SCREWS (N). The SLIDE TRACK (L) and the SLIDE RUNNER (K) will need to be separated for assembly.
- Page 6 S T EP- B Y -S TE P I N S T RUC TI O N STEP 3 STEP 4 REQUIRES A, K, N, Q, S,C,T,2 REQUIRES F, G, O,W, 1, 3, 4 Fasten one SLIDE RUNNER (K) to the LEFT END (2), using three SCREWS (N). Fasten the MAGNETIC CATCH (Q) to the LEFT END (2), u sing two SCREWS (S) .
- Page 7 S T EP-B Y - STE P I N S T R UCTI O N STEP 6 STEP 5 REQUIRES B, F, G, O,W, 3, 6, 8 REQUIRES B, F, G, O, 6, 7, 8 Put together two DRAWER BOTTOM SUPPORT RAIL (6) and BASE PANEL (8) as shown. Put together DRAWER BOTTOM SUPPORT RAIL (6), BASE PANEL (8) and DRAWER BACK No tools are needed at this stage.
- Page 8 S T EP- B Y -S TE P I N S T RUC TI O N STEP 8 REQUIRES B, F, G, O,W, 1, 2, 4, 6, 7, 8 STEP 7 Insert two BARREL NUTS (G) into the granite top support rail as shown. REQUIRES 1, 5, 7 Insert two WOOD DOWELS (O) into the DRAWER BOTTOM RAIL (4).
- Page 9 S T EP- B Y - STE P I N S T RUCTI O N STEP 9 STEP 10 REQUIRES M, R, S, 9 REQUIRES I, J Fasten METAL PLATE (R) to the STORAGE DOOR (9), using one SCREW (S). Identify two LOCKING WHEELS (I) and two WHEELS (J) for the specific legs.
- Page 10 S TEP- B Y - STE P I N S T R UCTI O N STEP 11 STEP 12 REQUIRES E, S, P, 9 REQUIRES A, D, H, Ac, 10, 11, 12, 13 HANDLE BOLT Fasten the DRAWER HANDLE (H) to the DRAWER FRONT (10), using two (Ac).
- Page 11 S TEP- B Y - STE P IN S T R UC TI O N STEP 13 STEP 14 REQUIRES B, 10, 11, 12, 14 REQUIRES L, N, 11, 12 Slide the DRAWER BOTTOM (14) into the groove in DRAWER LEFT (11) and DRAWER RIGHT (12). Fasten the SLIDE TRACK (L) to the DRAWER LEFT (11), using three SCREWS (N).
- Page 12 S T E P- B Y - STE P I N S T RUC TIO N STEP 16 REQUIRES X, Y, Z, Aa, Ab STEP 15 Carefully stand your unit upright and place in its final location. REQUIRES K,L,U, 10 To reduce the risk of Tip-over, we suggest to use ANTI-TIP RESTRAINTS (provided).
-
Page 13: Maximum Weight Capacity
S T EP- BY - STE P I N S T R UC TI O N MAXIMUM WEIGHT CAPACITY This unit has been designed to support the maximum loads shown. Exceeding these load limits could cause sagging, instability, product collapse, and/or serious injury. Please make sure that all the objects are removed before moving the assembled unit. -
Page 14: Warranty
WARRANTY This CANVAS™ product carries a one (1) year warranty against defects in workmanship and materials. Trileaf Distribution agrees to replace the defective product free of charge within the stated warranty period, when returned by the original purchaser with proof of purchase. This product is not guaranteed against wear or breakage due to misuse and/or abuse.
Need help?
Do you have a question about the PERTH 168-0073-8 and is the answer not in the manual?
Questions and answers