Table of Contents
Advertisement
Quick Links
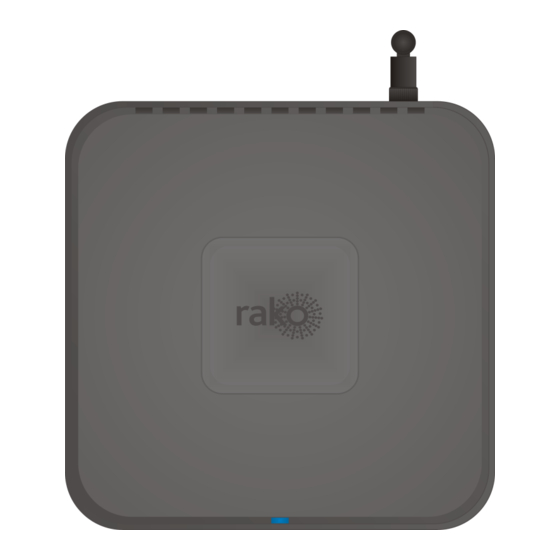
WK-HUB Instruction Manual
For programming a wired system:
Contents:
3.2 Setting up the HUB using the Web Page Wizard
"Wired system Programming Guide"
Advertisement
Table of Contents

Subscribe to Our Youtube Channel
Summary of Contents for rako WK-HUB
-
Page 1: Table Of Contents
7 Downloading the project file 8 Events 8.1 Setting Events using Rasoft Pro 8.2 Setting Events via the HUB webpages 8.3 Setting Events using the Rako App. 9 Mappings 9.1 Mapping wireless commands to give multi-room functionality 9.2 Triggering Macros from Maps 10 Macros 10.1 Writing Macros... -
Page 2: Functions Of The Wk-Hub
Step 1: Plug RJ11 cable provided into the WK-HUB and an available RJ11 port in a RAK-LINK/RAK-STAR/WPCON-C etc. Step 2: Plug the Ethernet patch cable from the WK-HUB to a spare port in a router or network switch. Step 3: Step 3: Mount the WK-HUB to a wall using fixing bracket if desired. -
Page 3: Discovering The Hub And Setting The House Number
3.4 of this manual. 3.2 Setting up the HUB using the Web Page Wizard To access the HUB Web Pages right click the communication device in the bottom right of the software. Select “Open in Browser” WK-HUB Manual Version 1.3.4... -
Page 4: Managing The Hub House Number
3.3 Managing the HUB House number Using the HUB on the default House address of 1 is strongly discouraged. Leaving the House number as 1 drastically increases the likelihood of interface from nearby Rako systems. The HUB always has a default House Address of 1 if it has not been set up before. Before programming using the HUB it is important to ensure the HUB House number corresponds to the Project file House number. -
Page 5: If You Cannot Connect To The Hub
“Custom Scenes” and advanced apple homekit configuration (Channel and Room mode etc.) More detailed descriptions of how to use the more advanced settings within the cloud services are linked from the relevant section of either the HUB webpages or my.rakcontrols.com WK-HUB Manual Version 1.3.4... -
Page 6: Linking The Hub To Cloud Services
Step 2: Press “Login/Register” if you already have a my.rakcontrols.com use the email and password that is used for this, if not create an account. Step 3: Once logged in the code within the HUB will be automatically verified. WK-HUB Manual Version 1.3.4... -
Page 7: Adding The Hub As A Device To Rasoft Pro
“Devices” page should appear as below: 5 Adding the HUB as a device to Rasoft Pro Once the WK-HUB has been successfully connected it will need to be added into the software as a device. Step 1: Select “File”- “New Device” to open the new device wizard. Choose “Bridge”... -
Page 8: Downloading The Project File
If information has been uploaded to the HUB then it is possible to import the Room, Channel and Scene data into a blank project file. The tab used for downloading information from the HUB is called “Room Import” select this tab to open the page below. WK-HUB Manual Version 1.3.4... -
Page 9: Events
Step 4: Press “Refresh Channel Levels” to download the Scene data into the Project File. 8 Events Events can be viewed, added and edited using either Rasoft Pro, The Rako App or HUB webpages. It should be noted that calendar event conditions can only be set from the HUB web page interface. -
Page 10: Setting Events Using Rasoft Pro
The “Event Trigger” and “Active Days” are the timing conditions that define when the event will occur. The dawn and dusk settings can be changed via the location settings in the webpage interface. An offset from this value can be set from this screen if desired. WK-HUB Manual Version 1.3.4... -
Page 11: Setting Events Via The Hub Webpages
Mapping and events created in Rasoft Pro will appear here (as above) but will not be editable. Please consult Rako technical support if you have any questions about “Activities” Events can be created using the interface below, this interface works in a very similar way to that found in Rasoft Pro and the App. -
Page 12: Setting Events Using The Rako App
Once all information has been filled in press “Submit” to activate the Event. 8.3 Setting Events using the Rako App. Events can also be created via the Rako App. The method to create events in the App is essentially the same as detailed above. -
Page 13: Mappings
9 Mappings When Mappings are used the HUB can “listen” to a Rako command (Source) and perform a certain action (Output Action) every time it is “heard”. It is usually preferable to use a programmable keypad rather than HUB Mapping when possible. -
Page 14: Triggering Macros From Maps
Room 17, All Channels Scene 1 Room 49, All Channels Scene 2 With this simple Macro the HUB will just run through the three commands listed. More complex functionality can be achieved by using commands in the tables outlined below. WK-HUB Manual Version 1.3.4... -
Page 15: Writing Macros
Record: Used to create a log of the used of the system. Playback: Used when the house is unoccupied to replay the information gathered in “Record”. Idle: Used when the system is in normal occupied operation and no recording is being made. WK-HUB Manual Version 1.3.4... -
Page 16: Upgrading The Hub
Step 1: Access the HUB webpages as shown in section 3.3 of this manual Step 2: Using the HUB web pages select the “Help” section so that you have the page shown below. Step 3: Click on the updates panel. WK-HUB Manual Version 1.3.4... -
Page 17: Udp Feedback
Each command received or transmitted by the HUB will appear here and it is useful for checking commands that have been programmed as desired. A Bridge/HUB will have to be connected to in order to see this feedback. WK-HUB Manual Version 1.3.4... -
Page 18: Udp Feedback Log
A timestamped log of system activity can be found within the HUB webpages. These can be accessed by selecting the “Logs” section of the HUB webpages. As well as a description of the address (Room and Channel) and command the source of the command can also be viewed. WK-HUB Manual Version 1.3.4... - Page 19 Each green number is an active Mapping/Event/Macro and by clicking on the box it will be enabled, you can see if it has worked by going onto the HUB logs and it will show something like this. WK-HUB Manual Version 1.3.4...
Need help?
Do you have a question about the WK-HUB and is the answer not in the manual?
Questions and answers