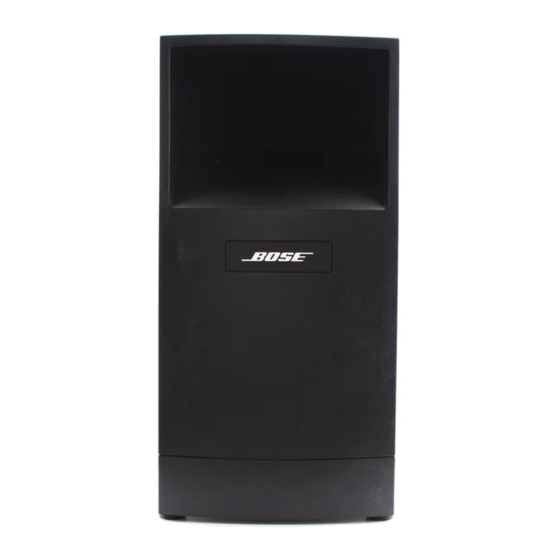
Summary of Contents for Bose Acoustimass 10 Series III
- Page 1 ® ® The Bose Acoustimass 6 Series III and Acoustimass 10 Series III Home Theater Speaker Systems Owner’s Guide...
-
Page 2: Safety Information
Dealer phone: ____________________ Please keep your sales receipt and warranty card together with this owner’s guide. ©2002 Bose Corporation. No part of this work may be reproduced, modified, distributed or otherwise used without prior written permission. Manufactured under license from Dolby Laboratories. “Dolby” and the double-D symbol are trademarks of Dolby Laboratories. -
Page 3: Table Of Contents
Where to find … Setting Up ..............Before you begin . -
Page 4: Setting Up
Please save all packing materials for possible future use. ® ® Acoustimass 6 Series III or Acoustimass 10 Series III ® speaker technology allows you to enjoy lifelike home performances , Dolby Digital , other digital formats, or the word “surround” preced- ®... -
Page 5: Placing Your Speakers To Achieve Realistic Home Theater Sound
• In the Acoustimass 10 system, the top and bottom sections of the cube speaker arrays can be rotated to create room-filling sound patterns (Figure 3). • Bose ries” on page 17. Please follow wall bracket instructions carefully. Proper mounting will ensure optimum performance and safety from your system. -
Page 6: Front Center Cube Speaker
You may obtain additional rubber feet (part number 178321-04), free of charge, by contacting Bose tem. ® 6 Series III System For Acoustimass 6 Series III ® Customer Service. See the list of phone numbers included with your sys- For Acoustimass 10 Series III System For Acoustimass 10 Series III... -
Page 7: Front Left And Right Cube Speakers
• For the Acoustimass 6 system, aim the rear cube speakers slightly behind the listener or reflect the sound off the rear wall (see Figure 3). Powered Acoustimass module Bose ® Acoustimass speaker technology takes advantage of the fact that the source of pure bass sound is difficult to locate, so you can hide the powered Acoustimass module conve- niently out of sight. -
Page 8: Connecting The Speakers
Setting Up Connecting the speakers CAUTION: Never connect the cube speakers directly to a receiver output. Always connect them to the powered Acoustimass CAUTION: Never use broken or frayed wiring, which can result in electrical shock or damage to your system. The supplied cables are not intended for in-wall installation. Check local build- ing codes or enlist a qualified installer. -
Page 9: Connecting Rear Cube Speakers To The Acoustimass Module
Connect the wire pair marked CENTER to the center cube speaker (Figure 5). Press the termi- nal tab on the back of the cube speaker. Insert the marked (+) wire into the red terminal and the plain (–) wire into the black terminal. Release the tab to secure the wires. 2. -
Page 10: Connecting The Acoustimass Module To The Receiver
Setting Up Connecting the Acoustimass The 20-foot (6.1 m) system input cable connects the module to your surround receiver (see Figure 6). The system input cable has a multi-pin connector on one end and several wire pairs on the other. The wire pairs of the cable may be separated or “unzipped” as much as needed to comfortably reach the surround receiver connections. - Page 11 Figure 6 ® Acoustimass module to receiver connections Thumbscrews FRONT SPEAKERS A CENTER FRONT SPEAKERS A CENTER Note: Cables may be separated or “unzipped” as much as needed to comfortably reach the surround receiver connections. Setting Up SURROUND SPEAKERS LFE/SUBWOOFER...
-
Page 12: Checking The Connections
Connecting the Acoustimass module to power Note: Bose age variations and spikes can damage electronic components in any system. A quality sup- pressor can eliminate the vast majority of failures attributed to surges and may be purchased at an electronics store. -
Page 13: Using Your System
For realistic home theater sound CAUTION: The Acoustimass matic protection circuit, which guards against most kinds of damage from electrical stress or overload. This circuit activates at high volume levels to reduce output, causing a slight decrease in volume. This is normal operation and indicates that power input may be exceed- ing safe levels. -
Page 14: Be Sure To Get The Digital Audio Signal
Using your system Be sure to get the digital audio signal To be sure that the digital audio signal from your DVD player reaches your surround receiver, connect the digital audio output from your DVD player to the digital audio input on your receiver (Figure 7). -
Page 15: Reference
If you have a problem with your Acoustimass and try the following solutions. If you still have a problem, contact your Bose arrange for service. To contact Bose directly, refer to the list of service offices and phone numbers enclosed in the shipping carton. -
Page 16: Cleaning The Speakers
Connectivity Size Weight ® speaker system may be cleaned only with a soft dry cloth. ® speaker technology (Acoustimass 10 Series III System) ® speaker design ® computer quality control Acoustimass 6 Series III USA/Canada: 100-127V 50/60 Hz 135W... -
Page 17: Warranty Period
Warranty period Your Acoustimass the warranty are provided on the warranty card that came with your system. Please fill out the information section on the card and mail it to Bose Accessories • Table stands: UTS-20B (black), UTS-20W (white) • Floor stands: UFS-20B (black), UFS-20W (white) •... - Page 18 ©2004 Bose Corporation The Mountain, Framingham, MA 01701-9168 USA 264838-ENGvo AM Rev.00...


Need help?
Do you have a question about the Acoustimass 10 Series III and is the answer not in the manual?
Questions and answers