Table of Contents
Advertisement
Advertisement
Table of Contents

Related Manuals for Haier HWM100-FD10829


Summary of Contents for Haier HWM100-FD10829
- Page 1 User manual Washing machine HWM100-FD10829...
- Page 3 Thank You Thank you for purchasing a Haier Product. Please read these instructions carefully before using this appliance. The instructions contain important information which will help you get the best out of the appliance and ensure safe and proper installation, use and maintenance.
-
Page 4: Table Of Contents
Content 1-Safety information....................4 2-Product description....................7 3-Control panel....................... 8 4-Programmes.......................11 5-Daily use......................12 6-Eco-friendly washing ..................17 7-Care and cleaning ....................18 8-Troubleshooting....................21 9-Installation......................24 10-Technical data....................28... -
Page 5: 1-Safety Information
1-Safety information Before switching on the appliance for the first time read the following safety hints! WARNING! Before first use Make sure these is not transport damage. Make sure all transport bolts are removed. Remove all packing and keep out of children’s reach. Handle the appliance always with at least two persons because it is hea- Daily use This appliance can be used by children aged from 8 years and above a-... - Page 6 1-Safety information WARNING! Daily use Do not remove or inset the plug in the presence of flammable gas. Do not hot wash foam rubber or sponge-like materials. Do not wash any laundry which is polluted with flour. Do not open detergent drawer during any wash cycle. Do not press the door during the washing precess, it gets hot.
- Page 7 1-Safety information WARNING! Installation Installor use the appliance only where the temperature is above 5 °C. Do not place the appliance directly on a carpet, or close to a wall or furn- iture. Do not install the appliance in direct sunlightor in the near of heat sourc- es (e.g.
-
Page 8: 2-Product Description
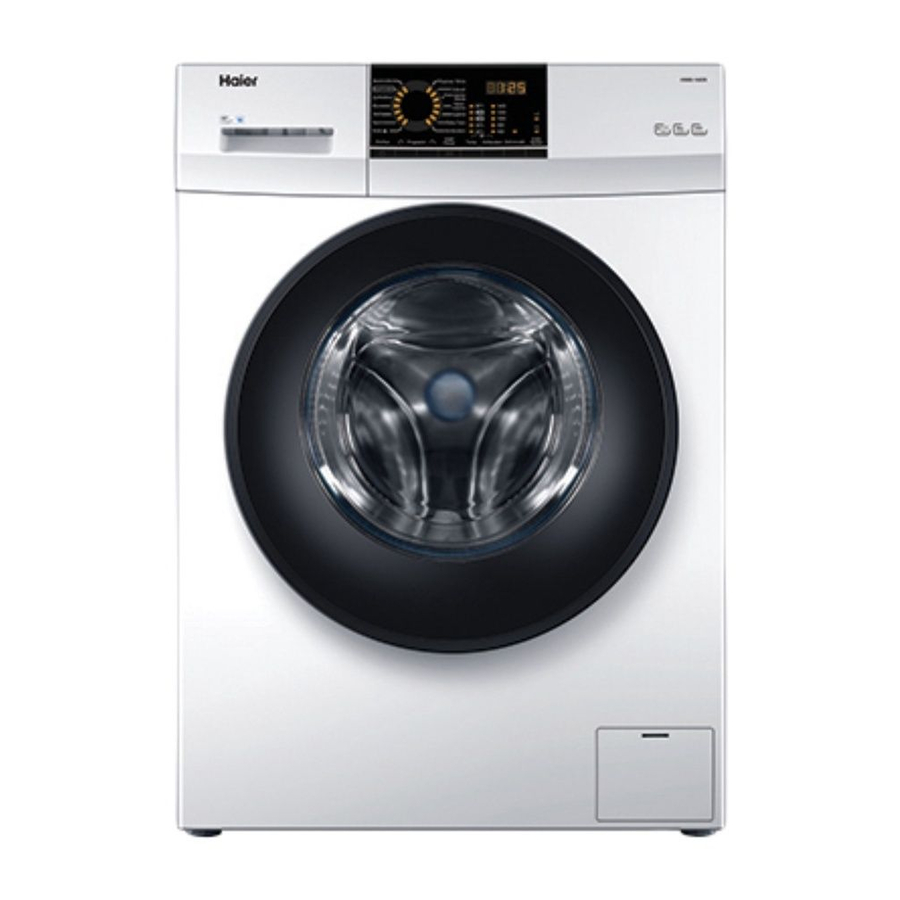
2-Product description Note: Due to technical changes and different models,the illustrations in the following ch- apters may differ from your model. 2.1 Picture of appliance Front (Fig. 2-1): Rear side (Fig. 2-2): HWM100-FD10829 Strong Hijab Middle 1000 10kg Durm Clean... -
Page 9: 3-Control Panel
3-Control panel HWM100-FD10829 Strong Hijab Middle 1000 10kg Durm Clean Soft Spin speed capacity Power Program Start/ Extra Temp. Delay Spin rinse Pause 4 5 6 7 8 Function buttons: Indicators: 1 Detergent /Softener drawer “Extra rinse” 9 Extra rinse indicator “Temp.”... - Page 10 LED lights or-in case of only one option-the LED switches off. Note: Factory set tings To get best results in each programme Haier has well defined specific default sett- ings. If there is no special requirement default settings are recommended. 3-5.1 3.5.1-Function but ton “Extra rinse”...
- Page 11 3-Control panel Express 15min 3.5.3-Function button “Delay” Fast 3-5.3 3-5.4 Delicate/ Press this button (Fig. 3-5.3) to start the programme Silk Hand with a delay. Endtime delay could be increased in steps wash Strong of 30 minutes from 0.5-24h. For example display off Hygienic 6:30 means end of programme cycle will be in 6 hours Babycare...
-
Page 12: 4-Programmes
4-Programmes Detergent compartment for: Water inlet, disinfectant Detergent Softener or care product Yes, Optional, º Temperature Fabric type Preset spin speed in °C Max load (in kg) Programme seletable range Cotton * to 90 Cotton º Strong Strong Shirts to 40 º... -
Page 13: 5-Daily Use
5-Daily use 5.1 Power supply Connect the washing machine to a power supply (220-240V/50Hz; Fig. 5-1). Please refer also to sec- tion INSTALLATION. 5.2 Water connection Before connecting check the cleanliness and clar- ity of the water inlet. Tun on the tap (Fig.5-2). Note: Tightness Before use check for leakage in the joints between the tap and the inlet hose by turning on the tap. - Page 14 5-Daily use Care chart Washing Washable up to 95°C Washable up to 60°C Washable up to 60°C normal process normal process mild process Washable up to 40°C Washable up to 40°C Washable up to 40°C normal process mild process very mild process Washable up to 30°C Washable up to 30°C Washable up to 30°C...
- Page 15 5-Daily use 5.5 Selecting detergent Washing efficiency and performance is determined by used detergent quality. Use only machine wash approved detergent. If needed use specific detergents, e.g. synthetic and woolen fabric. Mind always detergent manufacturer recommendations. o not use dry cleaning agents such as trichloroethylene and similar products. Choose the best detergent Kind of detergent Universal...
- Page 16 5-Dai y use 5.6 Adding detergent 1. Slide out the detergent drawer. 2. Put the required chemicals into corresponding compartments (Fig. 5-4) 3. Push back the drawer gently. Note: Remove detergent residues before next wash cycle from the detergent drawer. Do not overuse detergent or softener.
- Page 17 5-Daily use 5.10 Start wash programme Press “Start/Pause” button (Fig.5-8) to start. Applia- Start/Pause nce operates according to present settings. Changes are only possible by cancelling the programme. 5.11 Interrupt- cancel wash programme To interrupt a running programme press gently “Start/Pause”. The LED in the button is flashing.
-
Page 18: 6-Eco-Friendly Washing
6-Eco-friendly washing Environmentally responsible use To achieve best use of energy, water, detergent and time you should use the recom mended maximum load size. Do not overload (hand width clearance above laundry). For slightly soiled laundry select the Quick 15 min programme. Apply exact dosages of each washing agent. -
Page 19: 7-Care And Cleaning
2. Press the re lease button and remove the drawer. 3. Flush the drawer with water until it is clean and insert the drawer back in the appliance. Express 15min Fast 7.2 Cleaning the machine HWM100-FD10829 Strong Hijab Middle 1000 10kg Durm Clean... - Page 20 7-Care and cleaning .5 Long periods of disuse 7-5.1 7-5.2 If the appliance is left idle for a longer period: 1. Pull out the electrical plug (Fig. 7-5.1). 2. Turn of water supply (Fig. 7-5.2). 3. Open the door to prevent formation of moisture and odours.
- Page 21 7-Care and cleaning 7-6.7 7-6.8 9.Clean carefully pump filter, e.g. using running water(Fig.7-6.7). 10.Refix it thoroughly(Fig.7-6.8). 11.Close service flap. CAUTION! Pump filter sealing has to be clean and unhurt.If the lid is not full tightened, water can escape. The filter must be in place, or it may lead to leakage.
-
Page 22: 8-Troubleshooting
8-Troubleshooting Many occuring problems could be solved by yourself without specific expertise. In case of a problem please check all shown possibilities and follow below instructions before you contact an after sales service. See CUSTOMER SERVICE. WARNING! Before maintenance, deactivate the appliance and disconnect the mains plug from the mains socket. - Page 23 8-Troubleshooting Problem Cause Solution • Motor error. • Contact the After sales service. • Abnormal communication error. • Contact the After sales service. • Unbalanced load error. • Reduce the load. • Water level sensor error. Contact the After sales service. •...
- Page 24 8-Troubleshooting Problem Cause Solusion Washing programme duration will This is normal and doesn‘t af- Automatic adjustment be adjusted. fect functionality. of washing time. Spinning fails. Unbalance of laundry. Check machine load and laun- dry and run a spinning progra- mme again. Degree of pollution does not agree Select an other programme.
-
Page 25: 9-Installation
9-Installation 9.1 Preparation Take the appliance out of the packaging. Remove all packing material including polystyrene base, keep them out of childr- ns reach. While opening the package, water drops may be seen on plastic bag and porthole. Thai nomal phenomenon results from water tests in the factory. Note: Packaging disposal Keep all packaging materials out of children´s reach and dispose them in an environm- entally friendly manner. - Page 26 9-Installation 3. Replace back cover by inserting it in the two gaps 9-3.3 9-3.4 its convexity is facing out (Fig. 9-3.3). 4. Fill left holes with blanking plugs (Fig. 9-3.4). Note: Keep in safe place Keep the transportation bolts in a safe place for later use.
- Page 27 9-Installation 9.6 Drain Water Connection the water drain hose properly to the piping. The hose has to reach at one point a height between 80 and 100 cm above the appliance bottom line! If possible keep always drain hose fixed to the clip at the appliance back. WARNING! Use only the supplied hose set for the connection.
- Page 28 9-Installation 9.7 Fresh Water Connection 9-7.1 9-7.2 Make sure that the gaskets are inserted. 1. Connect the water inlet hose with the angled end to the appliance (Fig. 9-7.1). Tighten the screw joint by hand. 2. The other end connect to a water tap with a 3/4 thread (Fig.
-
Page 29: 10-Technical Data
10-Technical data 10.1 Additional technical data HWM100-FD10829 Model Name Dimension Height 850mm Width 595mm Depth 600mm Power supply 220V-240V/50Hz Current Max power 1900W Water Pressure 0.03MPa≤P ≤1MPa Max. water inlet - cold temperature Net weight 72kg Max spin speed 1000rpm... - Page 32 0020506943MR...
Need help?
Do you have a question about the HWM100-FD10829 and is the answer not in the manual?
Questions and answers