Gevi GECME003D-U Instruction Manual
Hide thumbs
Also See for GECME003D-U:
- Instruction manual (10 pages) ,
- Instruction manual (12 pages) ,
- Instruction booklet (28 pages)
Advertisement
Advertisement
Table of Contents

Related Manuals for Gevi GECME003D-U


Summary of Contents for Gevi GECME003D-U
- Page 1 COFFEE MAKER INSTRUCTION MANUAL GECME003D-U...
-
Page 2: Important Safeguards
3. This appliance has been incorporated with a grounded plug. Please ensure the wall outlet in your house is well earthed. Gevi have focused on creating perfect home appliance 4. To protect against fire, electric shock and injury to persons do for our customer. - Page 3 Ensure the power cord do not touch hot surface of appliance. 21. This appliance is not intended for used by persons (including 10. Do not place the coffee maker on hot surface or beside fire in children) with reduced physical, sensory or mental order to avoid to be damaged.
-
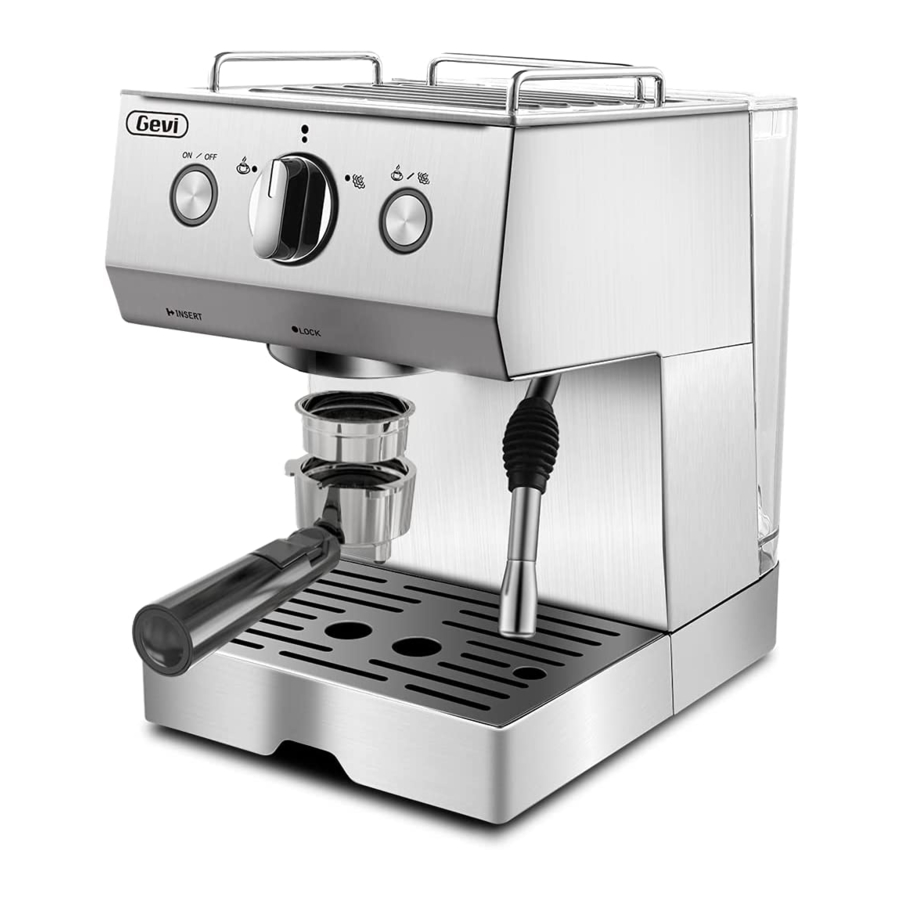
Page 4: Know Your Coffee Maker
Notes on the cord plug: KNOW YOUR COFFEE MAKER This appliance has a polarized plug, To reduce the risk of (Product may be subject to change without prior notice) electric shock, this plug is intended to fit into a polarized outlet only one way, If the plug does not fit fully into the outlet, reverse the plug, If it still does not fit, contact a qualified electrician, Do not attempt to modify the plug... - Page 5 THE FIRST TIME USE USE GUIDE 1: FROTH MILK ALONE TIPS BEFORE OPERATION: OR A LONG TIME NOT USE THE MACHINE For a better taste and good for your health, we suggest Make sure to tear off the sealing tape from the bottom of you to rinse the machine and release the water out.
- Page 6 Plug in the power cord, press down the power switch to NOTE:During the milk frothing, if there is suddenly a noise “I” position (the knob is on the “ ” position) , the coffee and the steam become weak, please check whether the switch light will flash blue, and the default setting is water in the water tank is enough.
- Page 7 3-4-5-6-7. USE GUIDE 2: Pour the froth milk into the espresso. Enjoy your Latte. MAKE ESPREESO AFTER MILK FROTHING (FOR LATTE) After making the froth milk through the steps above (USE GUIDE 1), you can continue to make espreeso, please refer USE GUIDE 3: MAKE ESPRESSO ALONE to the following steps.
- Page 8 START TO OPERATE: Faced up the portafilter, then installed in parallel to the machine from "Insert" to "Lock" in placed, otherwise the Fill water into the water tank NOT exceed the MAX line. Set coffee will splash and leak from the gap of the connection up the water tank vertically and align the buckles to the position.
- Page 9 Waiting for a moment, the espresso will flow out.Once USE GUIDE 4: desired amount of espresso is reached, turn the knob FROTH MILK AFTER MAKING ESPRESSO back to the middle " " position to stop brewing.( To (FOR CAPPUCCINO) After making the espresso through the steps above(USE achieve a full flavor, each cup of espresso should be not GUIDE 3), you can continue to froth milk, please refer to more than 30ml .)
- Page 10 NOTE:During the milk frothing, if there is suddenly a noise TIPS: CLEAN AND MAINTENANCE and the steam become weak, please check whether the How To Clean The Steam Nozzle water in the water tank is enough. If the water is going to (Please mind the hot water and operate carefully) finished in the water tank, it will make a louder noise.
-
Page 11: Special Functions
Uninstall the portafilter in parallel from the coffee outlet SPECIAL FUNCTIONS from the direction of "Lock" to "Insert", then put it down. Both of the Two lights flash for alarming Throw away the coffee powder. Press the coffee switch When finishing producing steam, the temperature of the until the light stop flashing. -
Page 12: Troubleshooting
TROUBLE SHOOTING Symptom Cause Corrections descaler. Please use “household descaler” , you can use the citric There is much water acid (obtainable from chemist’ s or drug stores) instead of the Please clean the drip tray. in the drip tray. descaler (the one hundred parts of water and three parts of Please contact with the Water leaks... -
Page 13: Correct Disposal Of This Product
Do not take apart the appliance by yourself if the cause of failure is not found, you had better contact certified serving center. CORRECT DISPOSAL OF THIS PRODUCT This marking indicates that this productshould not be disposed with other household wastes throughout the EU.
Need help?
Do you have a question about the GECME003D-U and is the answer not in the manual?
Questions and answers