Table of Contents
Advertisement
Quick Links
Advertisement
Table of Contents

Subscribe to Our Youtube Channel
Summary of Contents for Gevi GECME400BA-U
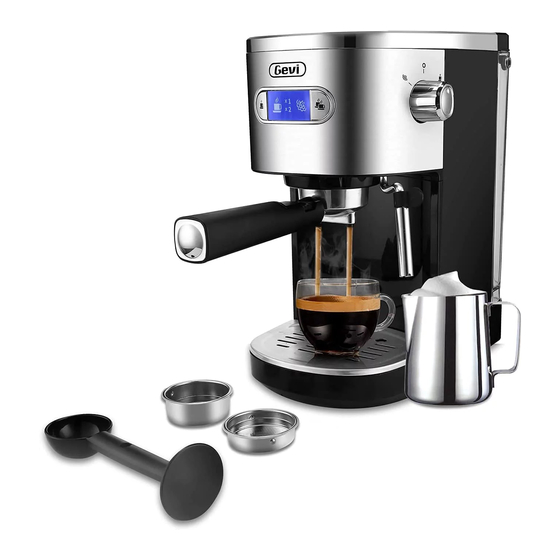
- Page 1 COFFEE MAKER INSTRUCTION MANUAL GECME400BA-U...
-
Page 2: Important Safeguards
This appliance has been incorporated with a grounded Gevi have focused on creating perfect home appliance plug. Please ensure the wall outlet in your house is well for our customer. In the past years, it took us time, lots earthed. - Page 3 Place appliance on flat surface or table, do not hang Connect plug to wall outlet before using and turn any power cord over the edge of table or counter. switch off before plug is removed from wall outlet. Ensure the power cord do not touch hot surface of Relief pressure through steam wand before removing tank appliance.
-
Page 4: Know Your Coffee Maker
KNOW YOUR COFFEE MAKER THE FIRST TIME USE (Product may be subject to change without prior notice) OR A LONG TIME NOT USE THE MACHINE For a better taste and good for your health, we suggest you to rinse the machine and release the water out. Tank cover Fill water into the water tank NOT exceed the MAX line. - Page 5 NOTE: When the water tank is pulled up, the water will USE GUIDE 1: flow out from the outlet at the bottom of the water FROTH MILK ALONE tank, which is a movable part. If you have not wipe the TIPS BEFORE OPERATION water immediately, it will accumulate more and more Make sure to tear off...
- Page 6 ② While during operation, if there is suddenly a loud USE GUIDE 2: noise from the machine, which is due to the water in the MAKE ESPRESSO ALONE TIPS BEFORE OPERATION water tank is not enough for pumping. ③ Please pay attention to the water volume and add Make sure to tear off...
- Page 7 Faced up the portafilter, then installed in parallel to the START TO OPERATE machine from "Insert" to "Lock" in placed, otherwise the Fill water into the water tank NOT exceed the MAX line. Set coffee will splash and leak from the gap of the connection up the water tank vertically and align the buckles to the position.
-
Page 8: Clean And Maintenance
Waiting for a moment, the espresso will flow out. Take TIPS: away the cup. Espresso is done. When finish brewing During operation, if the espresso is dripping out and coffee, turn the knob back to middle place. doesn't flow smoothly. Please check if the water is not Press the power switch to “O”... -
Page 9: Cleaning Mineral Deposits
HOW TO CLEAN THE SEAL RING AUTOMATICALLY POWER-OFF FUNCTION Please mind the hot water and operate carefully. After pressing ON/OFF switch, if there is no any operation NOTE: within 15 minutes, the appliance will power off automatically. As The seal ring is designed to prevent from leaking, once there is too much coffee powder left,the seal ring will be blocked. -
Page 10: Troubleshooting
TROUBLE SHOOTING Symptom Cause Corrections Only after the white indicator There is much water in the drip The white indicator is not Please clean the drip tray. is illuminated, the steam can tray. illuminated. be used to froth. Please contact with the Water leaks from The coffee maker is malfunction. - Page 11 CORRECT DISPOSAL OF THIS PRODUCT This marking indicates that this product should not disposed with other household wastes throughout the EU. To prevent possible harm to the environment or human health from uncontrolled waste disposal, recycle it responsibly to promote the sustainable reuse of material resources.


Need help?
Do you have a question about the GECME400BA-U and is the answer not in the manual?
Questions and answers