Table of Contents
Advertisement
Advertisement
Table of Contents

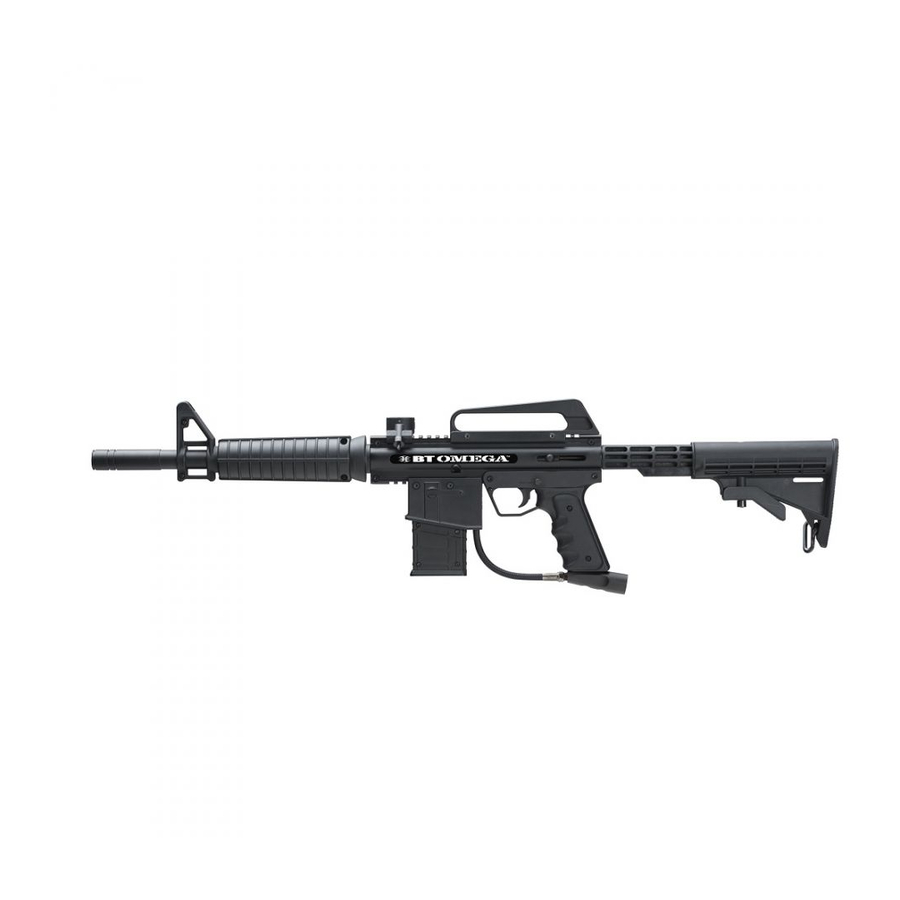
Summary of Contents for BT OMEGA
- Page 1 O W N E R ’ S M A N U A L B T P A I N T B A L L . C O M...
-
Page 2: Table Of Contents
“Battle Tested” are trademarks of BT Paintball Designs. All rights reserved. NEITHER BT PAINTBALL DESIGNS, INC. NOR ANY OF ITS PRODUCTS ARE AFFILIATED WITH TIPPMANN SPORTS, LLC. Patents pending. B T P A I N T B A L L . C O M... -
Page 3: Rules For Safe Marker Handling
For your own BT Paintball Designs, Inc. is honored that you have chosen a BT marker as safety and to protect the image of the sport, always carry your marker in your marker of choice and hope you enjoy using this high-quality product. -
Page 4: Getting Started
3. Getting Started Barrel Installation Safety and safe marker handling are the most important aspects of • Make sure marker is degassed, hopper removed, no paintballs in the paintball sports. Please practice each of the following steps with an feed port or breech and the marker is in “Safe Mode”. unloaded marker before attempting to charge your marker with an air •... - Page 5 Loader ed at the base of the pistol grip. • Position the BT marker so that the air cylinder adapter is pointed • To install a loader, check the Slide-Away™ elbow and loader to make upwards while keeping the muzzle of the marker pointed in a safe sure they are free from debris and obstructions.
-
Page 6: Firing Your Marker
Stock Adjustment make sure that anyone within range of the BT marker does the same. • While pointing the marker in a safe direction, remove the barrel-block- Push the stock adjustment lever ing device. up and adjust the stocks length •... -
Page 7: Removing Air Supply
Do not use any petroleum based or aerosol products on your marker. Petroleum-based and aerosol products can • BT marker must be clear of all paint and propellant when not being used. damage your markers O-rings. -
Page 8: Disassembly/Reassembly
Press in the two locking tabs on each side of the magazine and pull it I I M M P P O O R R T T A A N N T T : : Never carry your BT marker uncased when not on a play- down and out of the marker’s body. - Page 9 name plate facing up. Removing Barrel Adapter, Ball detent and Front Bolt • Remove the seven receiver screws. (Fig. 1. 1 0) • Lift name plate receiver away from other receiver half (Fig. 1.7). • Lift away barrel adapter (and barrel if still installed). •...
-
Page 10: Parts List And Diagram
Valve Screw 19416 Left Receiver 19283 Velocity Screw 19418 Magazine 19284 Feed Elbow Pinch Bolt 19420 Omega Name Plate 19285 Feed Elbow Nut 19421 Grips (left and right side) 19287 Feed Elbow Washer 19422 Trigger Plate 19288 Tank Adapter Nuts... - Page 11 B T P A I N T B A L L . C O M...
-
Page 12: Troubleshooting
12. Troubleshooting PROBLEM DIAGNOSIS SOLUTION Marker double firing or going full auto • Air cylinder low on air • Get air cylinder filled • Rear bolt O-ring worn or damaged • Replace rear bolt O-ring • Rear bolt or sear worn •... -
Page 13: Warranty Information
Some states, provinces and nations do not allow the limitation of implied warranties or of incidental or consequential damages, so the above limitations or exclusions may not BT Omega Instruction Manual Version 1.0 10/09. B T P A I N T B A L L . C O M... - Page 14 B T P A I N T B A L L . C O M B T P A I N T B A L L . C O M...
- Page 15 B T P A I N T B A L L . C O M...


Need help?
Do you have a question about the OMEGA and is the answer not in the manual?
Questions and answers