Advertisement
Quick Links
S t a r t H e r e
Po i n t d e d é p a r t
Epson St y lu s
1
Unpa ck
D é ba lle z l ' a p p a re i l
Remove all the tape.
Retirez tout le ruban adhésif.
If anything is missing, contact Epson® as described on the back in
"Any Questions?".
S'il manque un élément, communiquez avec Epson® tel qu'indiqué au
verso sous « Avez-vous des questions? ».
2
Unl o c k th e Pr i n te r
Déve r ro ui l l e z l ' i m p r i m a n te
1
Lift up the scanner.
Soulevez le scanner.
2
Remove the tape from the ink
cartridge holder.
Retirez le ruban adhésif retenant
le support de cartouches d'encre.
3
Close the scanner.
Rabattez le scanner.
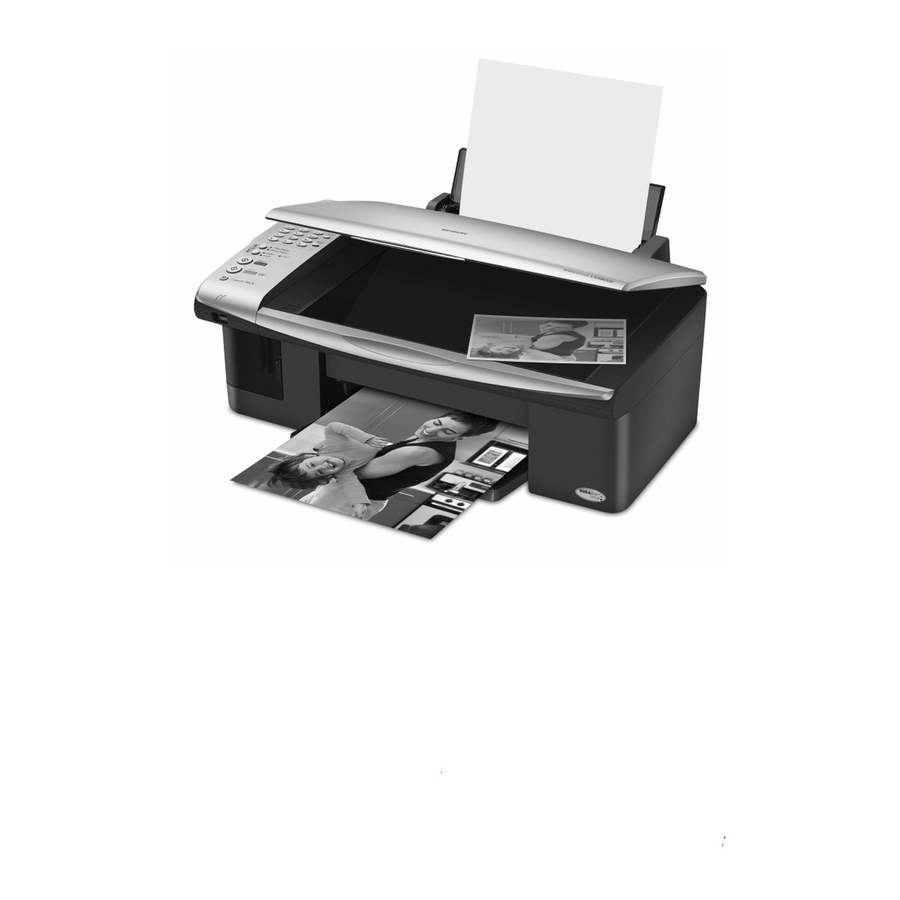
CX 5800F
®
3
Tur n O n the Eps on St y lu s C X5 8 0 0 F
Allumez l'appareil Epson Stylus CX5800F
1
Connect the power cable.
Branchez le cordon d'alimentation.
2
On button.
Press the
Appuyez sur le bouton d'alimentation
4
I n s ta ll In k Car tri dges
In s ta l le z les car tou ch es d' en c re
Note:
Don't load paper before installing the ink cartridges.
Mise en garde :
Ne chargez pas de papier avant d'installer les
cartouches d'encre.
1
Lift up the scanner and press
OK.
Soulevez le scanner et
appuyez sur
OK .
2
Open the ink cartridge cover.
Ouvrez le couvercle du support
de cartouches d'encre.
3
Shake the ink cartridges,
then unpack them.
Agitez les cartouches d'encre,
puis déballez-les.
On.
Start
Color
OK
Advertisement

Related Manuals for Epson Stylus CX5800F


Summary of Contents for Epson Stylus CX5800F
- Page 1 CX 5800F ® Tur n O n the Eps on St y lu s C X5 8 0 0 F Allumez l’appareil Epson Stylus CX5800F Unpa ck Connect the power cable. D é ba lle z l ’ a p p a re i l Branchez le cordon d’alimentation.
- Page 2 Chargez du papier contre le guide-papier droit et faites glisser le Caution: Don’t turn off the Epson Stylus CX5800F while Charging guide-papier gauche contre la pile. appears on the LCD screen or you’ll waste ink. Mise en garde : N’éteignez pas l’appareil Epson Stylus CX5800F...
- Page 3 Guide de l’utilisateur électronique. see “Connect Phone Line” to the right. To connect your Epson Stylus CX5800F to a phone line for faxing, see the Pour connecter l’appareil Epson Stylus CX5800F à une ligne téléphonique next section.
- Page 4 Epson disclaims any and all rights in those marks. pour obtenir d’autres renseignements de dépannage. Epson et Epson Stylus sont des marques déposées de Seiko Epson Corporation. DURABrite est une marque déposée et SoundAdvice est une marque de service d’Epson America, Inc.
Need help?
Do you have a question about the CX5800F and is the answer not in the manual?
Questions and answers