Advertisement
Quick Links
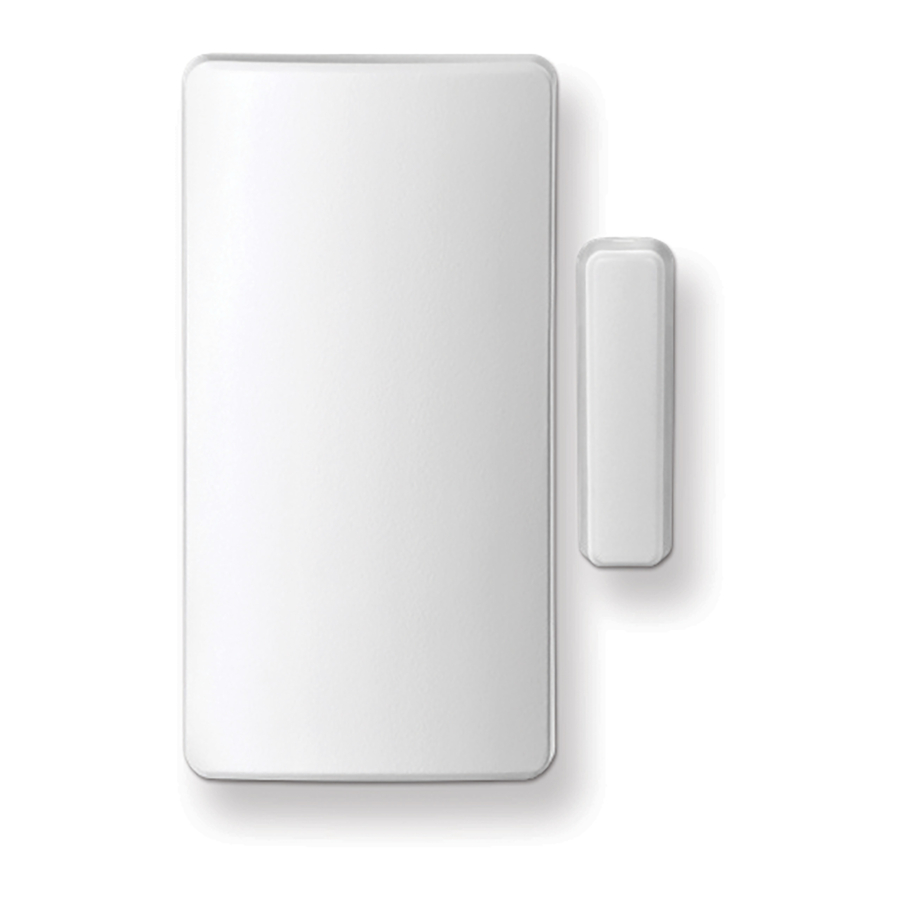
PROSiXCT
Wireless Door/Window Sensor
The PROSiXCT is a two-zone wireless door /
window sensor with cover and wall tamper. It is
intended for use with Honeywell Home controls
that support PROSiX™ series devices.
The PROSiXCT can be installed with two options:
• Reed switch with magnet:
Make gap is 0.75"; Break gap is 1.30".
• Optional wiring for external contact loop:
a) surface wiring
b) concealed wiring
Mount the PROSiXCT
1. To open the case, firmly slide the front and back
housings in opposite directions and pull them
apart to open the device.
2. Mount sensor as shown using the double-sided
tape and screws provided.
3. If using an external contact, connect its wires to
the terminal block.
NOTE: Wiring limit is 3ft.
4. Secure the front cover with the #2 x 1/4" screw.
After enrolling and before mounting, verify
adequate signal strength by conducting a sensor
test (see controller's instructions) with the device in
its intended mounting location. Adjust the device
location and orientation as necessary.
Signal Strength Guide
Signal strength: Range of 1-4 bars (green); should be
minimum 1 green bar for the Zone being programmed.
Four red bars indicate poor signal strength; the device
should be relocated.
See the Control's instructions for bar indication signal
strength values.
Icon
Description
Four Green Bars
Three Green Bars
Two Green Bars
One Green Bar
Four Red Bars
Installation Instructions
Signal Strength
Good
Relocate the device
Advertisement

Related Manuals for Honeywell Home PROSiXCT


Summary of Contents for Honeywell Home PROSiXCT
- Page 1 PROSiXCT Installation Instructions Wireless Door/Window Sensor The PROSiXCT is a two-zone wireless door / window sensor with cover and wall tamper. It is intended for use with Honeywell Home controls that support PROSiX™ series devices. The PROSiXCT can be installed with two options: •...
- Page 2 Set the controller in Programming Mode, when prompted: 1. Pull the battery tab to activate the PROSiXCT. (Use the magnet if the battery tab is removed.) 2. The LED flashes (up to about 20 seconds*) during enrollment.
- Page 3 LED Indications Status Rapid Flashes for about 20 seconds, then Power Up – Enrollment ON for 3 seconds Power Up – Device enrolled; Wall or Cover Tamper activated. To stop Slow Flashes flashes, clear the tamper condition by reconnecting to the mounting plate and reattaching the cover.
- Page 4 For patent information, see https://www.resideo.com/patent MyWebTech Warranty The Honeywell Home Trademark is used under license from Honeywell International Inc. This product is manufactured by Resideo and its affiliates. 2 Corporate Center Drive, Suite 100 P.O. Box 9040, Melville, NY 11747 ...
Need help?
Do you have a question about the PROSiXCT and is the answer not in the manual?
Questions and answers