Table of Contents
Advertisement
Quick Links
Advertisement
Table of Contents

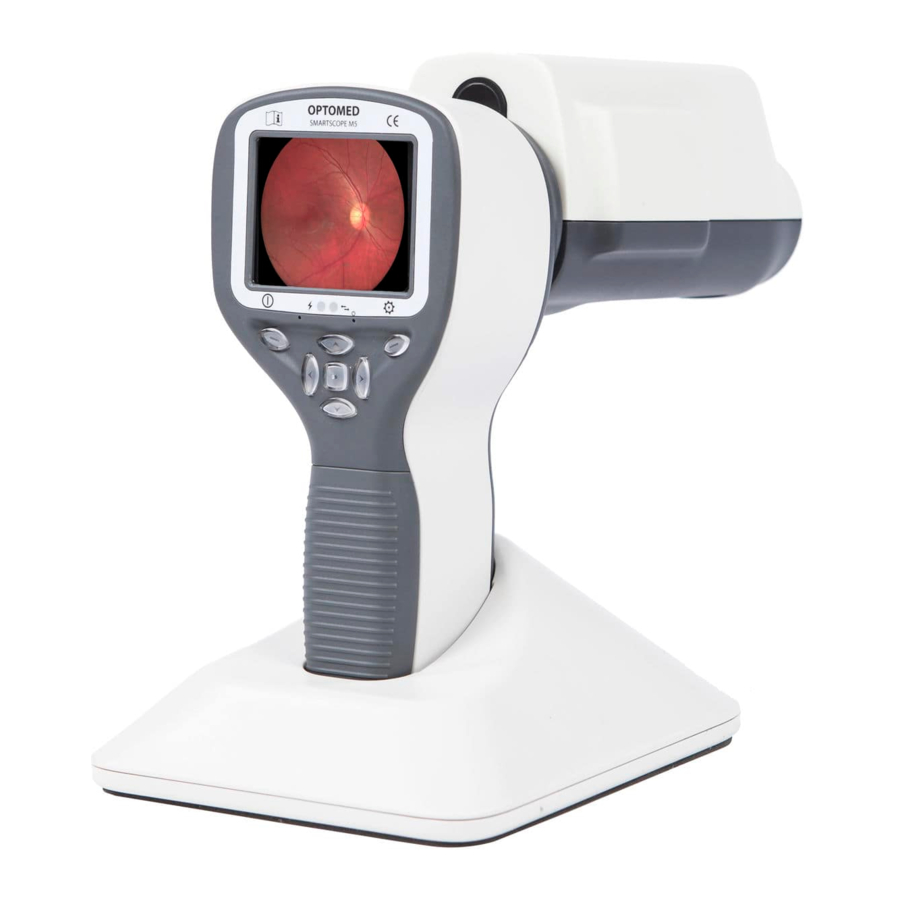
Summary of Contents for Optomed Smartscope
- Page 1 General Use of Smartscope and Smartscope PRO with M5...
- Page 2 OVERVIEW • Indications for use of Smartscope PRO with M5 • Features of M5 device – Screen icons & indicators • Usage – Powering on/off – Attaching optics – Taking an image – Cradle and USB connection – Wifi • Battery replacement...
-
Page 3: Indications For Use
INDICATIONS FOR USE • Smartscope Pro is the leading portable fundus camera in the market. It enables non-mydriatic fundus imaging and documentation of patient data through digital images and video. • Supported optics lenses and their intended uses are: – EY4: Lens for fundus imaging –... -
Page 4: Features Of The Device
FEATURES OF THE DEVICE CONNECTION RESET BUTTON RIGHT SOFT POWER LED MIDDLE KEY LEFT SOFT KEY ARROW KEYS... - Page 5 INDICATORS Left soft key – To power on the device – To power off the device, with long press Right soft key – Open menu with long press Left LED-indicator Green − Active when device is powered on − Blinking when battery is charged Right LED-indicator Blue −...
- Page 6 FEATURES OF THE DEVICE BAYONET CONNECTOR BAYONET HOLE OPTICS RELEASE SNAP FOR BUTTON OPENING SYSTEM BATTERY CONNECTOR COVER DUAL ACTION SHUTTER...
-
Page 7: Screen Icons
SCREEN ICONS Optics: EY = eye optics, SK = skin optics This indicator ES = eye surface changes with optics optics modules Battery: OT = ear optics S = Still according to middle Time DF = no lens 100% Patient 1 V = Video key function ES2 optics attached:... -
Page 8: Powering On/Off
POWERING ON / OFF • Camera is powered on by pressing left soft key. LEFT SOFT KEY • Camera is powered off by keeping left soft key pressed down over 2 seconds. - Page 9 ATTACHING AND DETACHING OPTICS MODULE • Optics is attached by placing bayonet legs on the holes and optics is pressed BAYONET firmly to the device. LEGS BAYONET HOLES • Optics is released by sliding release button. OPTICS RELEASE BUTTON...
-
Page 10: Taking An Image
TAKING AN IMAGE • With Smartscope PRO it is possible to capture both still images and video. • The capture mode is selected in optics based menu tab. • Still image is captured by pressing the dual action shutter to the second position. - Page 11 PATIENT EDITOR • Patient information usage can be enabled / disabled. There can be maximum 500 patients on the list. • User can add new patient from Device menu by selecting Edit Patient list. User can add Patient ID and Patient name after choosing New patient.
-
Page 12: Image Transfer
PC. WiFi: It is also possible to transfer images with WiFi as the taken image will wirelessly appear on the computer screen right after the image has been taken. For more information check WiFi training slides from: www.optomed.com/support/training_material... - Page 13 CRADLE • Smartscope is both charged and connected to PC using the provided cradle. POWER • When Smartscope is not used it may be stored in CORD CORD the cradle. • Storing device in the cradle is not harmful for the battery, because battery is charged only when charge is dropped below certain limit.
-
Page 14: Memory Card
MEMORY CARD • A memory card is provided with Smartscope M5. – Use only memory card provided by Optomed. • Size of the memory card is – 2/ 4 GB (normal SD card). – 8 GB (Wifi card) • Memory card is placed next to battery. -
Page 15: Replacing Battery
REPLACING BATTERY Open the battery cover by using a pen or Remove the battery compartment cover similar pointy small device. by lifting it up. Remove old battery by squeezing Put the new battery in the same position and battery wires with fingers and attach gently the connector to its socket. -
Page 16: Problem Solving
PROBLEM SOLVING • In problem situations there are two options to reset the device. • Original factory settings can be returned by selecting ”Restore factory defaults” which is located in Device menu. -
Page 17: Reset Button
RESET BUTTON • Reset button can be used if behaviour of device is abnormal. • Reset button is located in a small opening under display. – Button is marked with a circle. • Reset button can be pressed with a thin object such as a paper clip. - Page 18 If you need support or have any questions, please contact Optomed customer service: service@optomed.com...


Need help?
Do you have a question about the Smartscope and is the answer not in the manual?
Questions and answers