Subscribe to Our Youtube Channel
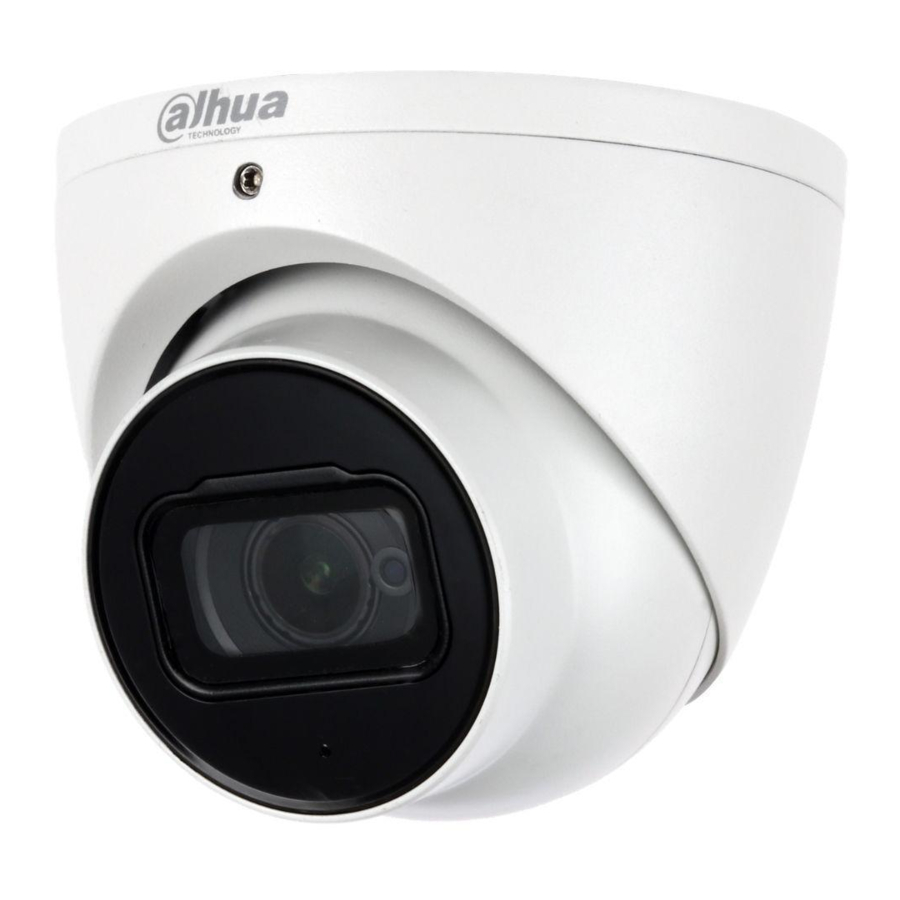
Summary of Contents for Dahua HDW3841EMP-AS
- Page 1 Eyeball Network Camera Quick Start Guide ZHEJIANG DAHUA VISION TECHNOLOGY CO., LTD. V1.0.3...
-
Page 2: Foreword
User’s Manual Foreword General This manual introduces the functions, installation and operations of the camera. Safety Instructions The following categorized signal words with defined meaning might appear in the manual. Signal Words Meaning Indicates a medium or low potential hazard which, if not avoided, WARNING could result in slight or moderate injury. - Page 3 User’s Manual format) cannot be opened. All trademarks, registered trademarks and the company names in the manual are the properties of their respective owners. Please visit our website, contact the supplier or customer service if there is any problem ...
-
Page 4: Important Safeguards And Warnings
User’s Manual Important Safeguards and Warnings Electrical Safety All installation and operation should conform to your local electrical safety codes. The power source shall conform to the Safety Extra Low Voltage (SELV) standard, and supply power with rated voltage which conforms to Limited Power Source requirement according to IEC60950-1. - Page 5 User’s Manual It is recommended to ground the device to enhance reliability. Do not touch the image sensor directly (CMOS). Dust and dirt could be removed with air blower, or you can wipe the lens gently with soft cloth that moistened with alcohol. Device body can be cleaned with soft dry cloth, which can also be used to remove stubborn ...
-
Page 6: Table Of Contents
User’s Manual Table of Contents Foreword ................................I Important Safeguards and Warnings ......................III 1 Introduction ..............................1 2 Network Configuration ..........................2 Initializing Device ..................................2 Modifying Device IP Address ..............................3 Logging in to Web Interface..............................4 3 Installation ..............................6 Packing List .................................... -
Page 7: Introduction
User’s Manual Introduction Cable type might vary with different devices, and the actual product shall prevail. Waterproof all the cable joints with insulating tape and waterproof tape to avoid short circuit and water damage. For the detailed operation, see the FAQ Manual. Figure 1-1 Cable list For more information about cable ports, see Table 1-1. -
Page 8: Network Configuration
User’s Manual Network Configuration Device initialization and IP address setting can be finished with the "ConfigTool" or in web interface. For more information, see the Web Operation Manual. Device initialization is available on select models, and it is required at first use or after the device ... -
Page 9: Modifying Device Ip Address
User’s Manual Select the devices that need initialization, and then click Initialize. Step 6 The password setting interface is displayed. See Figure 2-2. Figure 2-2 Password setting Step 7 Set and confirm the password of the devices, then enter a valid email address, and then click Next. -
Page 10: Logging In To Web Interface
User’s Manual The Modify IP Address interface is displayed. See Figure 2-3. Figure 2-3 Modify IP Address Select Static mode, and then enter start IP, subnet mask, and gateway. Step 3 IP addresses of multiple devices will be set to the same if you select the Same IP ... - Page 11 User’s Manual Figure 2-4 Main interface Network Configuration 5...
-
Page 12: Installation
User’s Manual Installation Packing List The tool required for the installation such as electric drill is not provided in the packing. The operation manual and related tool are contained in the disk or the QR code, and the actual ... - Page 13 User’s Manual...
-
Page 14: Installing Device
User’s Manual Installing Device 3.3.1 Installation Type 3.3.2 Detaching the Enclosure 3.3.3 Installing SD Card (Optional) Pull the power plug off before installing or removing the SD card. Press and hold the RESET button for 10 s to reset the camera. ... -
Page 15: Attaching Device
User’s Manual 3.3.4 Attaching Device Make sure the mounting surface is strong enough to hold at least three times of the weight of the device and bracket. -
Page 16: Installing Waterproof Connector (Optional)
User’s Manual Cable going through the mounting surface Cable going through the side cable tray 3.3.5 Installing Waterproof Connector (Optional) This part is needed only when a waterproof connector comes with the device and the device is used outdoors. -
Page 17: Adjusting Lens Angle
User’s Manual 3.3.6 Adjusting Lens Angle... - Page 18 User’s Manual...


Need help?
Do you have a question about the HDW3841EMP-AS and is the answer not in the manual?
Questions and answers