Advertisement
Advertisement
Table of Contents

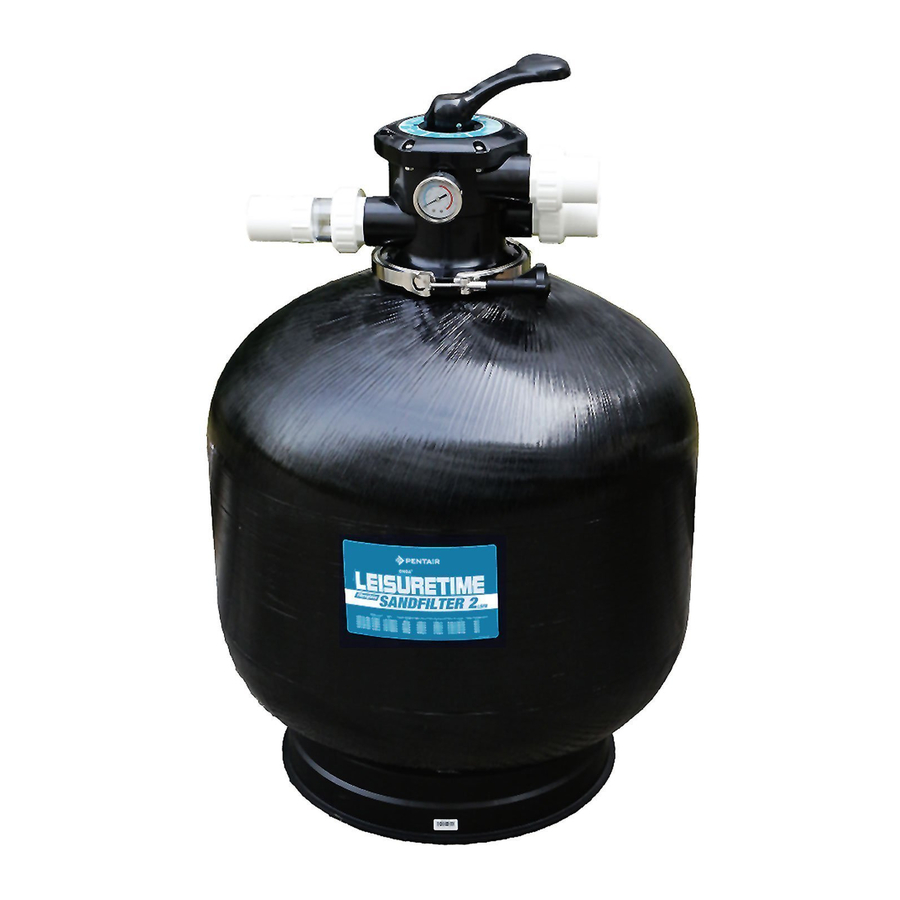
Summary of Contents for Pentair Onga Leisuretime II
- Page 1 ONGA ® LSFII Sand Filter...
-
Page 2: Cautions And Warnings
Cautions and Warnings Hazardous Pressure Incorrectly installed or tested equipment may fail, causing severe injury or property damage. Read and follow instructions in owner’s manual when installing and operating equipment. Have a trained pool professional perform all pressure tests. Turn pump off before changing valve position Do not unscrew MPV clamp while pump is running All glued fittings and pipe work should be allowed to dry to atmos- phere for 24 hours before closing the installation. -
Page 3: Table Of Contents
Contents Cautions and Warnings Contents Specifications Filter Application Installation/ Assembly Operation Start up Service & Maintenace Troubleshooting Replacement Parts Page 2... -
Page 4: Specifications
Specifications Backwash Flow Maximum Flow Filter Area Model Product Rate Rate (LPM) (LPM) Leisuretime II Sand Filter LSFII-21-40 2.1 / 0.2 21” / 40mm MPV Leisuretime II Sand Filter LSFII-25-40 3.2 / 0.3 25” / 40mm MPV Leisuretime II Sand Filter LSFII-25-50 3.2 / 0.3 25”... -
Page 5: Filter Application
Filter Application - General Information This filter is designed for use in domestic/residential swimming pool installations with correctly sanitised fresh or salt chlorinated water. Suitable for use with sand, Zelbrite or glass filter media. 1. Locate the filter system as close to the pool as practical. 2. -
Page 6: Installation/ Assembly
Installation / Assembly of Internal Components Installation of filter should be only carried out by qualified personnel. Ensure that the under-drain assembly (hub, laterals & tube) are properly assembled & installed prior to adding filter media (sand). 1. The filter internals comprise of a collector hub and eight (8) laterals, which are supplied packaged seperately with the collector hub and are stored inside the filter tank prior to shipment. - Page 7 6. Complete all plumbing connections, using 1 1/2” (LSFII-21-40 & LSFII-25-40) or 2” (LSFII-25-50, LSFII-28-50 & LSFII-32-50) pipe to reduce pressure losses as much as possible. - Pipe from valve RETURN port to pool return. - Pipe from valve WASTE port to waste. - Suction piping from pool to trap inlet on pump.
-
Page 8: Operation
Operation The operation and the positions of valve settings are as follows: Valve Settings Function Filter Normal filtration and vacuuming; water goes through filter to pool. Waste Lowers pool level or drains pool; water bypasses filter, goes to waste. Closed Shuts off all flow to filter and pool. -
Page 9: Start Up
Start up 1. Open system valve and make sure pump is filled with water. Make sure pool water level is 2” (50mm) above bottom of skimmer opening. 2. With pump OFF, set valve to ‘BACKWASH’ position. 3. Start pump, circulating water through filter to waste. NOTE: To prevent pump running dry, be sure water level never drops below bottom of skimmer inlet. - Page 10 4. Turn pump ‘OFF’ set valve handle to ‘FILTER’ 5. Start pump. Multi-Port Valve Service If valve is leaking during normal operation it will need to be repaired by an authorised Pentair Water service technician. Valve Removal Hazardous pressure. Stop pump and release all pressure from system before working on filter, valve, or clamp.
- Page 11 Maintenance Your new product incorporates moving parts and withstands high velocity water with chemicals in it. Some of these parts will wear in the normal course and use and require checks and maintenance. Performing these checks and maintenance will identify parts that have worn and require repair.
-
Page 12: Troubleshooting
Troubleshooting Symptom Remedy Filter startup pressure high and Filter requires backwash- Follow backwash procedure water flow low outlined in manual. Return line restricted- check for flow at return. Filter startup pressure low and Skimmer basket full of leaves or debris- clear skimmer water flow low basket of all foreign matter and debris. -
Page 13: Replacement Parts
Replacement Parts LSFII-21-40 & LSFII-25-40 LSFII-25-50 & LSFII-28-50 Item Part No. Description Item Part No. Description LSFII-21-40 & LSFII-25-40 LSFII-25-50 & LSFII-28-50 88280150 1. 5” Clamp Type Multiport Valve 88281506F 2” Top Mount Valve 89280705 Pressure guage Assembly 89280705 Pressure guage Assembly 89280108 1.5”... - Page 14 Replacement Parts LSFII-32-50 Item Part No. Description LSFII-32-50 88280351 2” Top Mount Valve 89280705 Pressure guage Assembly 89280813 Sight glass assembly 89280110 2” union (3 required) 02011126 Filter Neck Gasket 02011134 MB Nut + MB Washer (12 required) 89010122 LSFII- 32- 50 Standpipe with hub 01172008 Laterals (185mm) (8 required) 01112074...
- Page 15 Replacement Parts USED ON Item Part No. Description MODELS: MULTIPORT 1-1/2 IN. VALVE LSFII-21-40 800770 MPV Handle Assembly (Includes 1, 2 &3) LSFII-25-40 Pin for Handle Washer for Handle M6 x 25 Screw with Nut for Camber Lid 800771 Lid Kit (Includes 4,5 &6) 800774 O-Ring for 1.5”...
- Page 16 Replacement Parts USED ON Item Part No. Description MODELS: MULTIPORT 2 IN. VALVE LSFII-32-50 89280707 MPV Handle Assembly 89280301 M6*32 Screw with Nut 89280816 Lid Assembly 2” MPV 89280817 Seal Rotor and Gasket Kit 2” MPV 89280705 Pressure gauge Assembly 89280110 2”...
- Page 17 Notes Page 16...
- Page 18 Notes Page 17...
- Page 19 Notes Page 18...
- Page 20 Zealand © Information contained here-in remains the property of Pentair Australia Pty Ltd. Any reproduction, display, publica- tion, modification or distribution is strictly prohibited without the prior written permission of Pentair Australia Pty Ltd. Disclaimer: Every endeavour has been made to publish the correct details in this document. No responsibility will be taken for errors, omissions or changes in product descriptions, specifications.


Need help?
Do you have a question about the Onga Leisuretime II and is the answer not in the manual?
Questions and answers